
いろいろ考えるに、やはり一定以上の完成度で出力を行うためには分割が必須のようです。サイズや色のための分割ではなく、サポート材を減らす、サポート材の跡を表側にできるだけ出さないようにする、といったことのためにです。
ということで、ここのところずっと触っているMeshmixerがずいぶんと上達しまして、おおよそやりたいことはできるようになってきました。
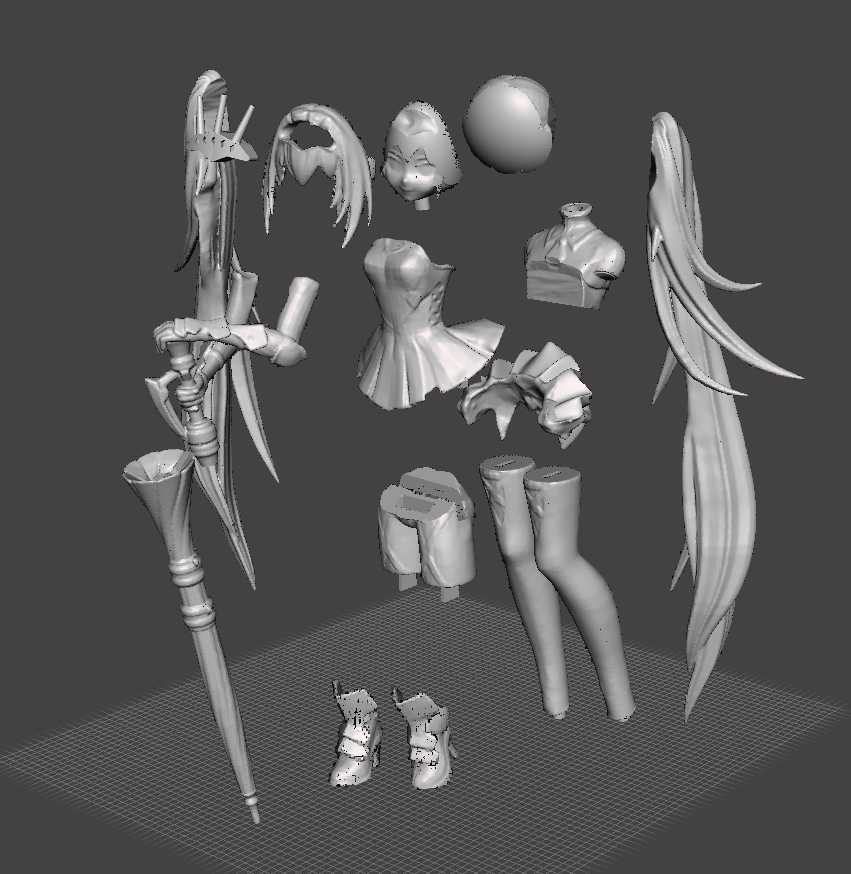
前回よりさらに分割が進んで、現状こんな感じになっています。
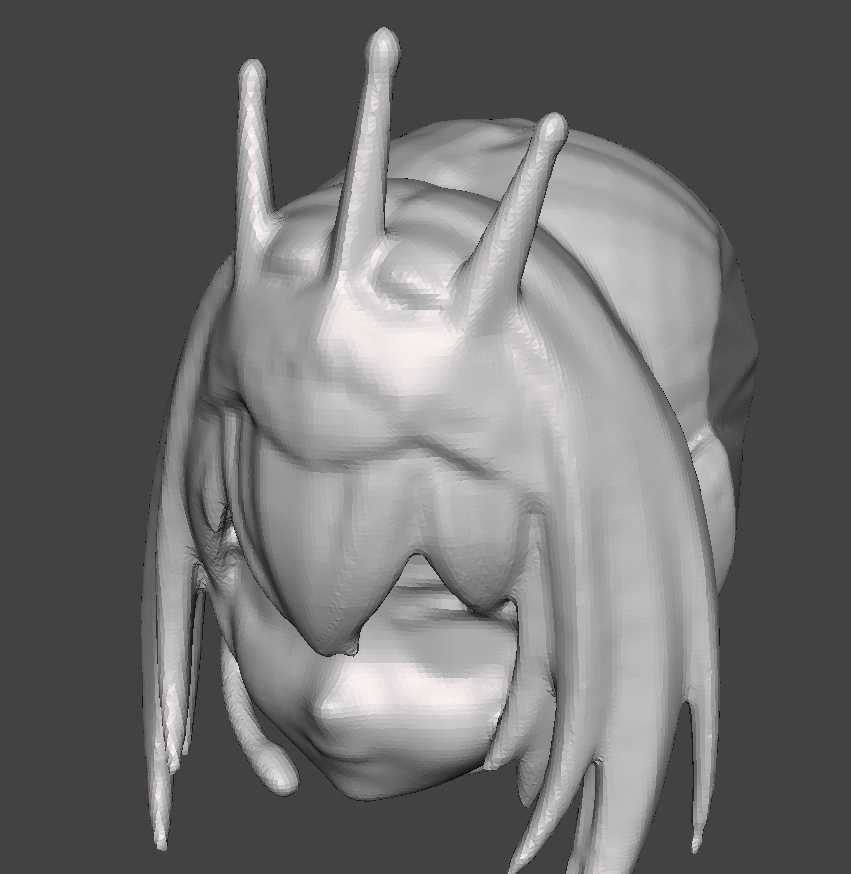
ティアラを分割しました。というか、ティアラはこんな感じにかみに埋まっていて、あとから色塗るにしても境界がはっきりしてない感じでしたので、
fusion360でサクッとモデリングしてSTL出力しておきます。
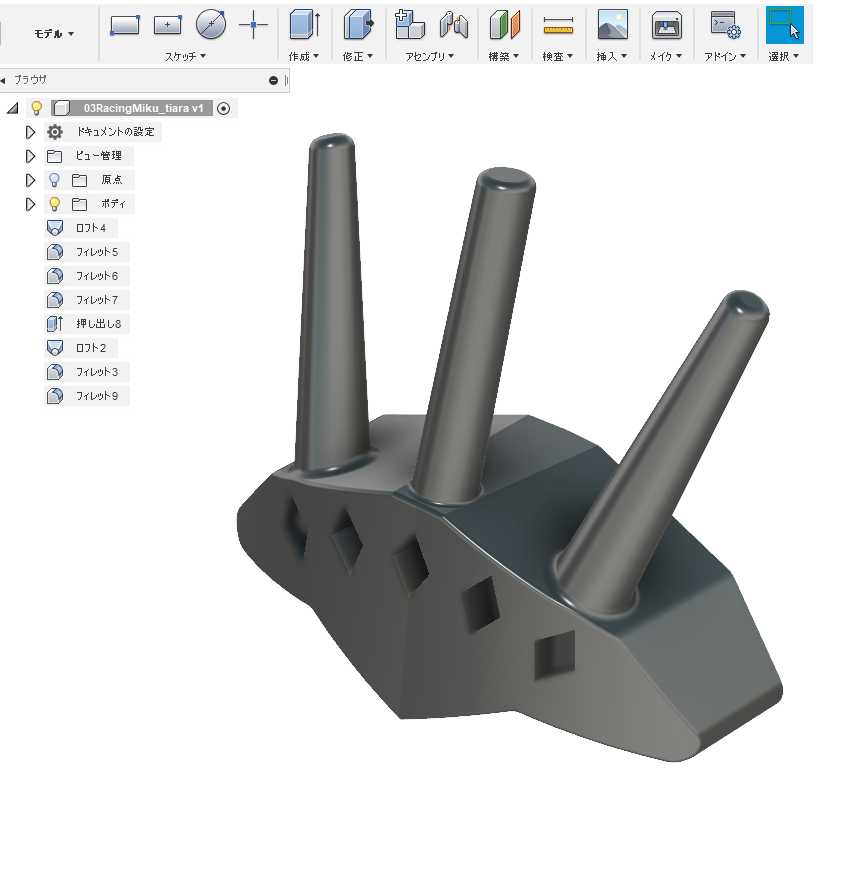
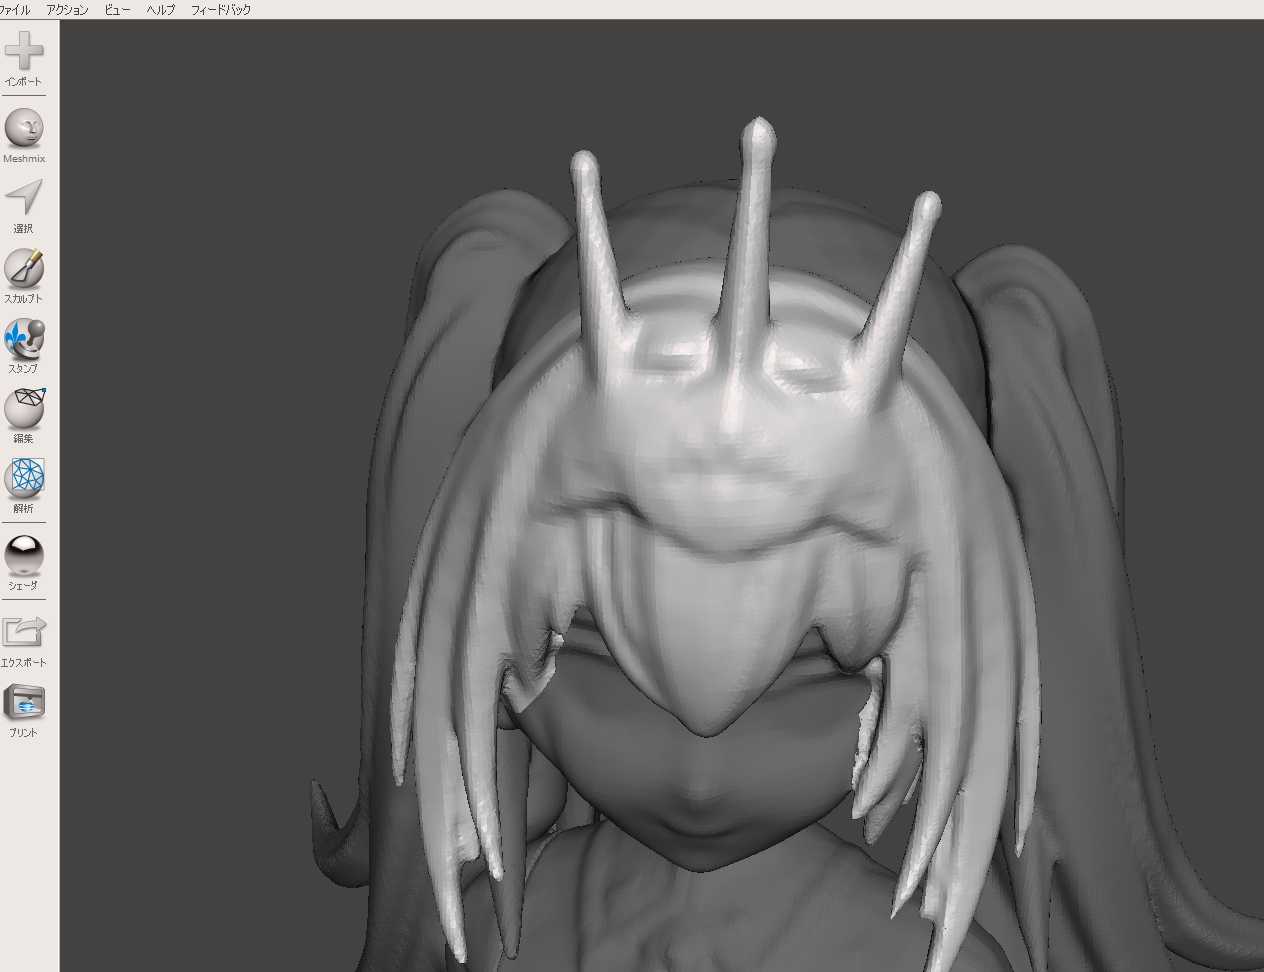
この三本のなんといえばいいのか、角?アンテナ?みたいなのの根っこを選択して
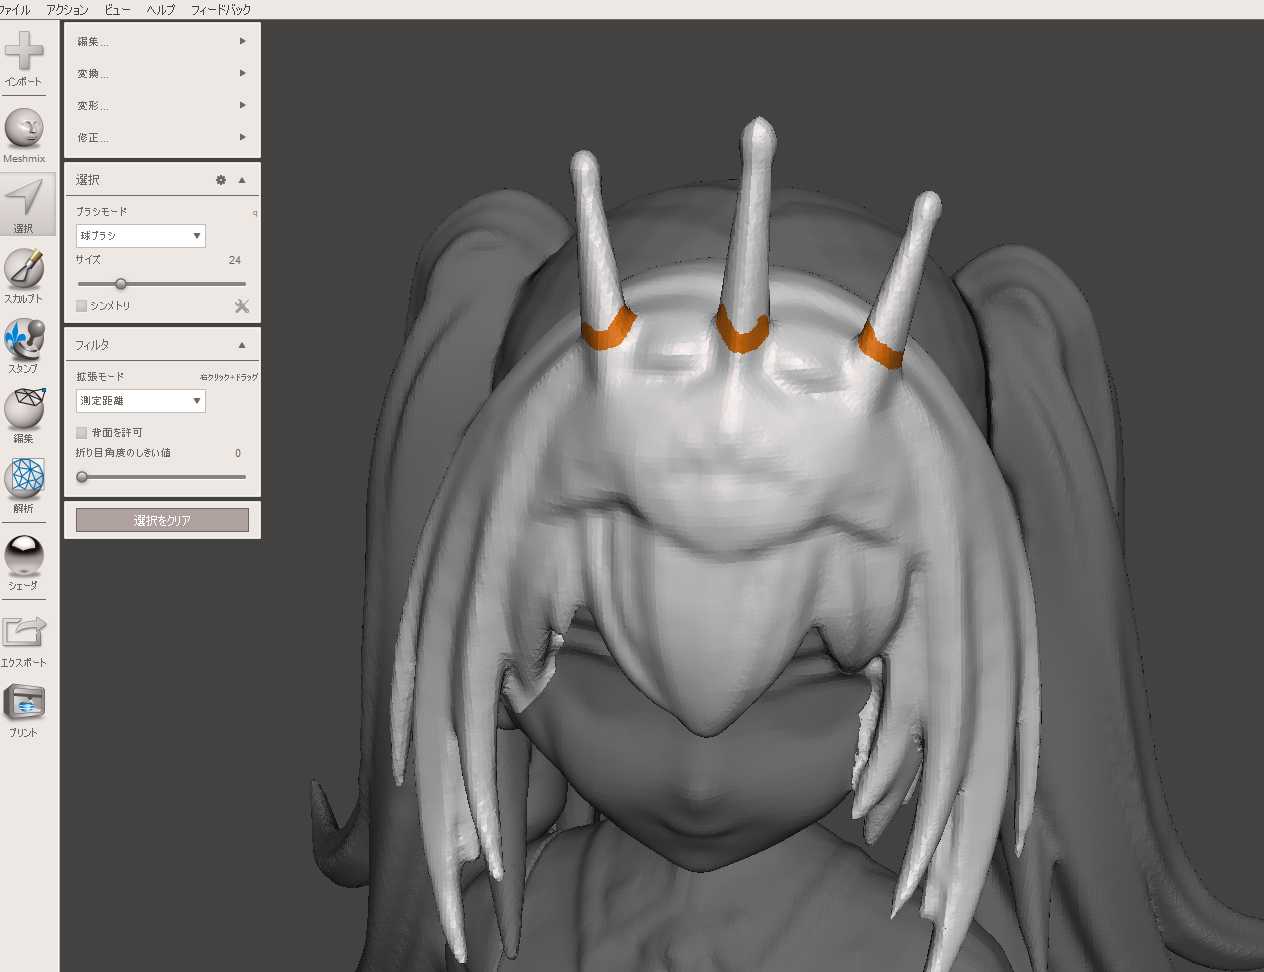
xで除去、
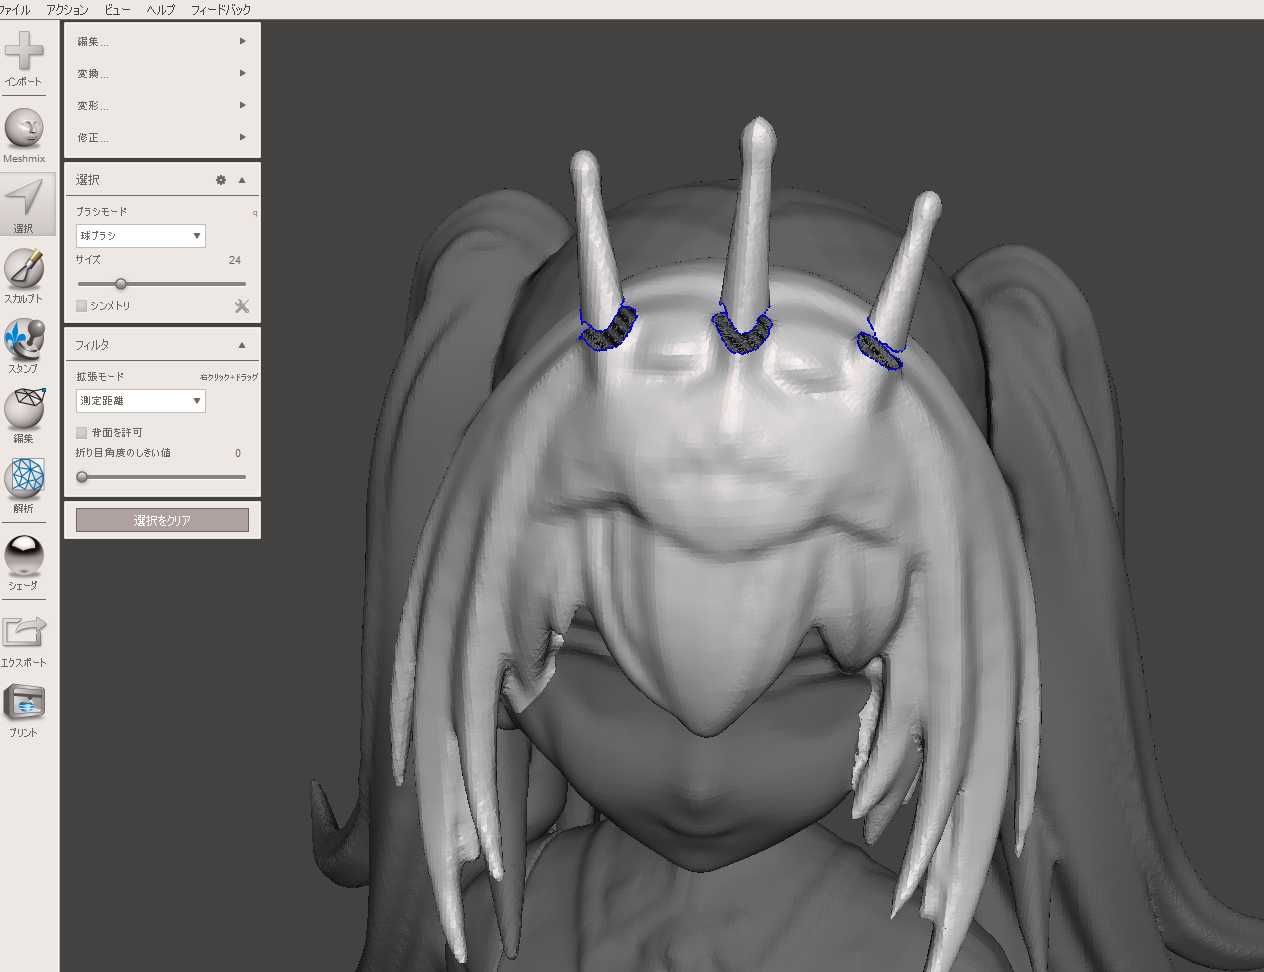
出来た穴を、

整形してふさいでおきます。

fusionで作ったティアラを位置合わせして、
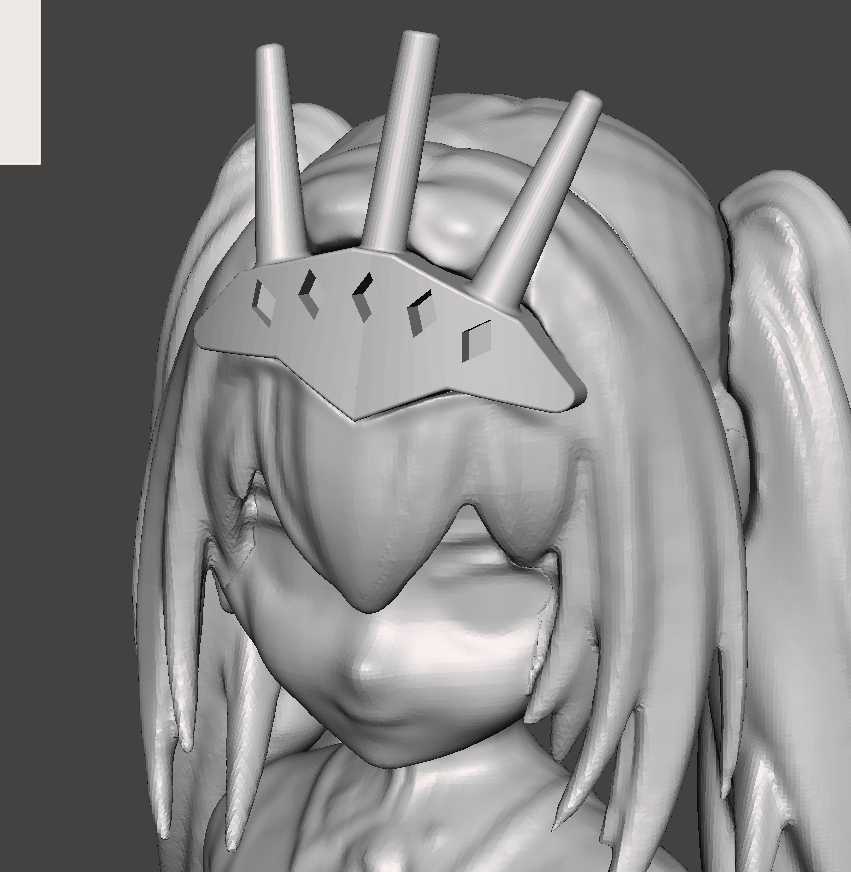
ブール引き算。後を整形して完成。

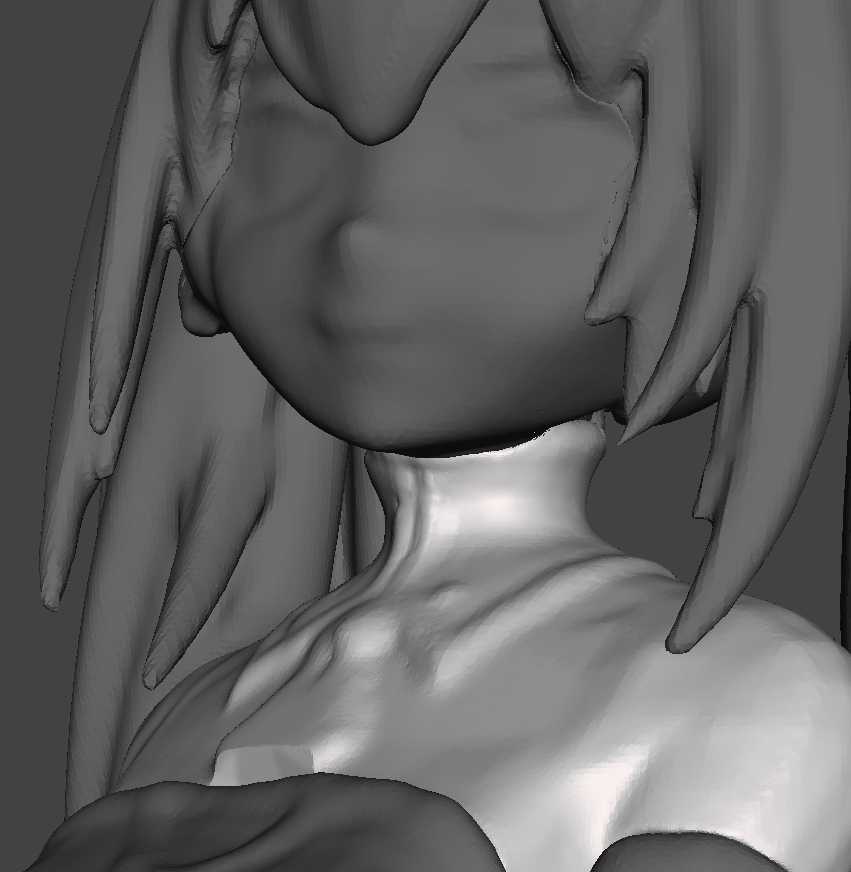
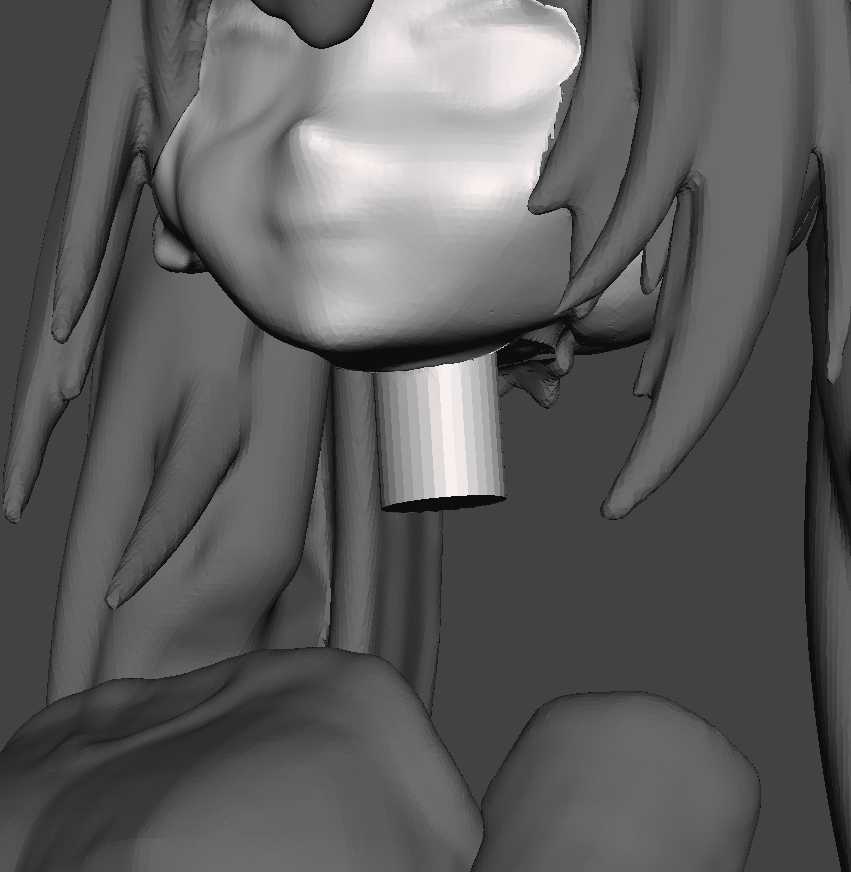
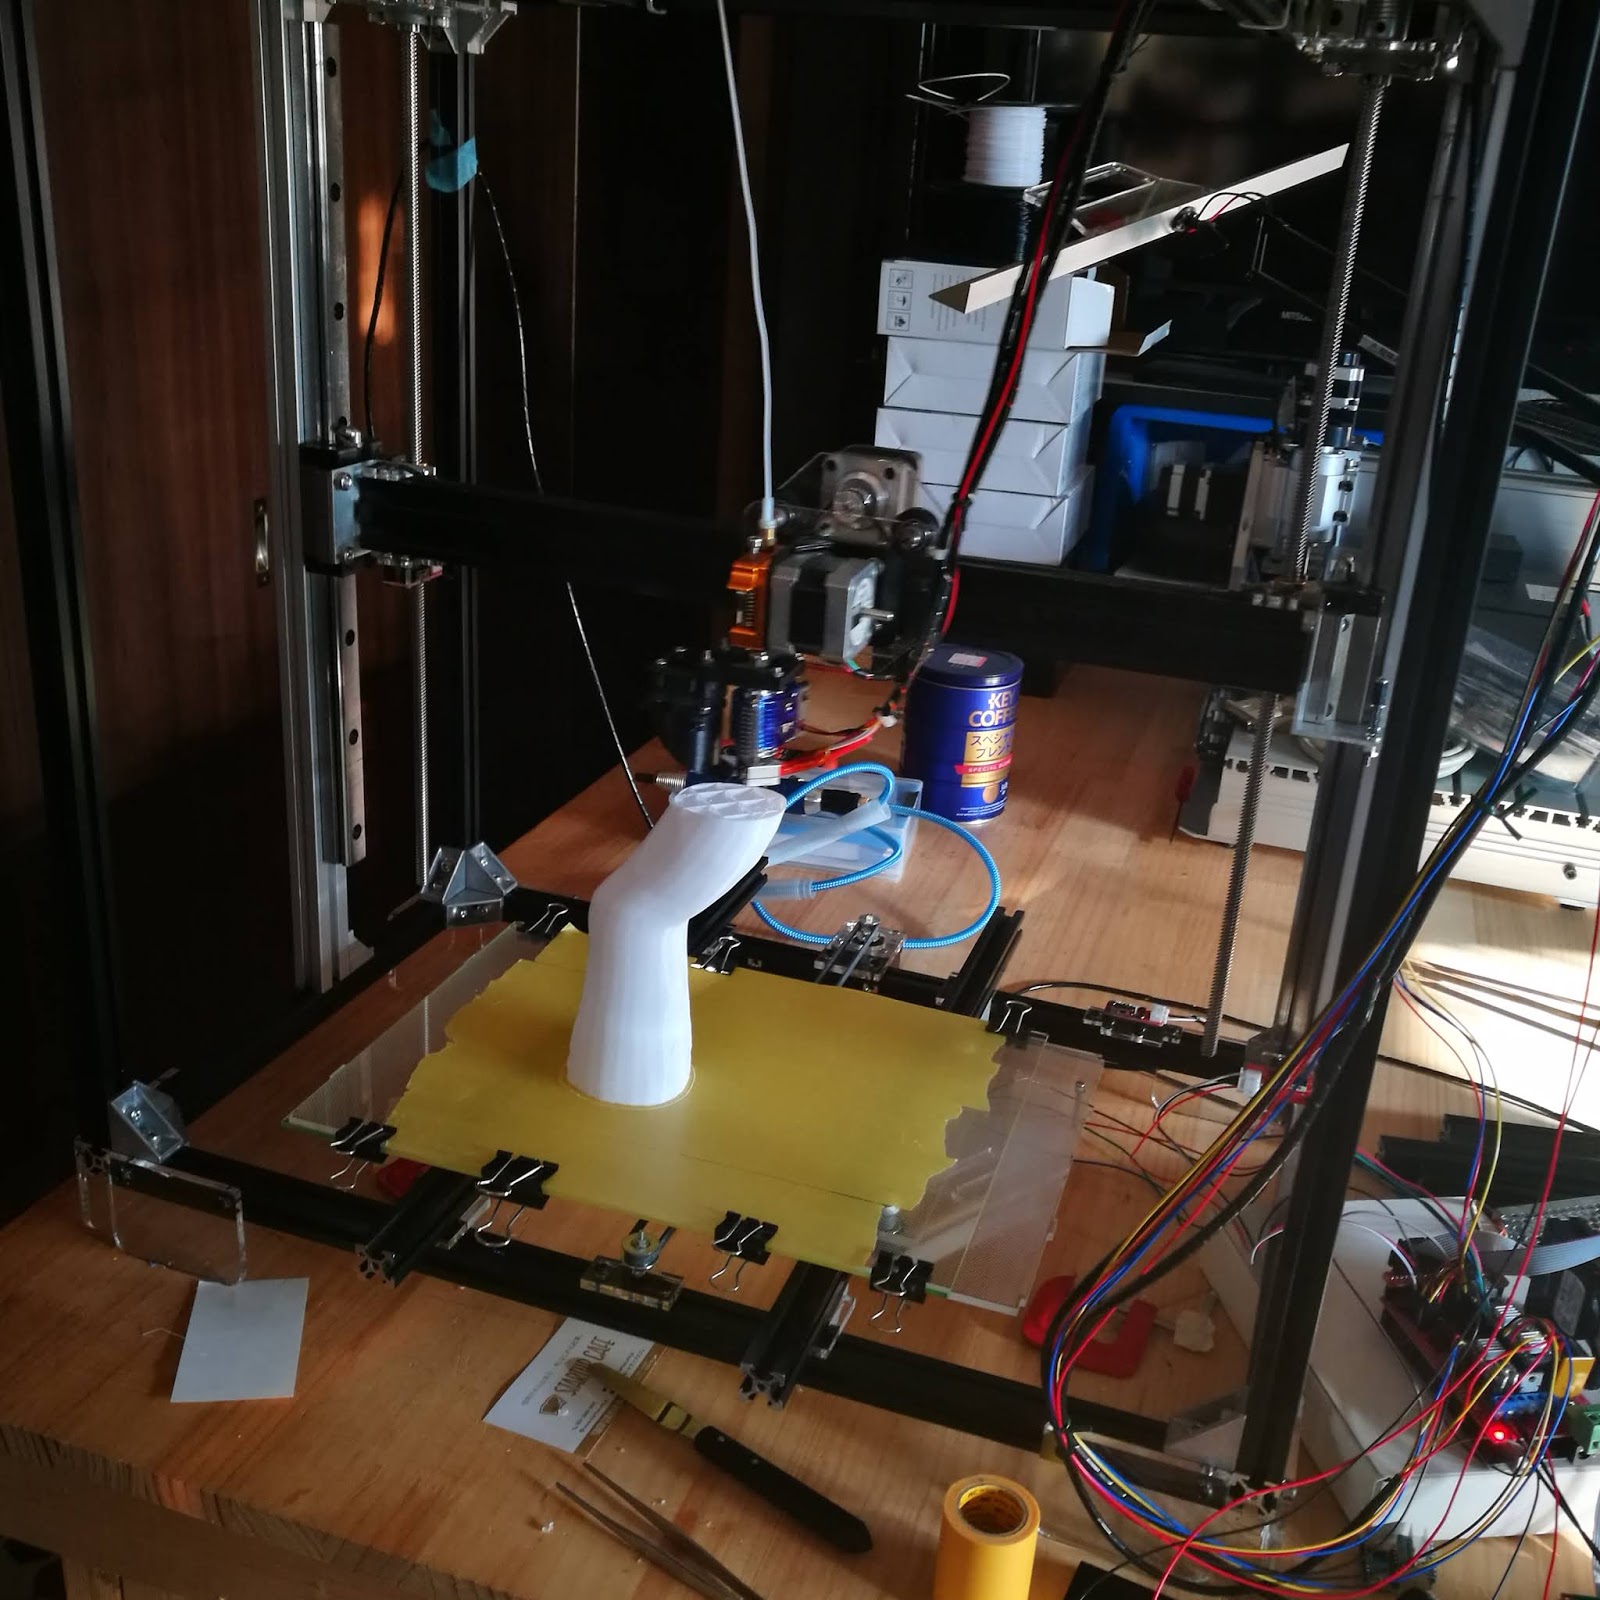
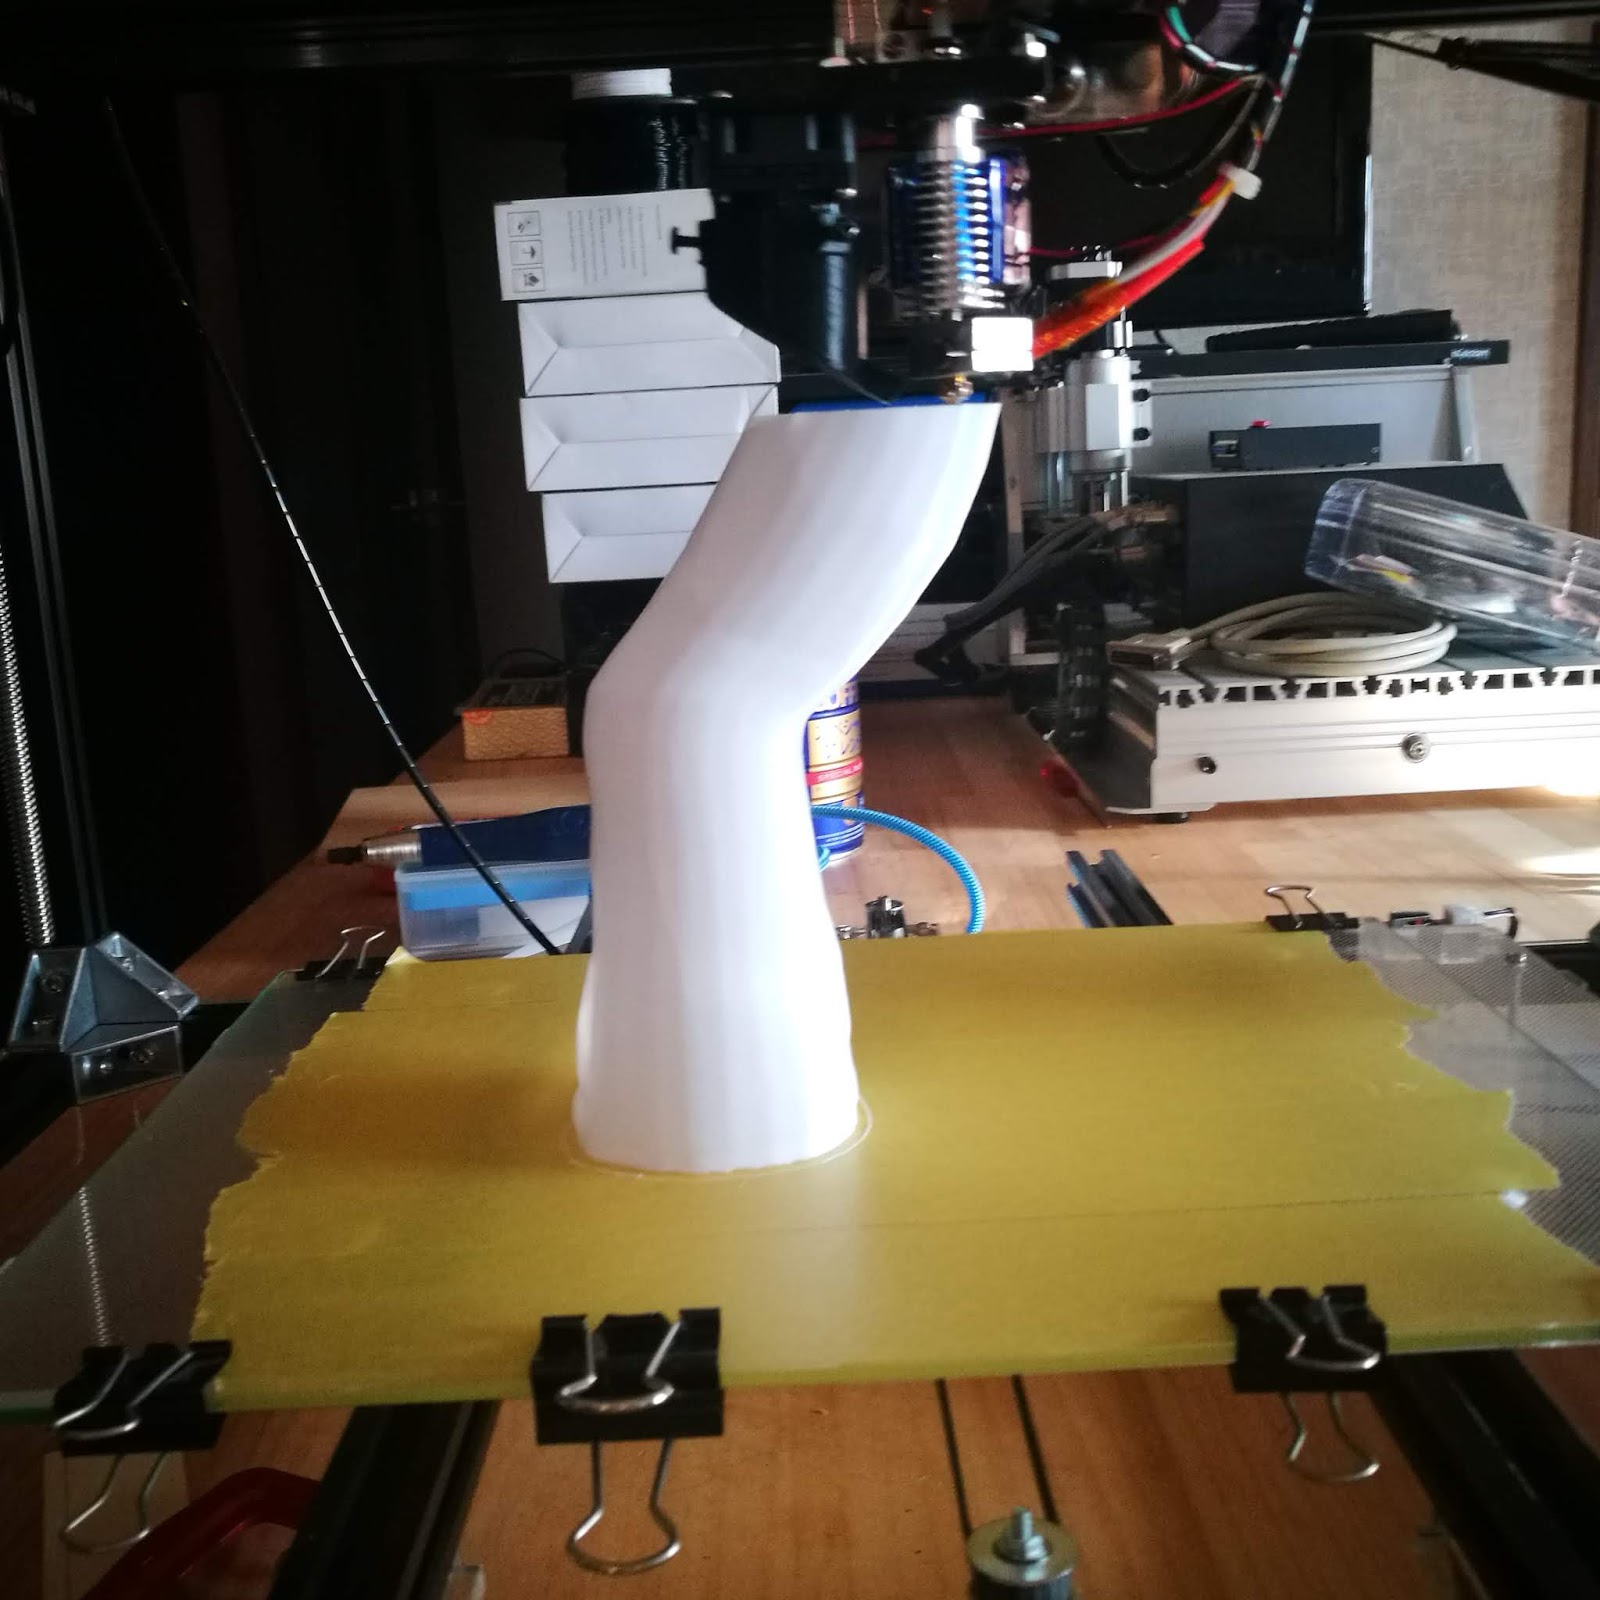
首は分割位置を見直しました。
以前は首の真ん中あたりでスパッと切ってましたが、この部分は首いっぱいまで白のカラーになっていますので、ギリギリ上のところで分割。
いずれこのカラーとネクタイも分割する予定です。
首は差し込みを付けて連結作業時の位置出しができるようにしておきました。
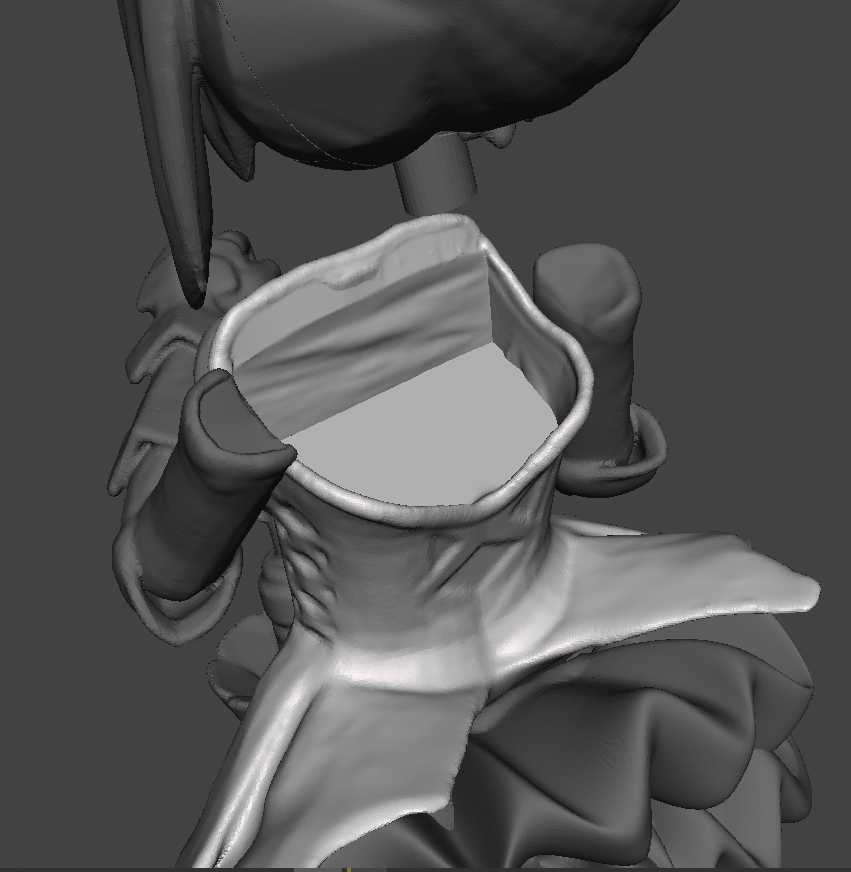
もう一か所はボディです。ストラップレスのワンピースと肌は別々の色で出力したいので、ここも分割しました。
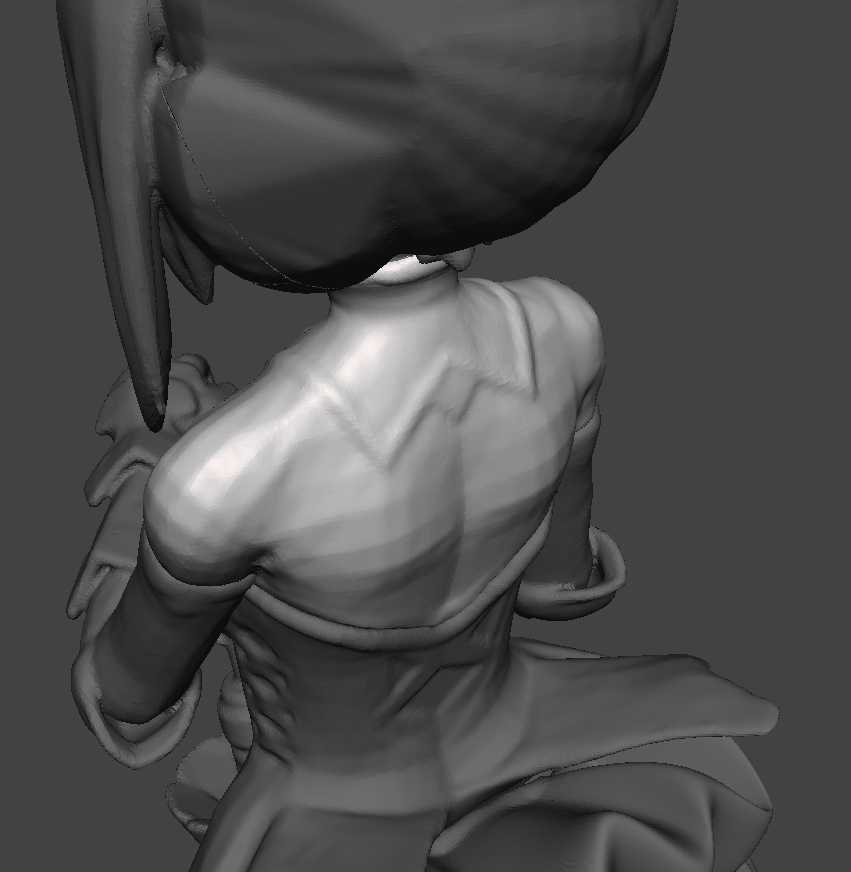
しばらく前まではこの分割なんてとてもできませんでしたが、Meshmixerに慣れた今は楽勝であります。着た時の肌のふくらみ感なども意識しつつ整形します。
ついでに腕も手袋の長い奴、で検索したらオペラグローブっていうんですね。のところで分割しました。ここも位置決めのピン作っとかないといけないな。
こんな感じにデータを作っていると早く出力したくなるのが人情であります。
ということで、我慢できずに先週ほぼずっと昼夜問わずに3Dプリンタを動かして下半身の試作をしてみました。
写真を羅列します。
左の靴。

やっぱ1/2スケールは大きいですね。
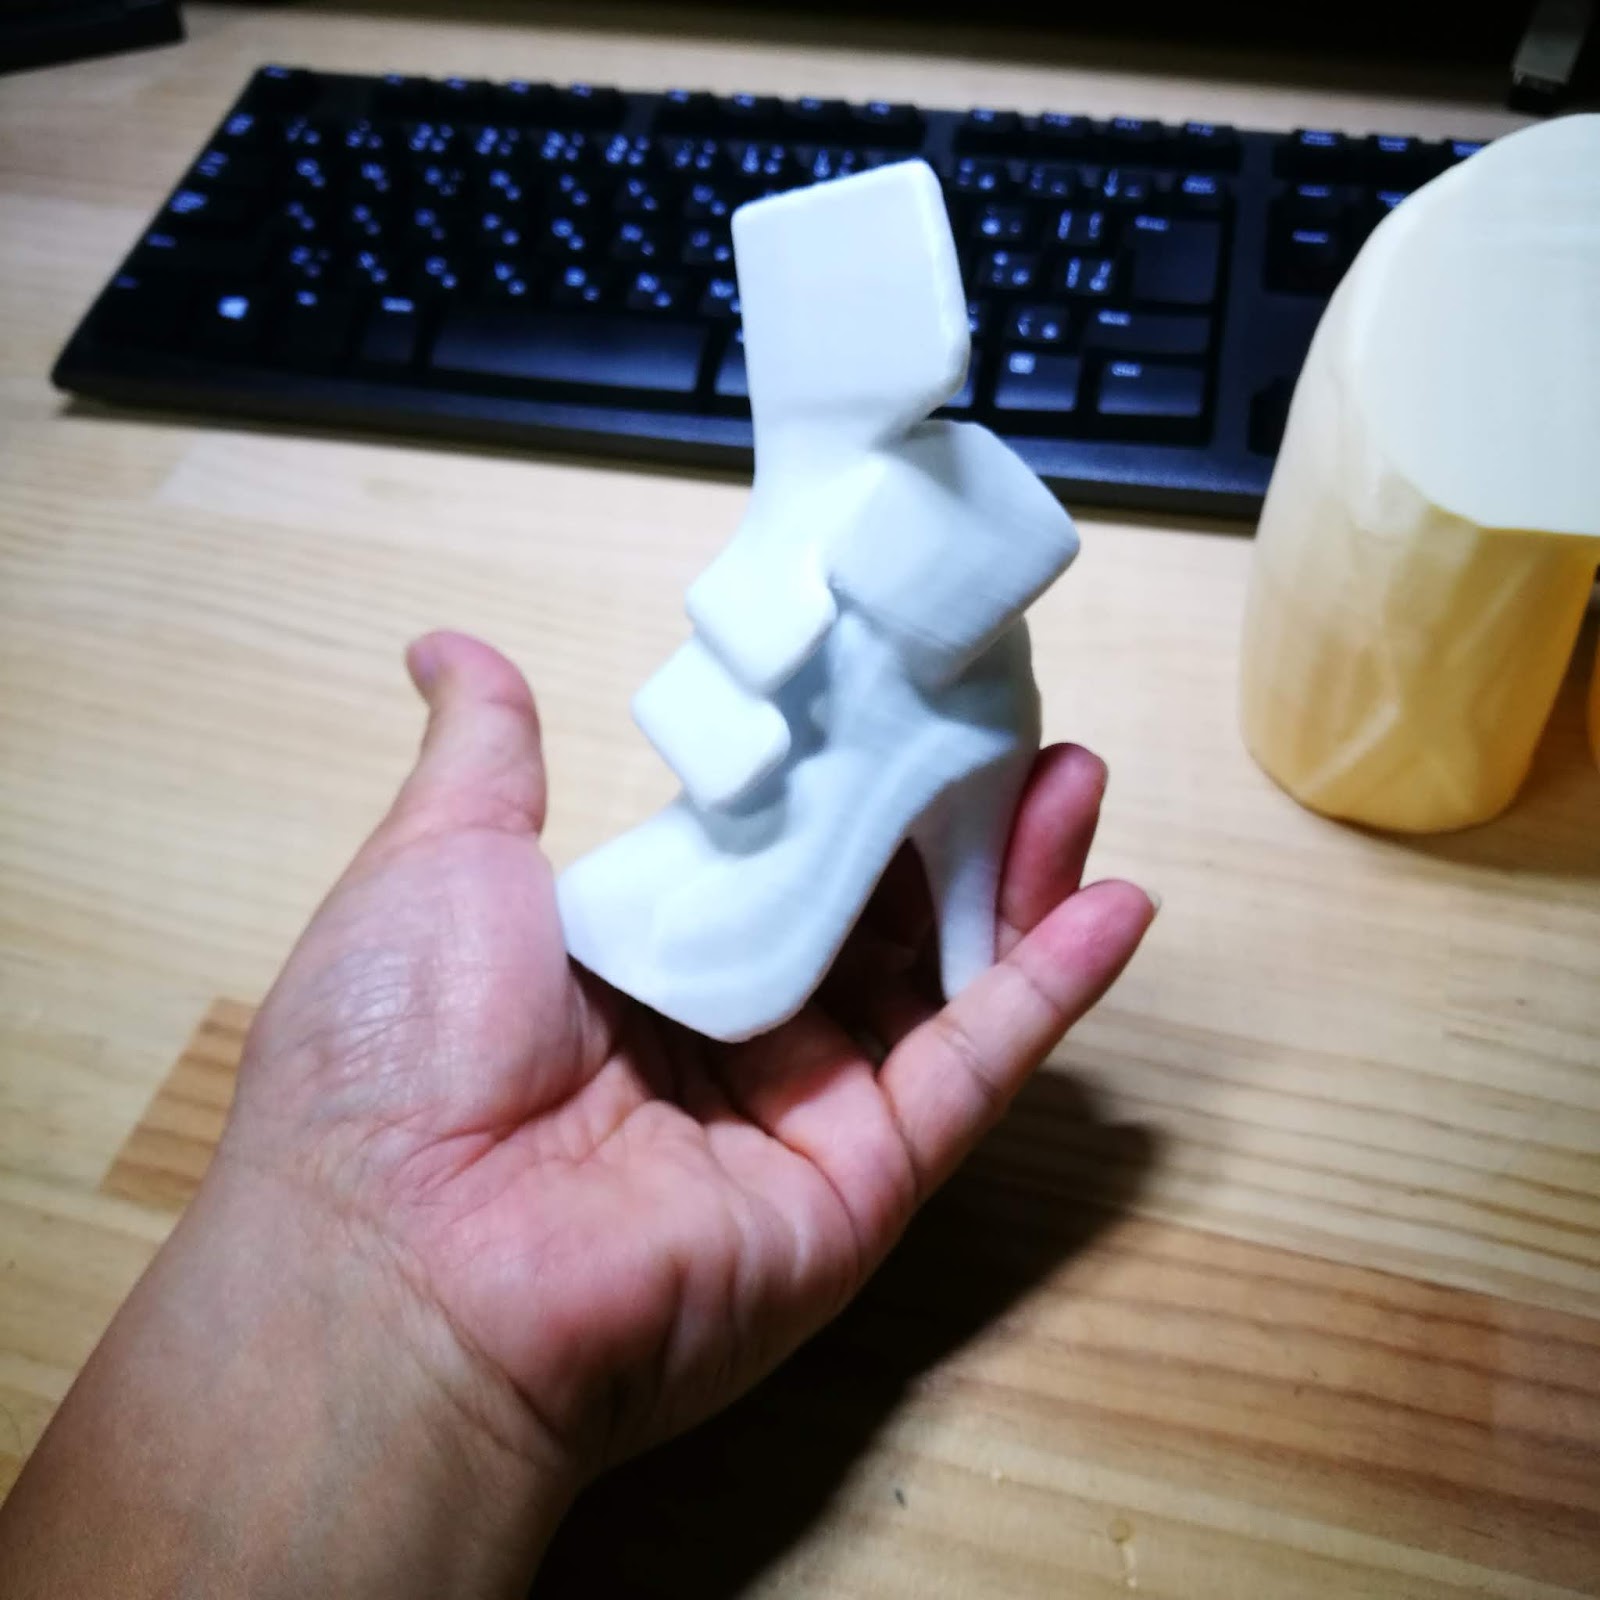
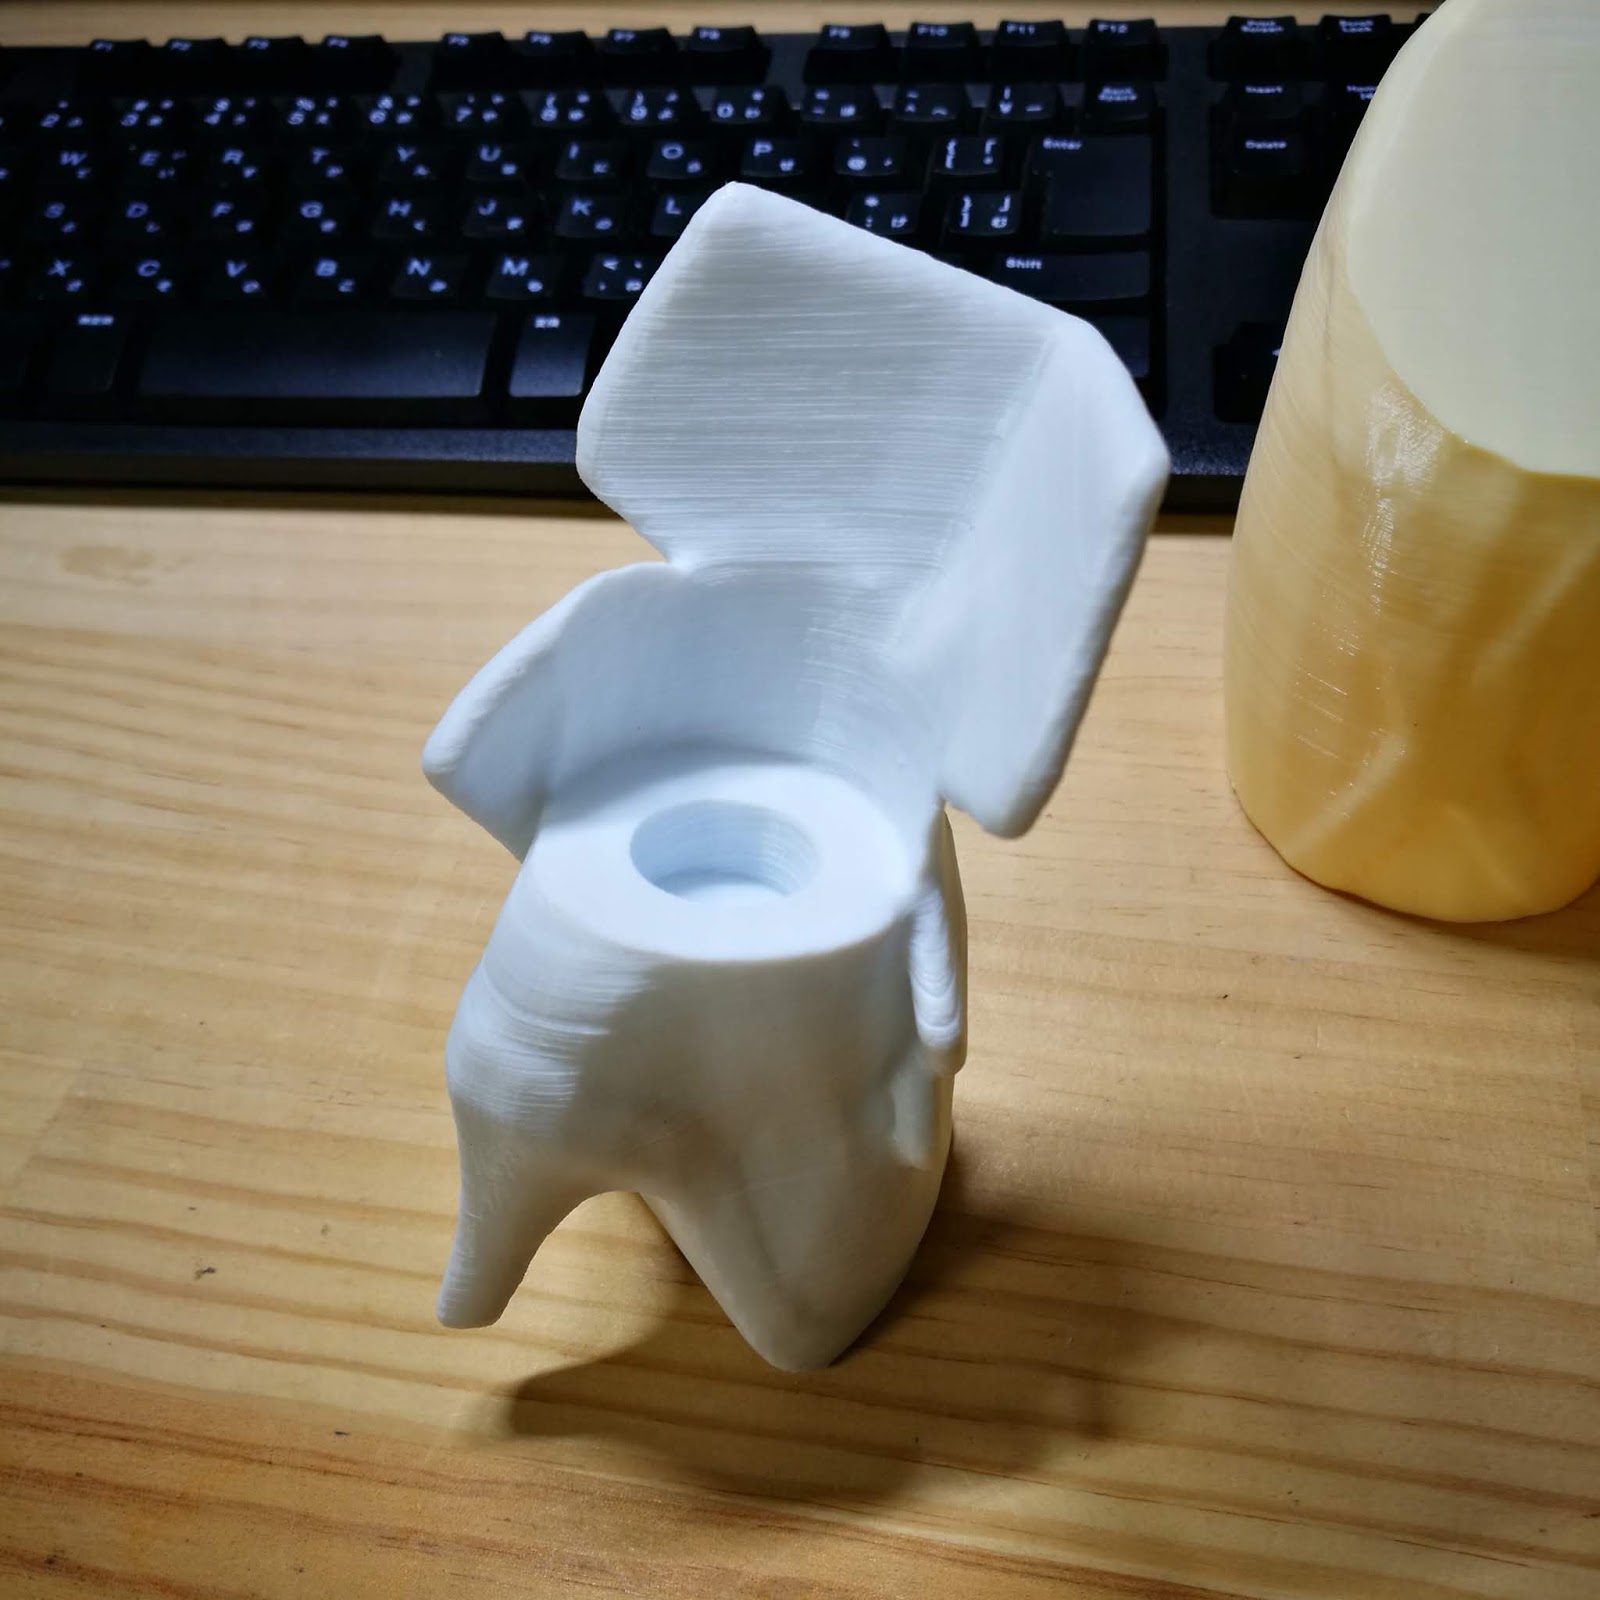
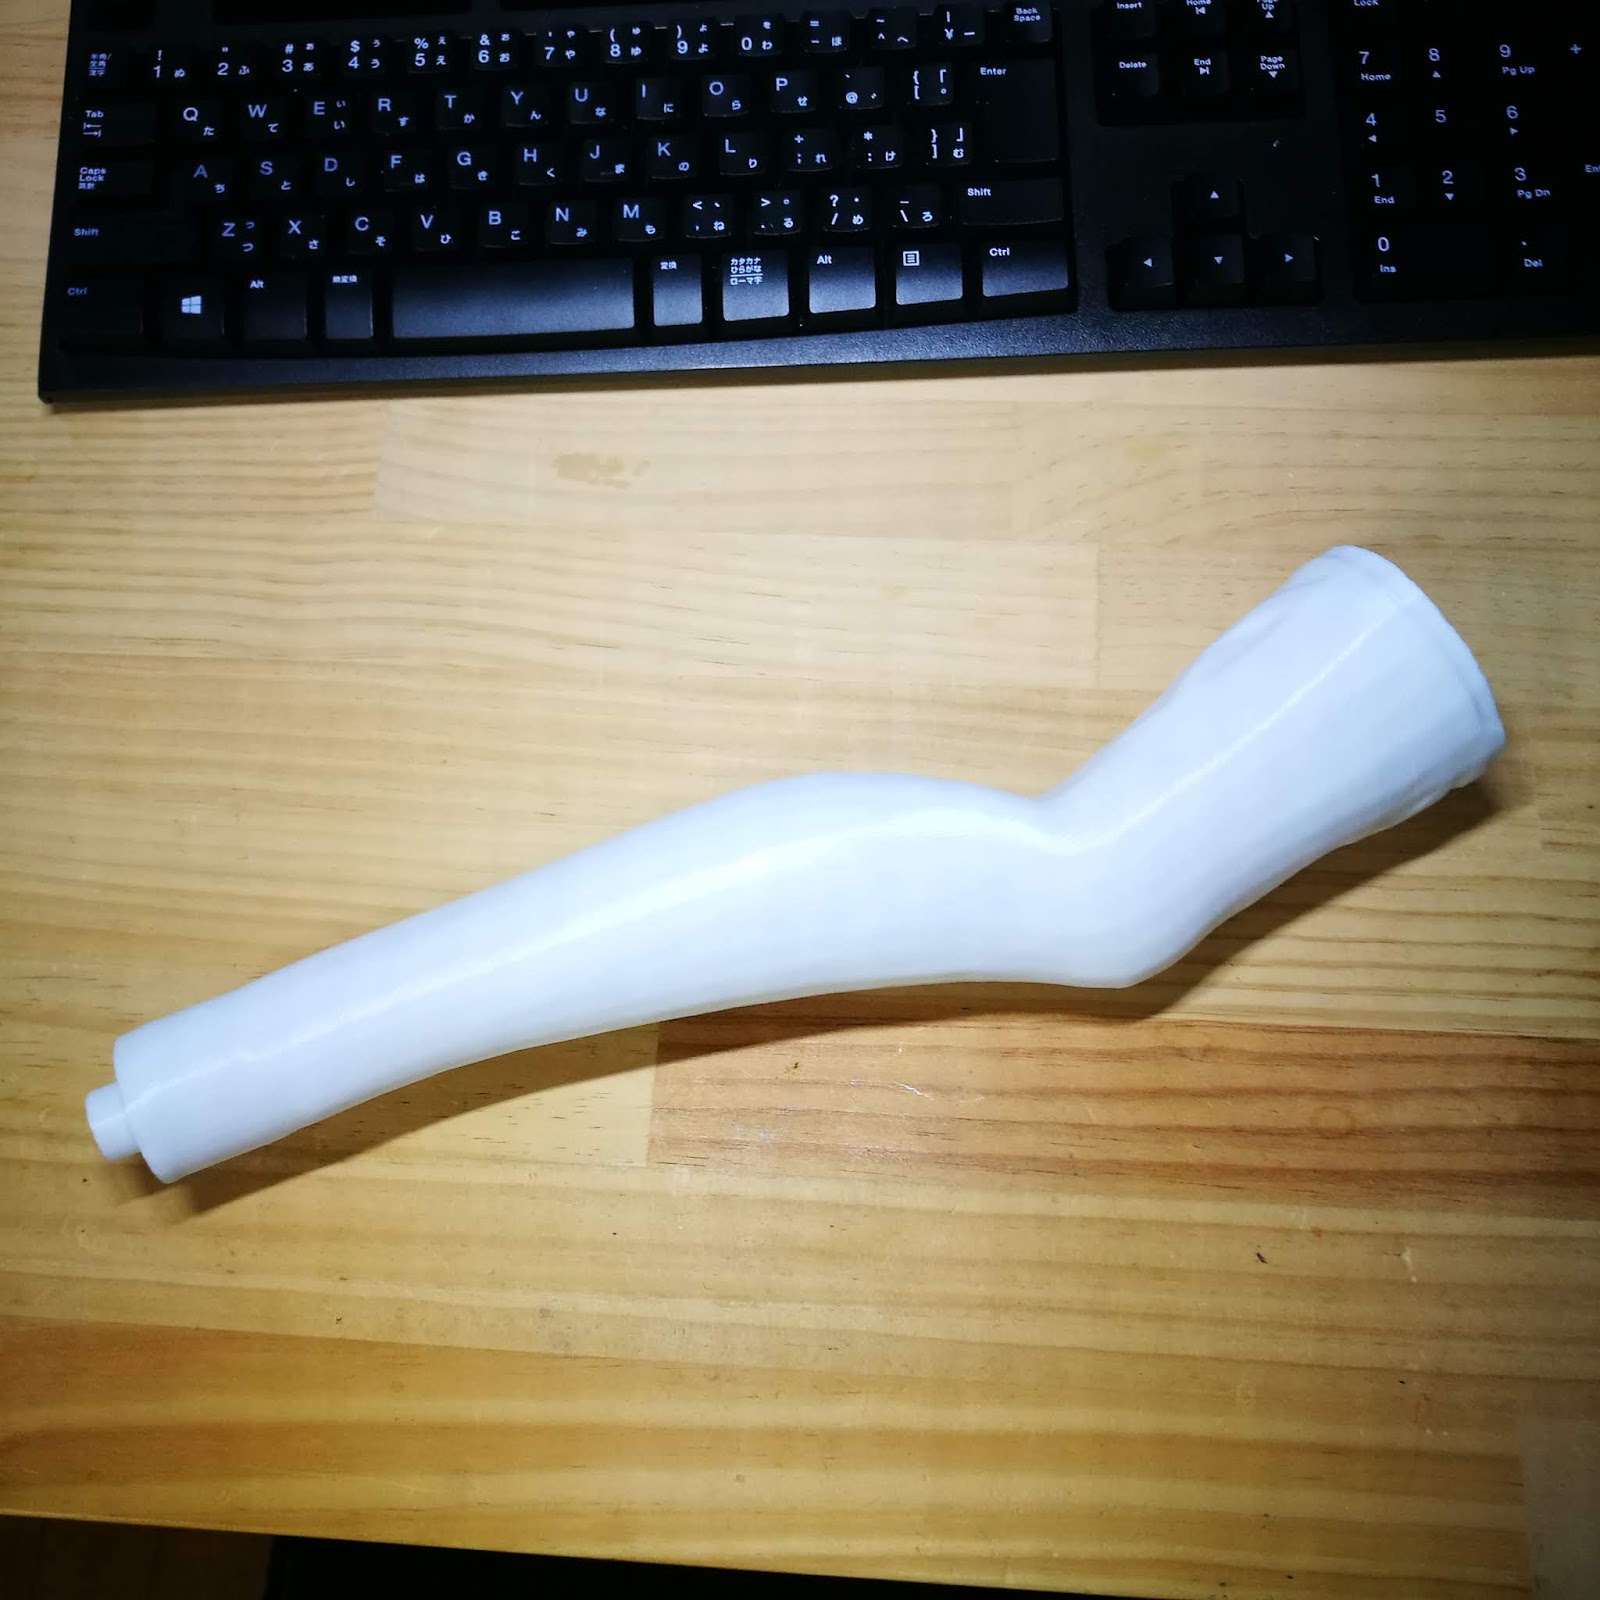
右のプリント直後。ラフトとサポートを使っています。
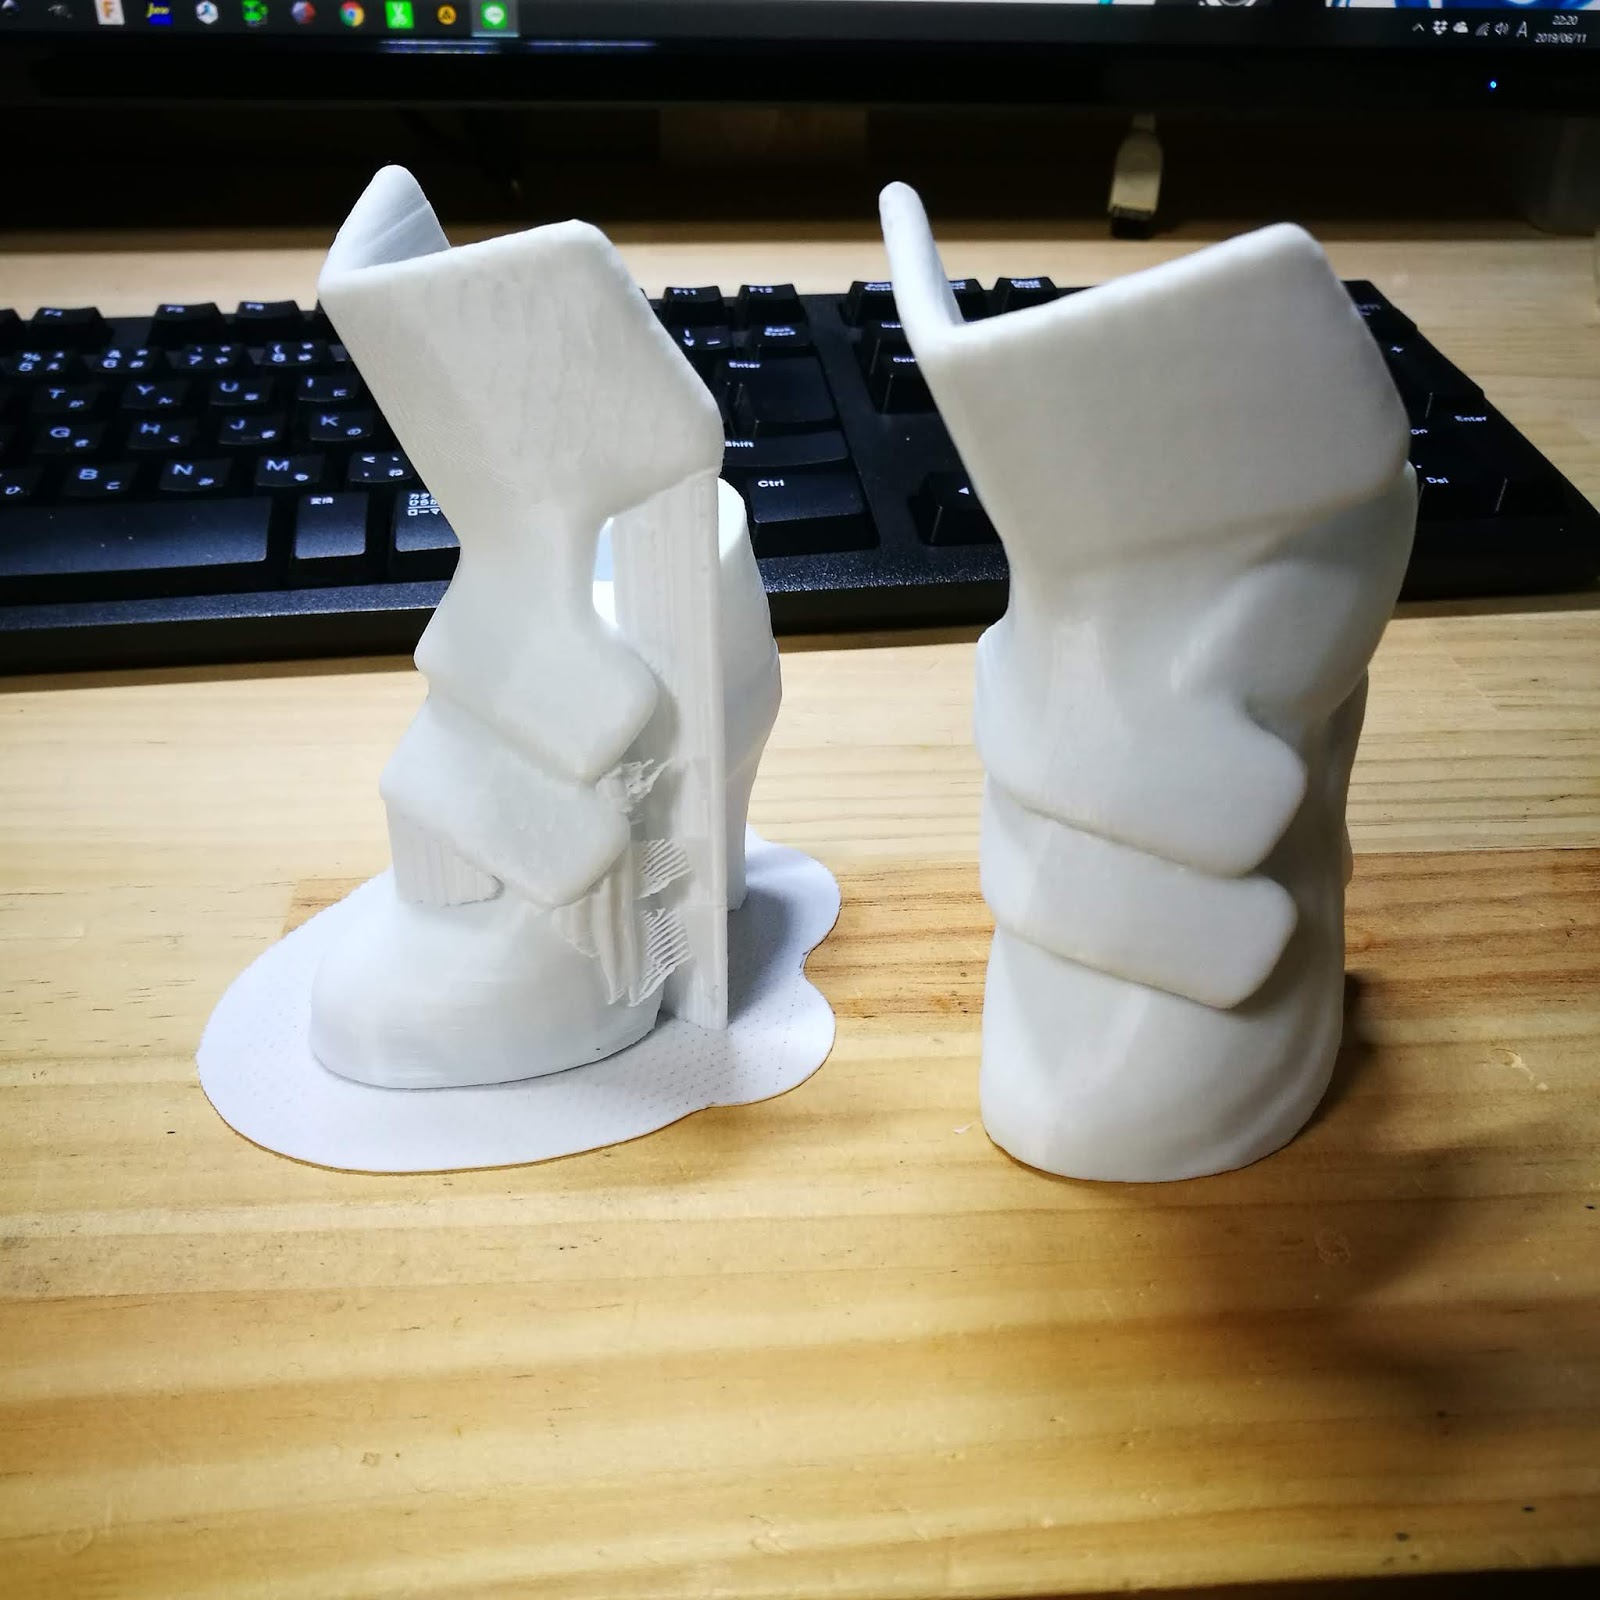
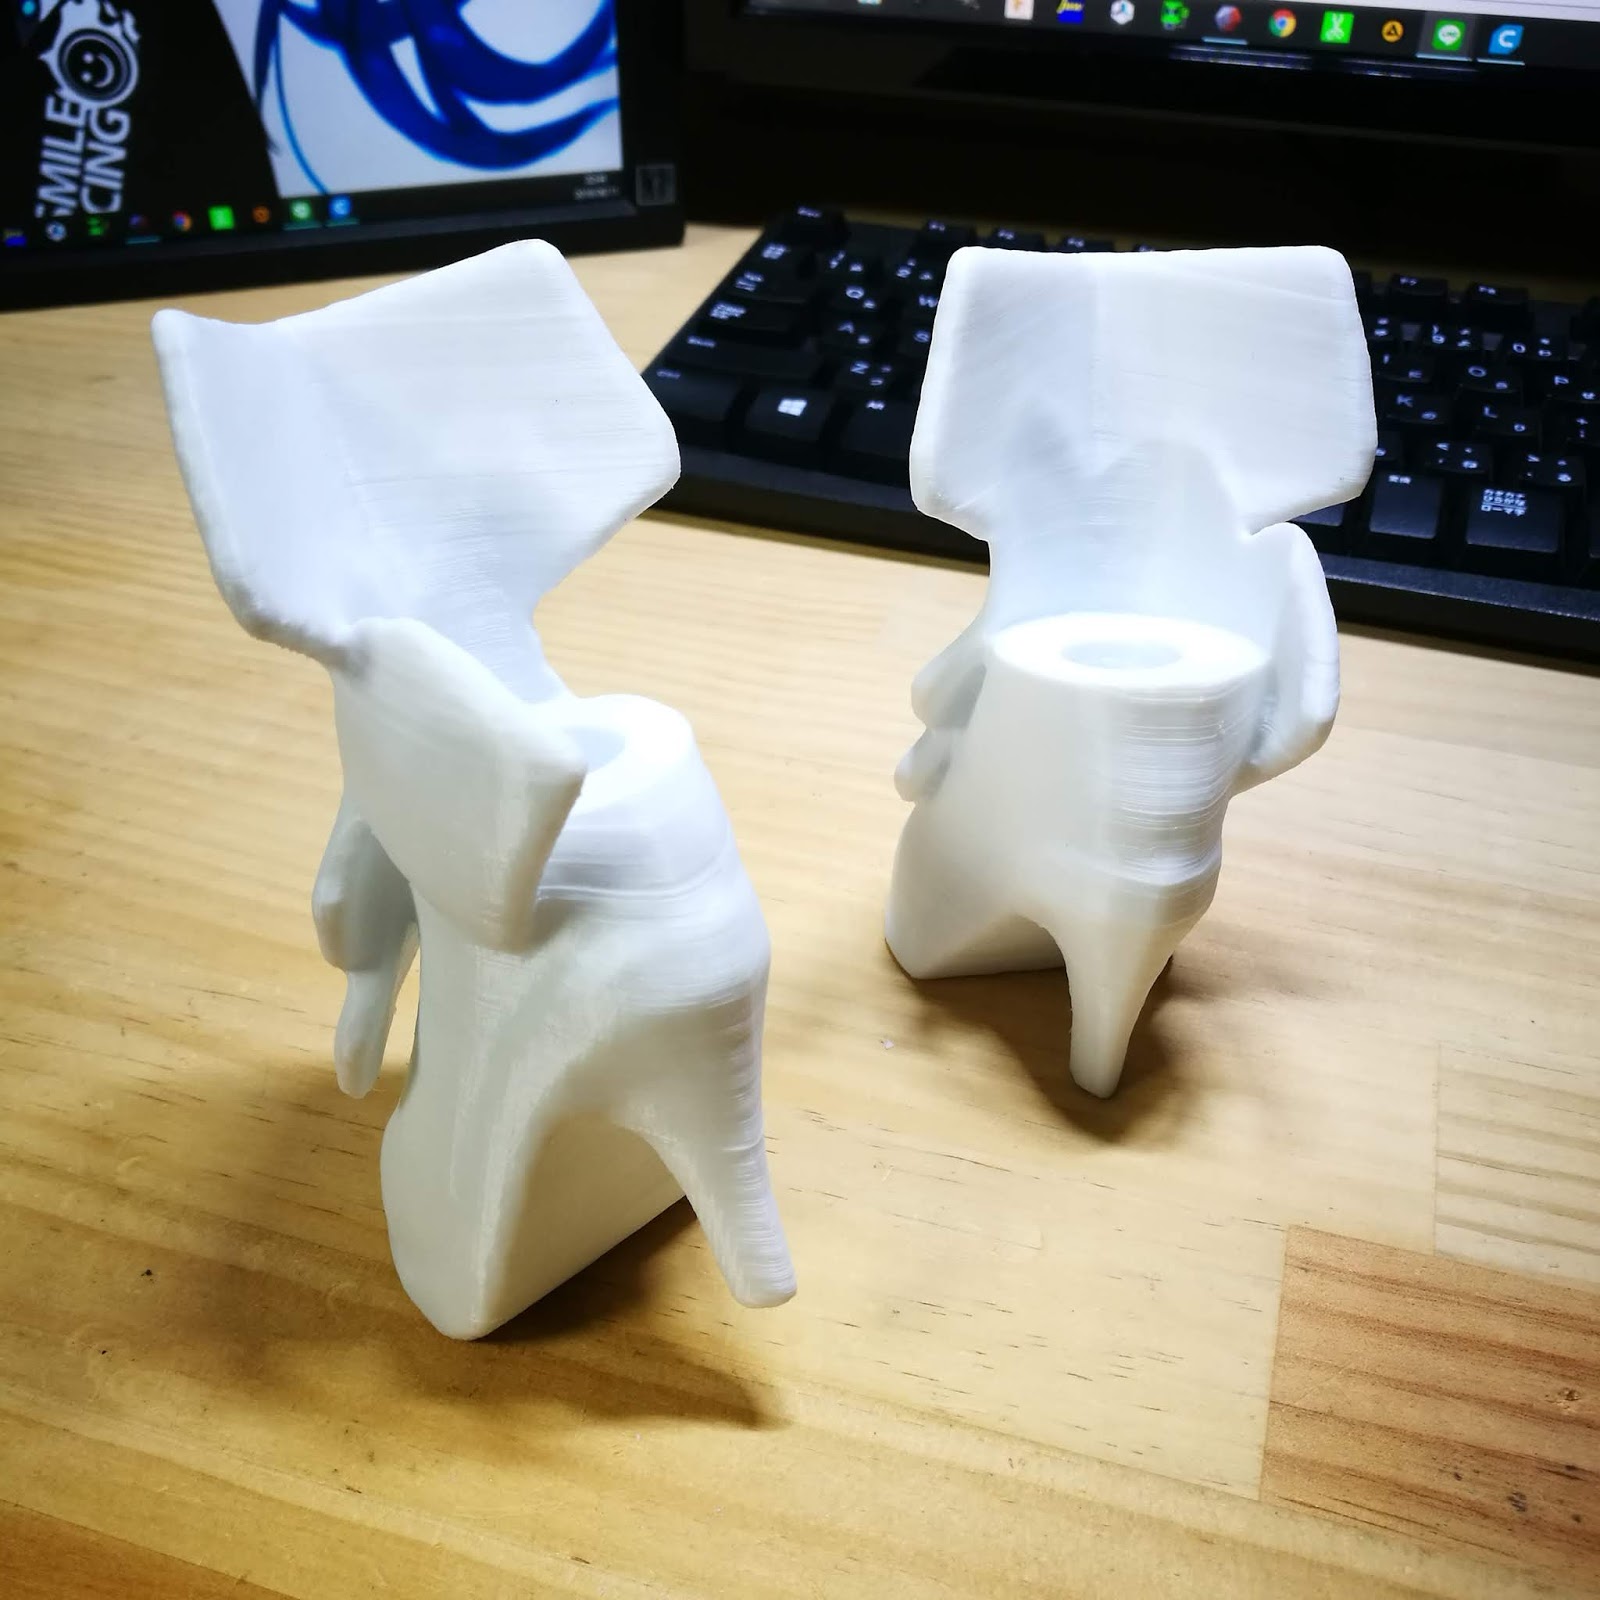
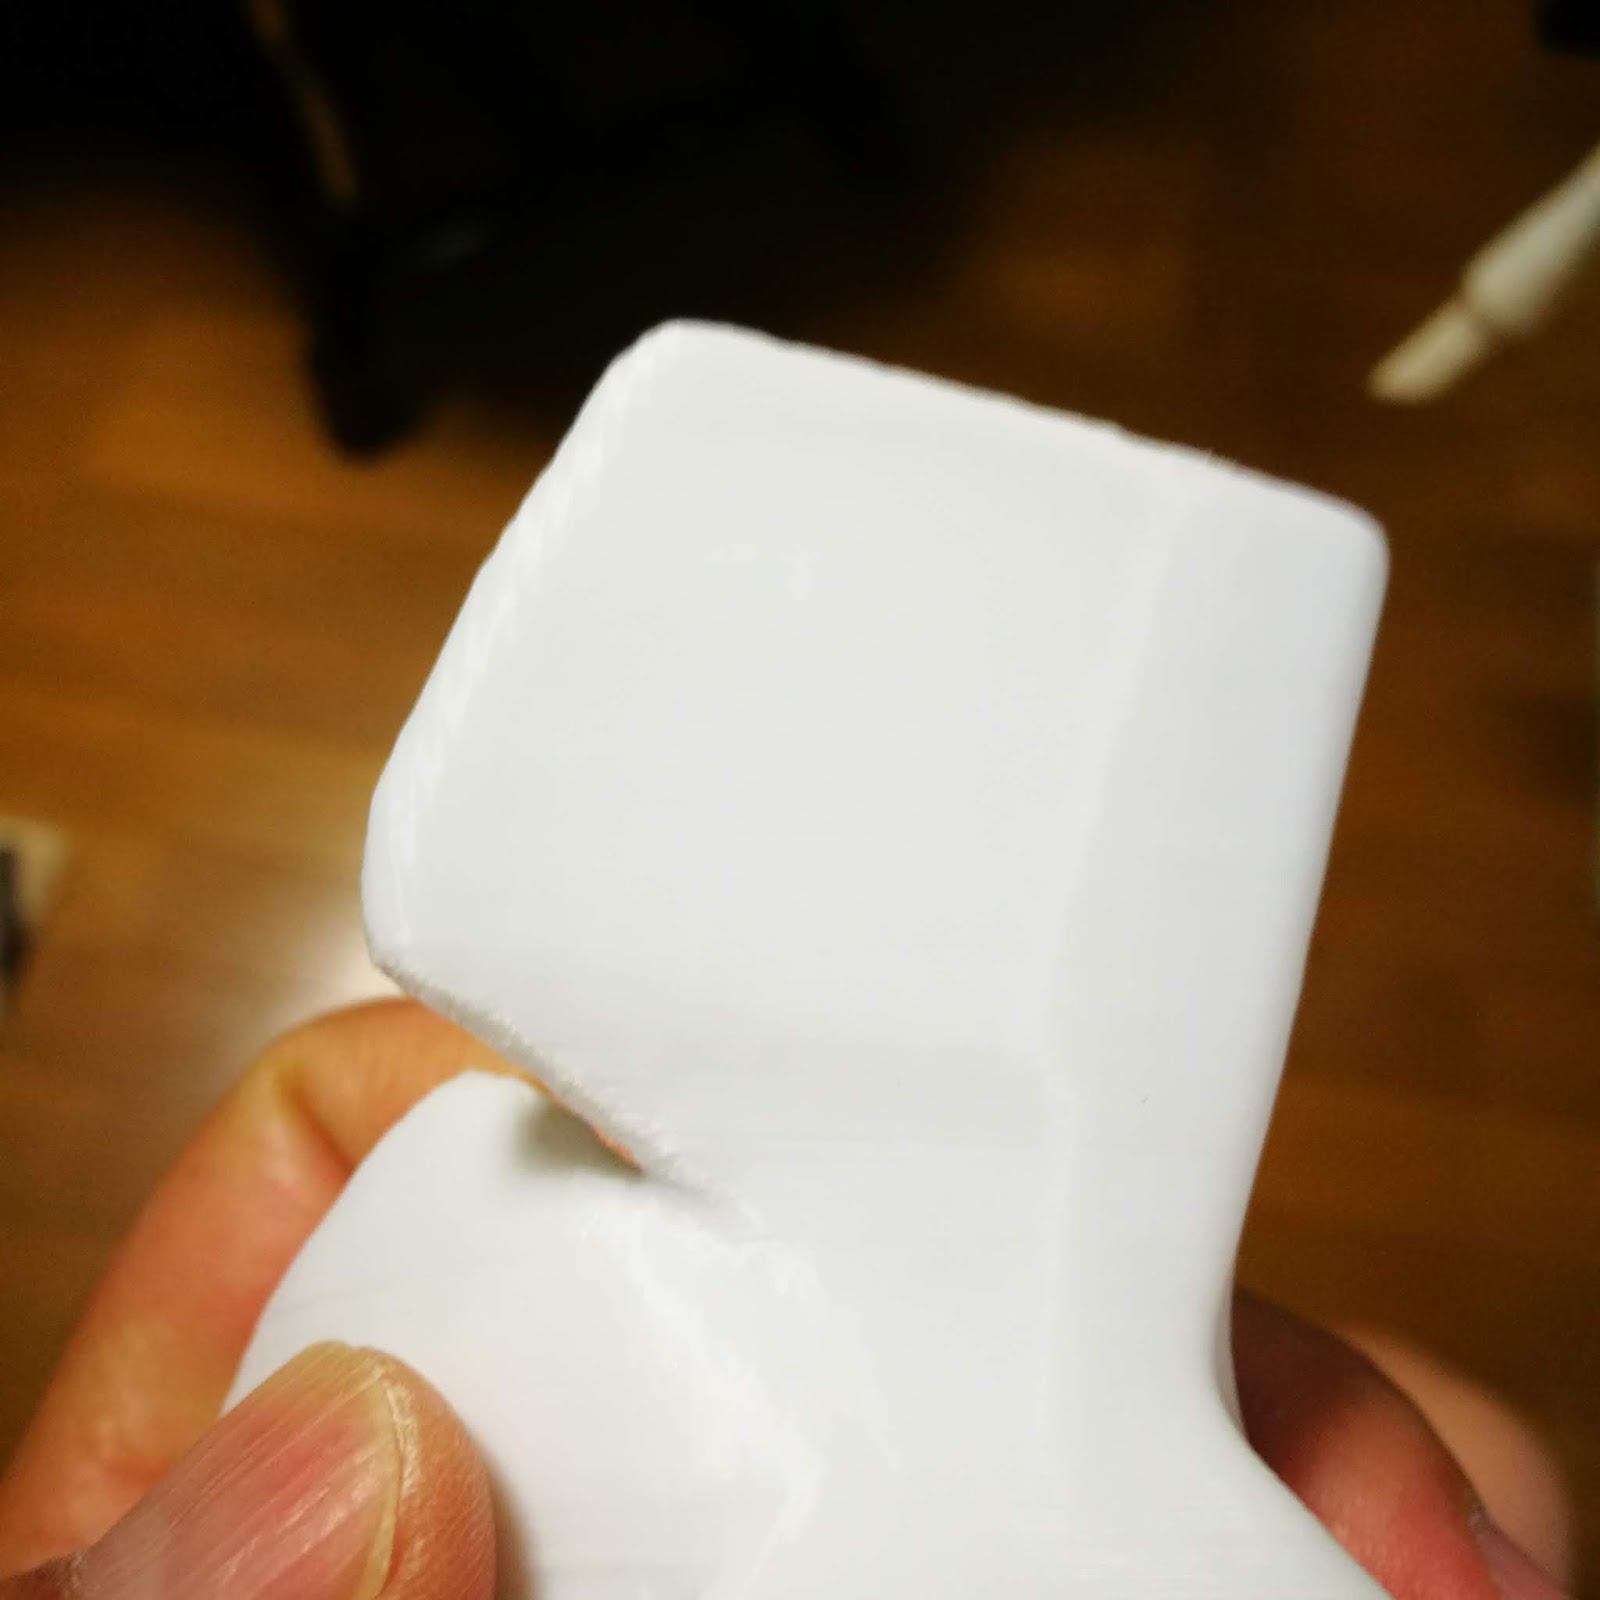
サポート材をとって完成。分割しているのでサポート材が適切に入れられます。結果出力はこのようにきれいにできます。
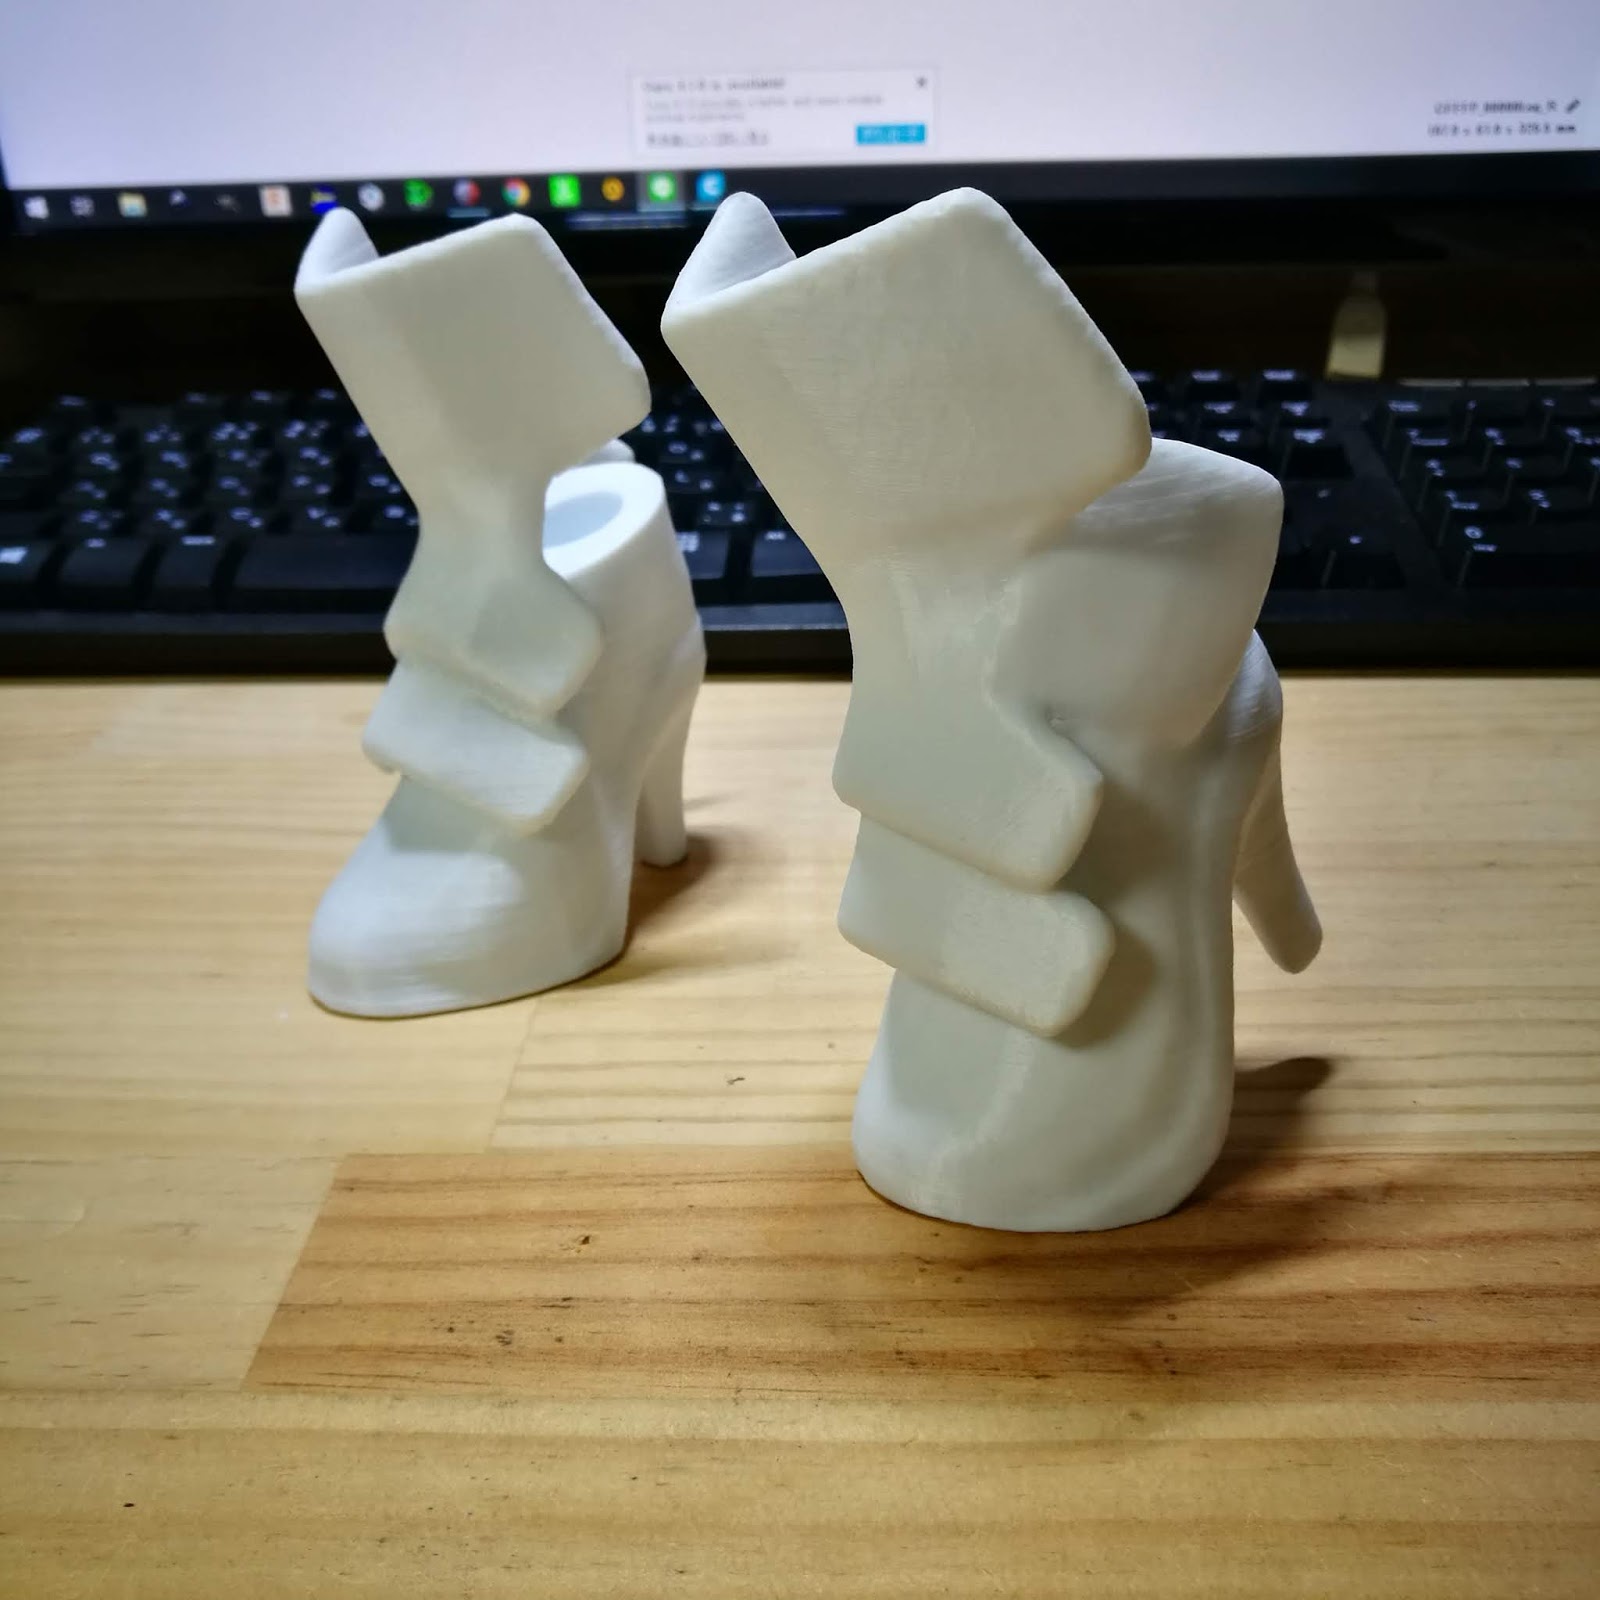
素晴らしい出来だと思います。真ん中の穴は位置出しと接続のためのもの。
0.1mmの積層痕ははっきりと見えますが、スケールが大きいので全く気になりません。
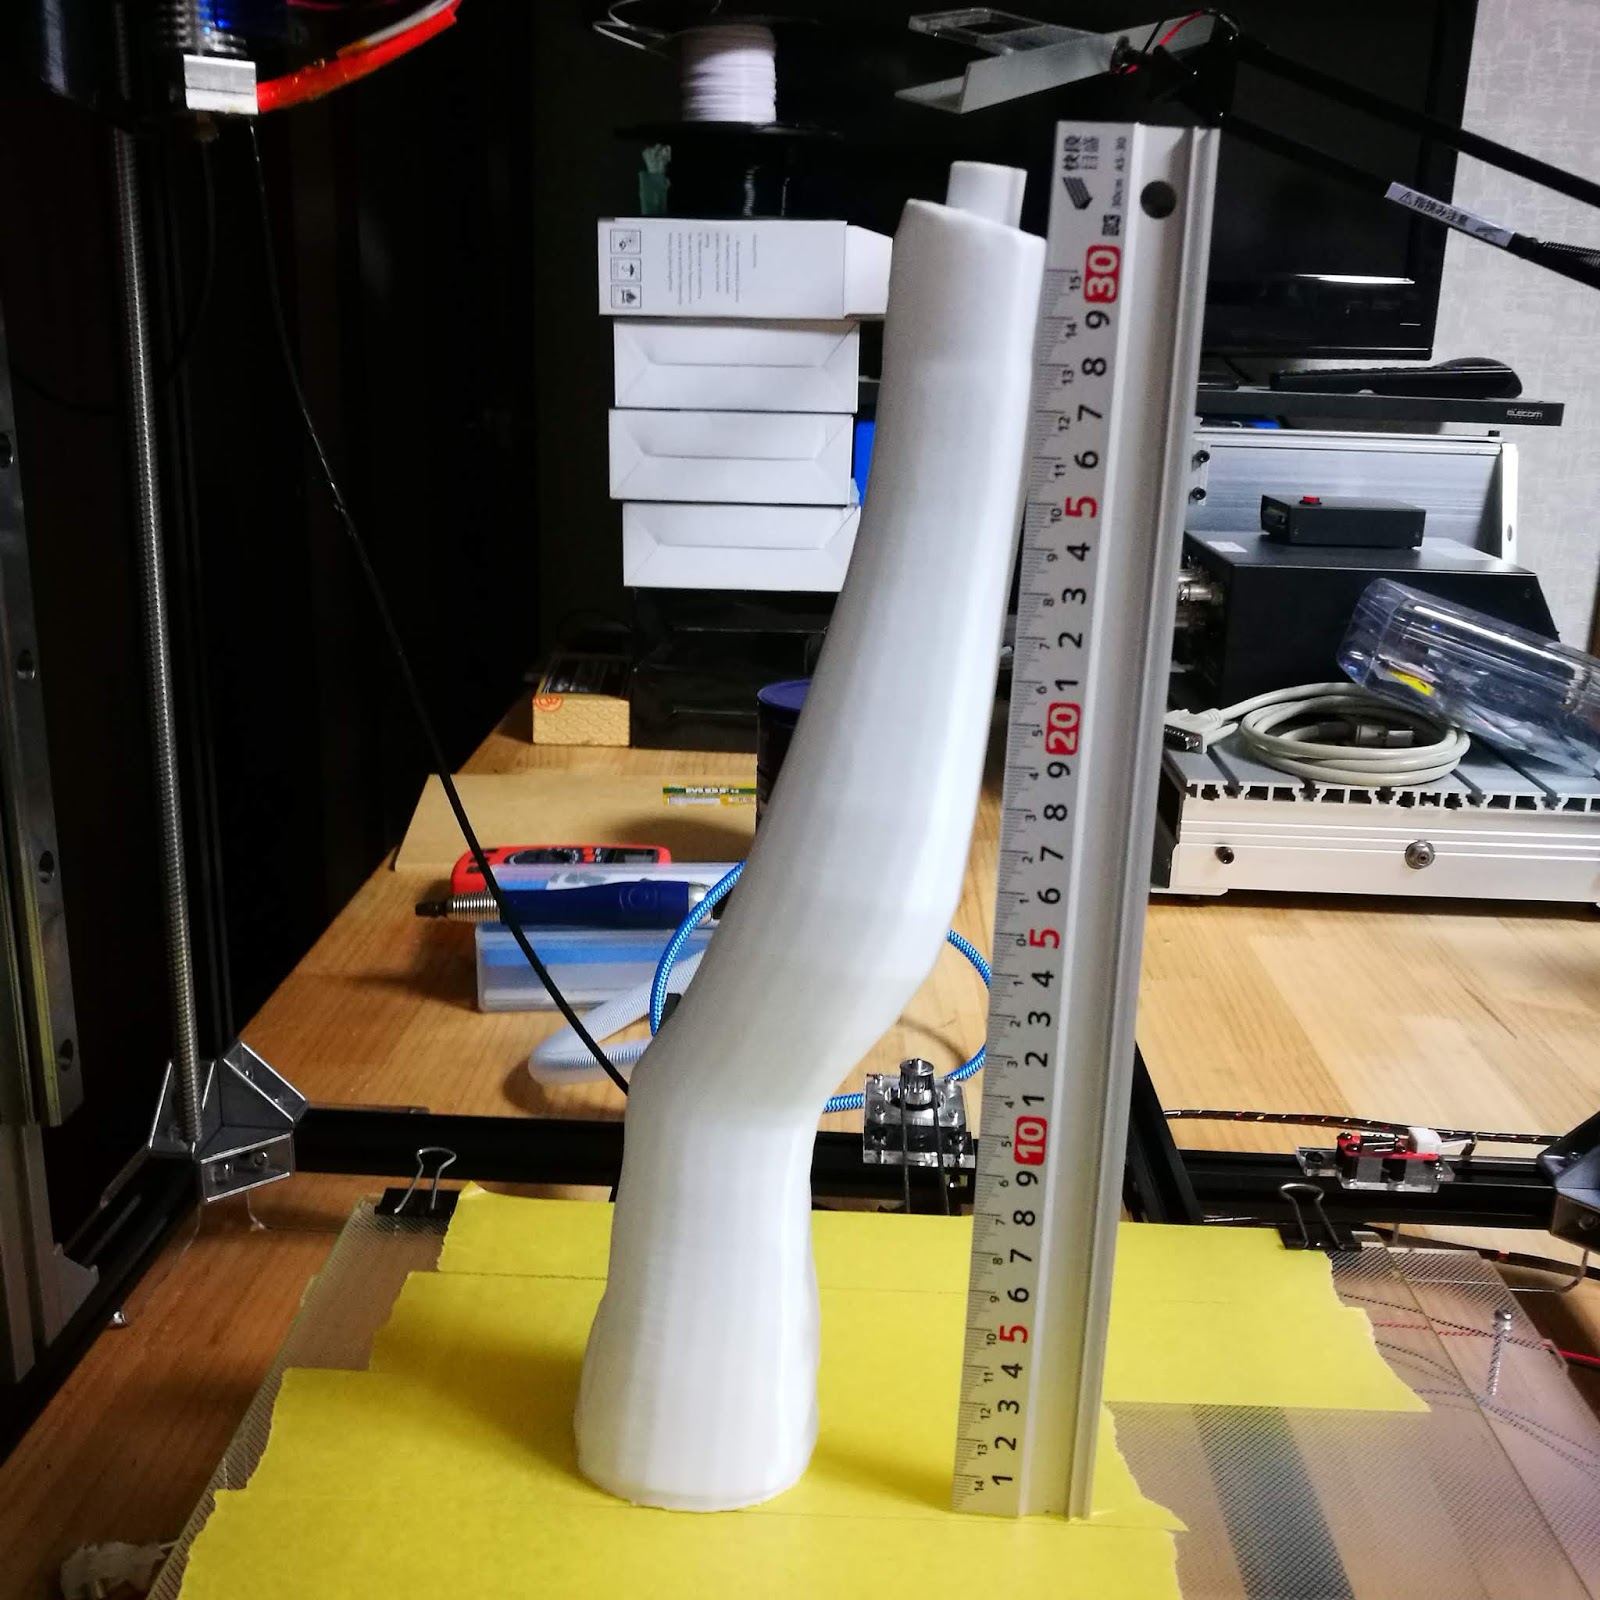
右足。
高さ30cm以上あります。既製品ではなかなかできないサイズでしょう。この自作プリンタの最大Zは35cm以上ありますので楽勝です。
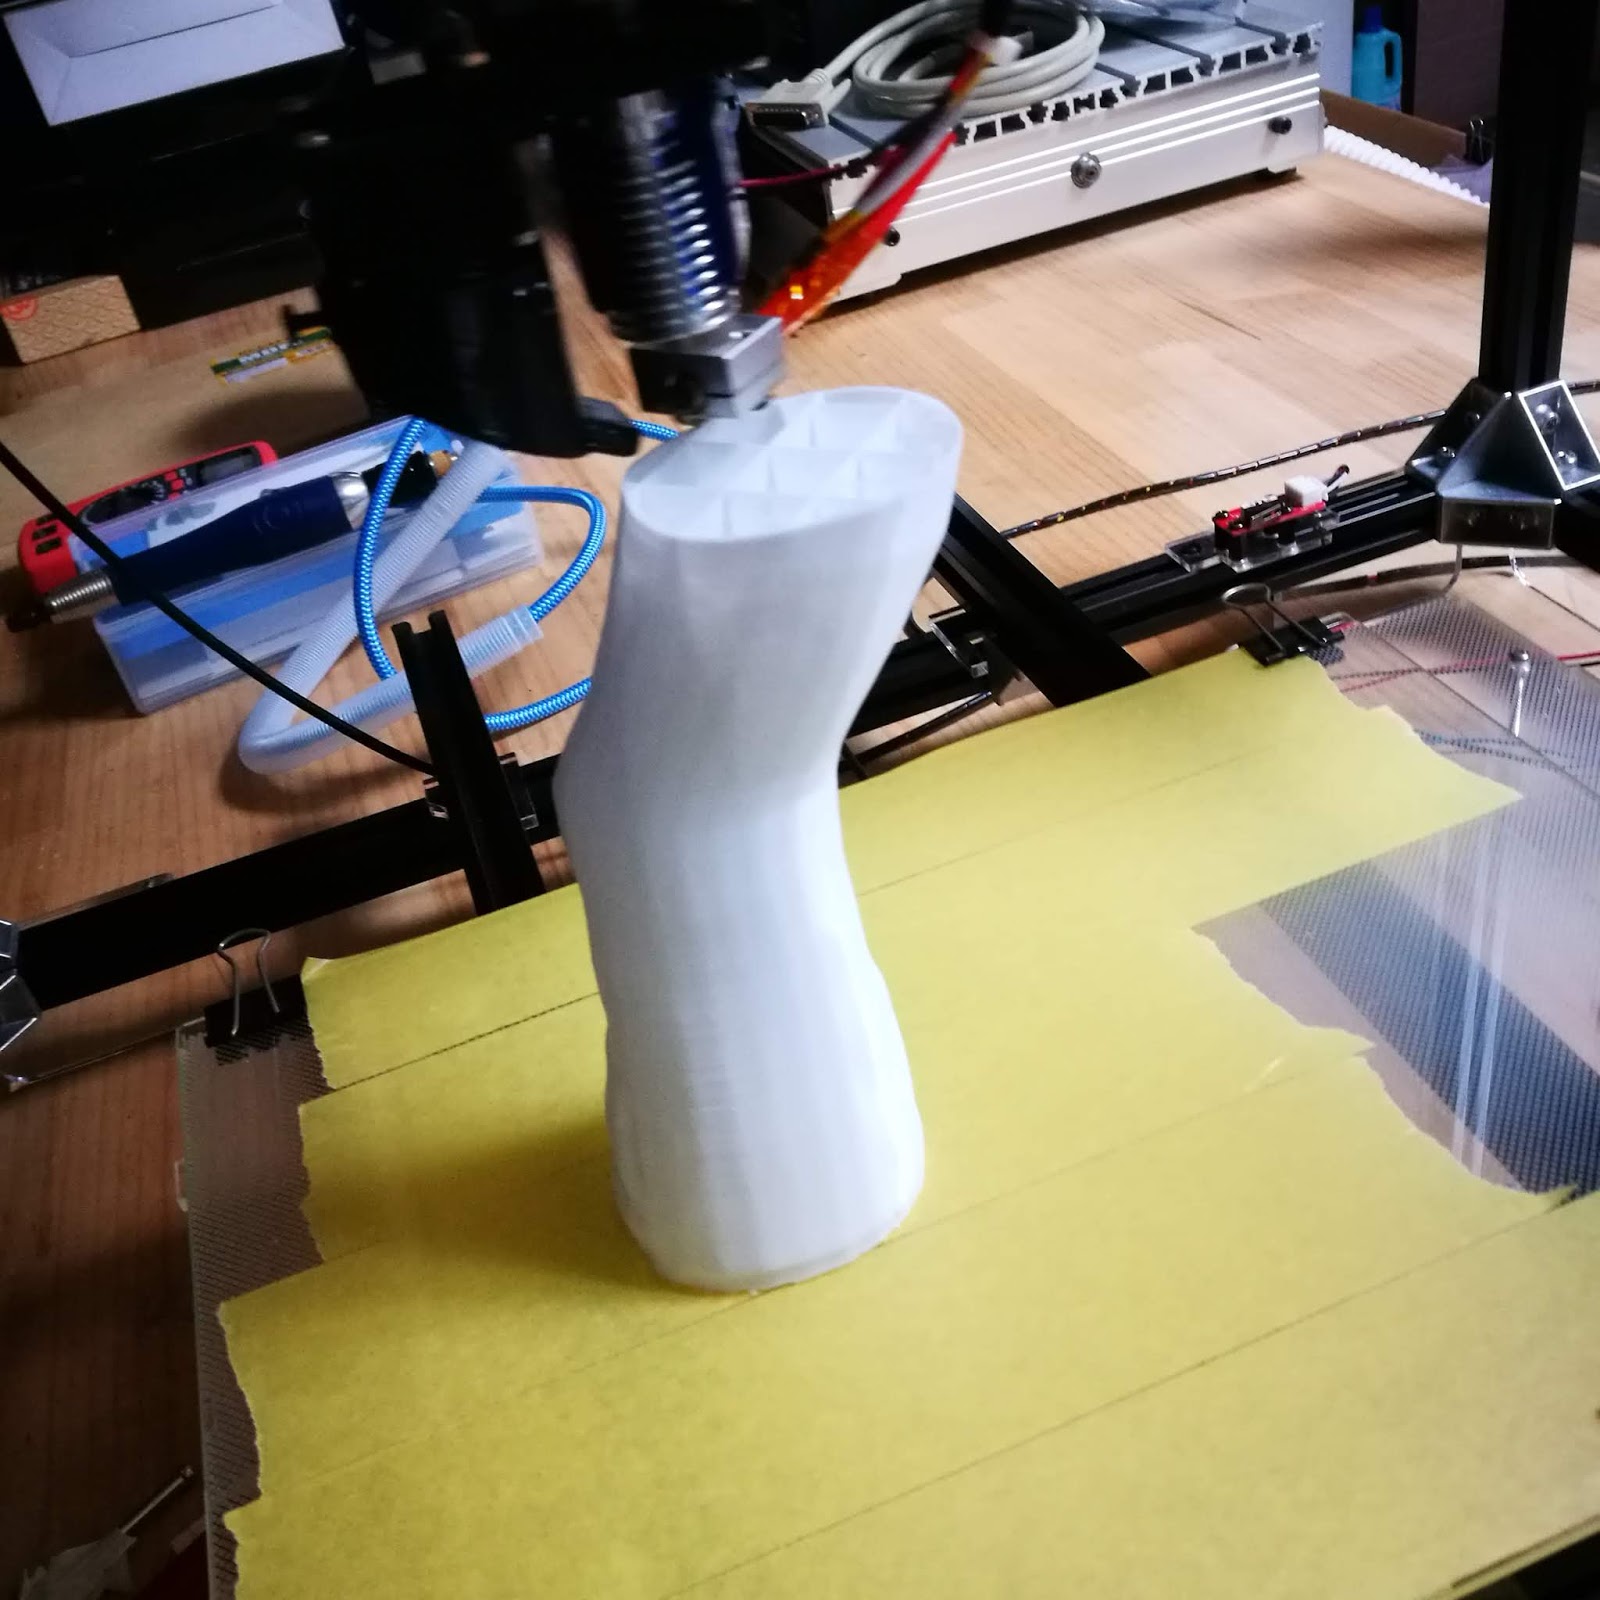
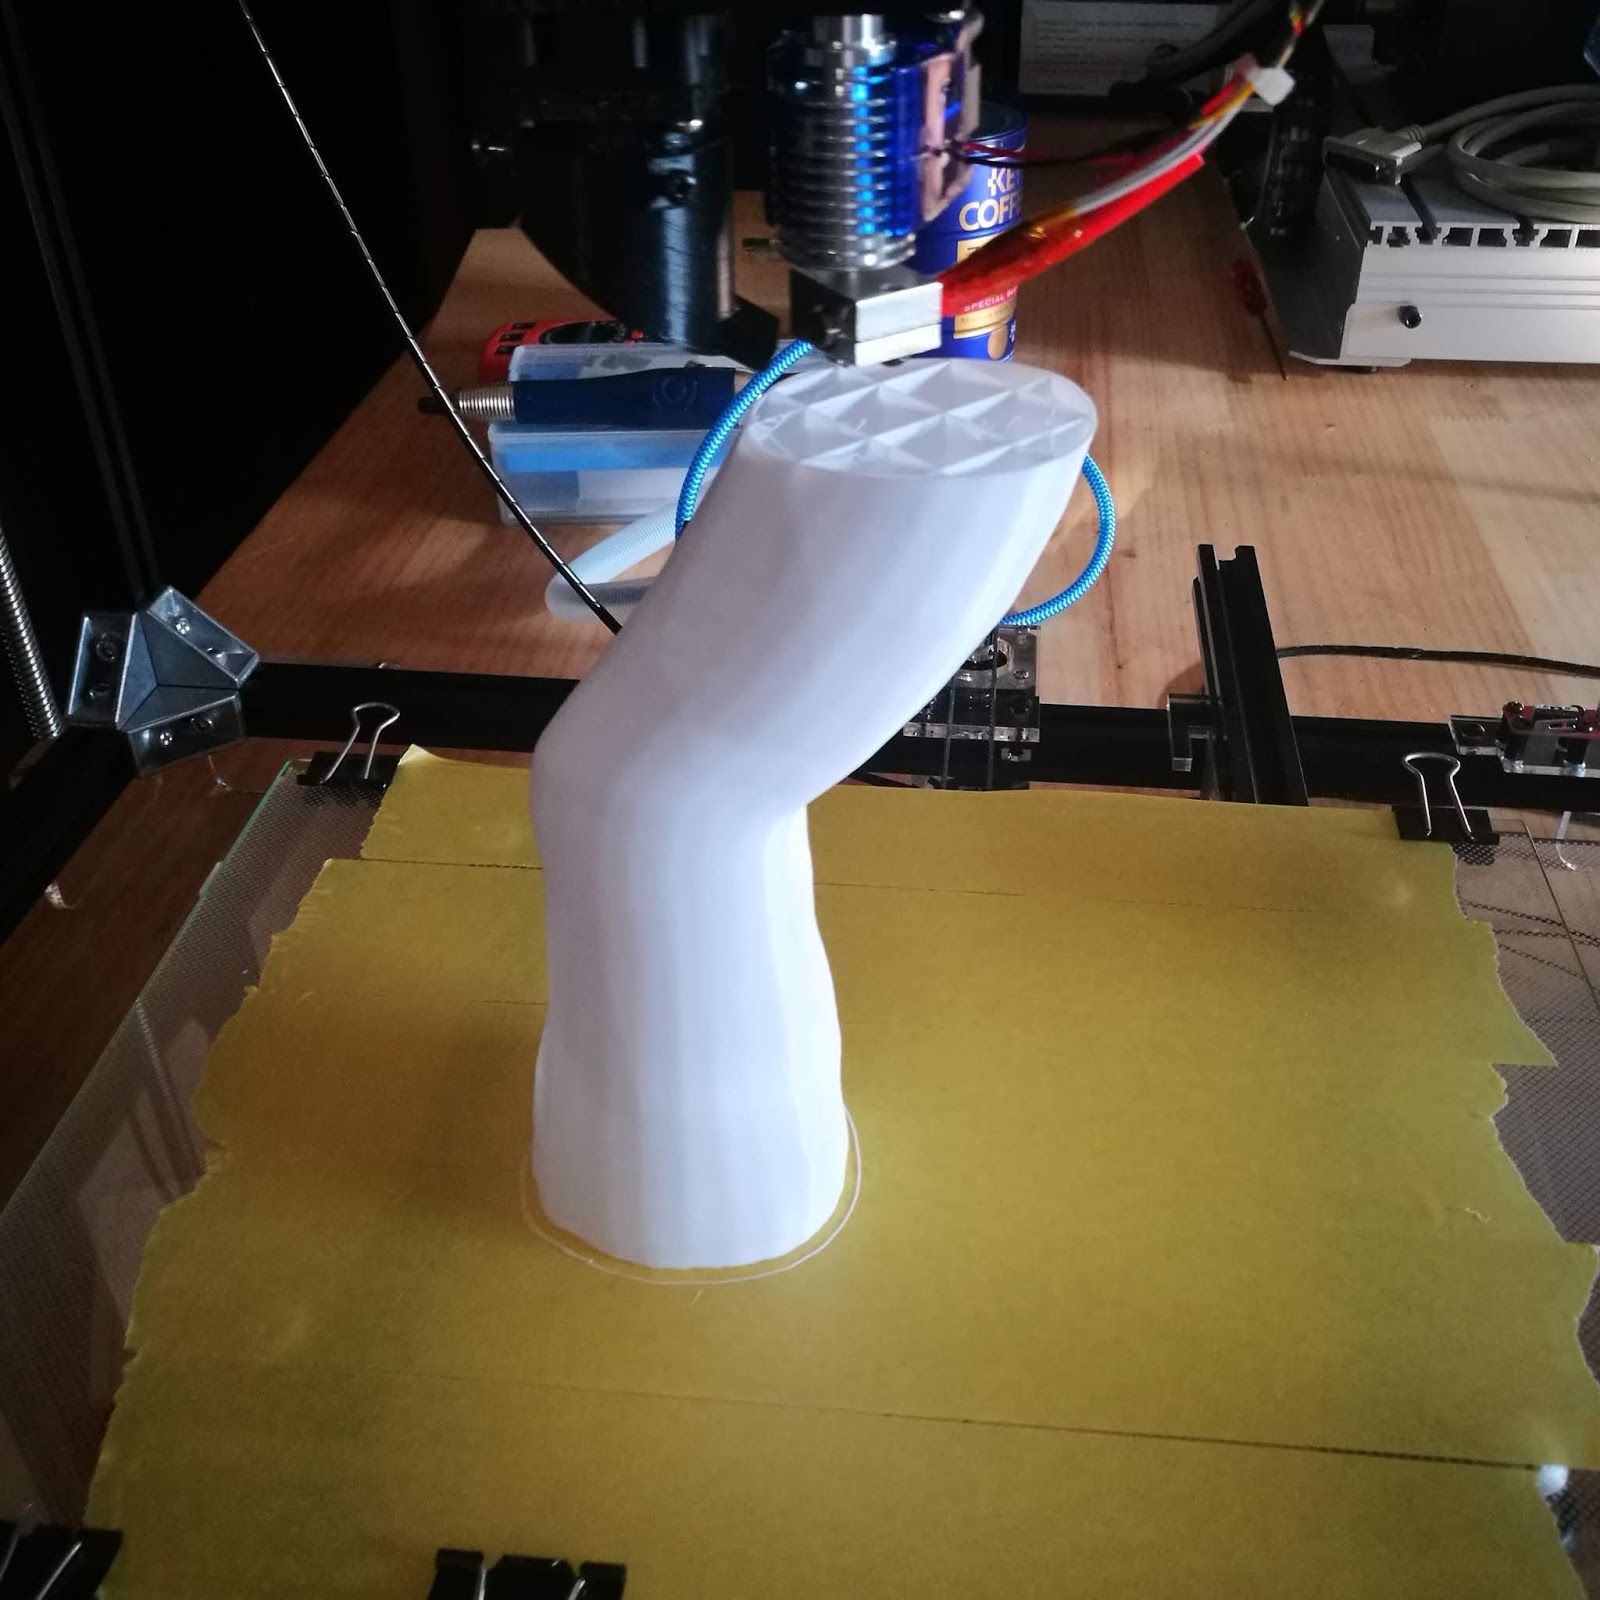
出来ました。
ええ感じです。樹脂のダマも全くありません。ノーミスです。

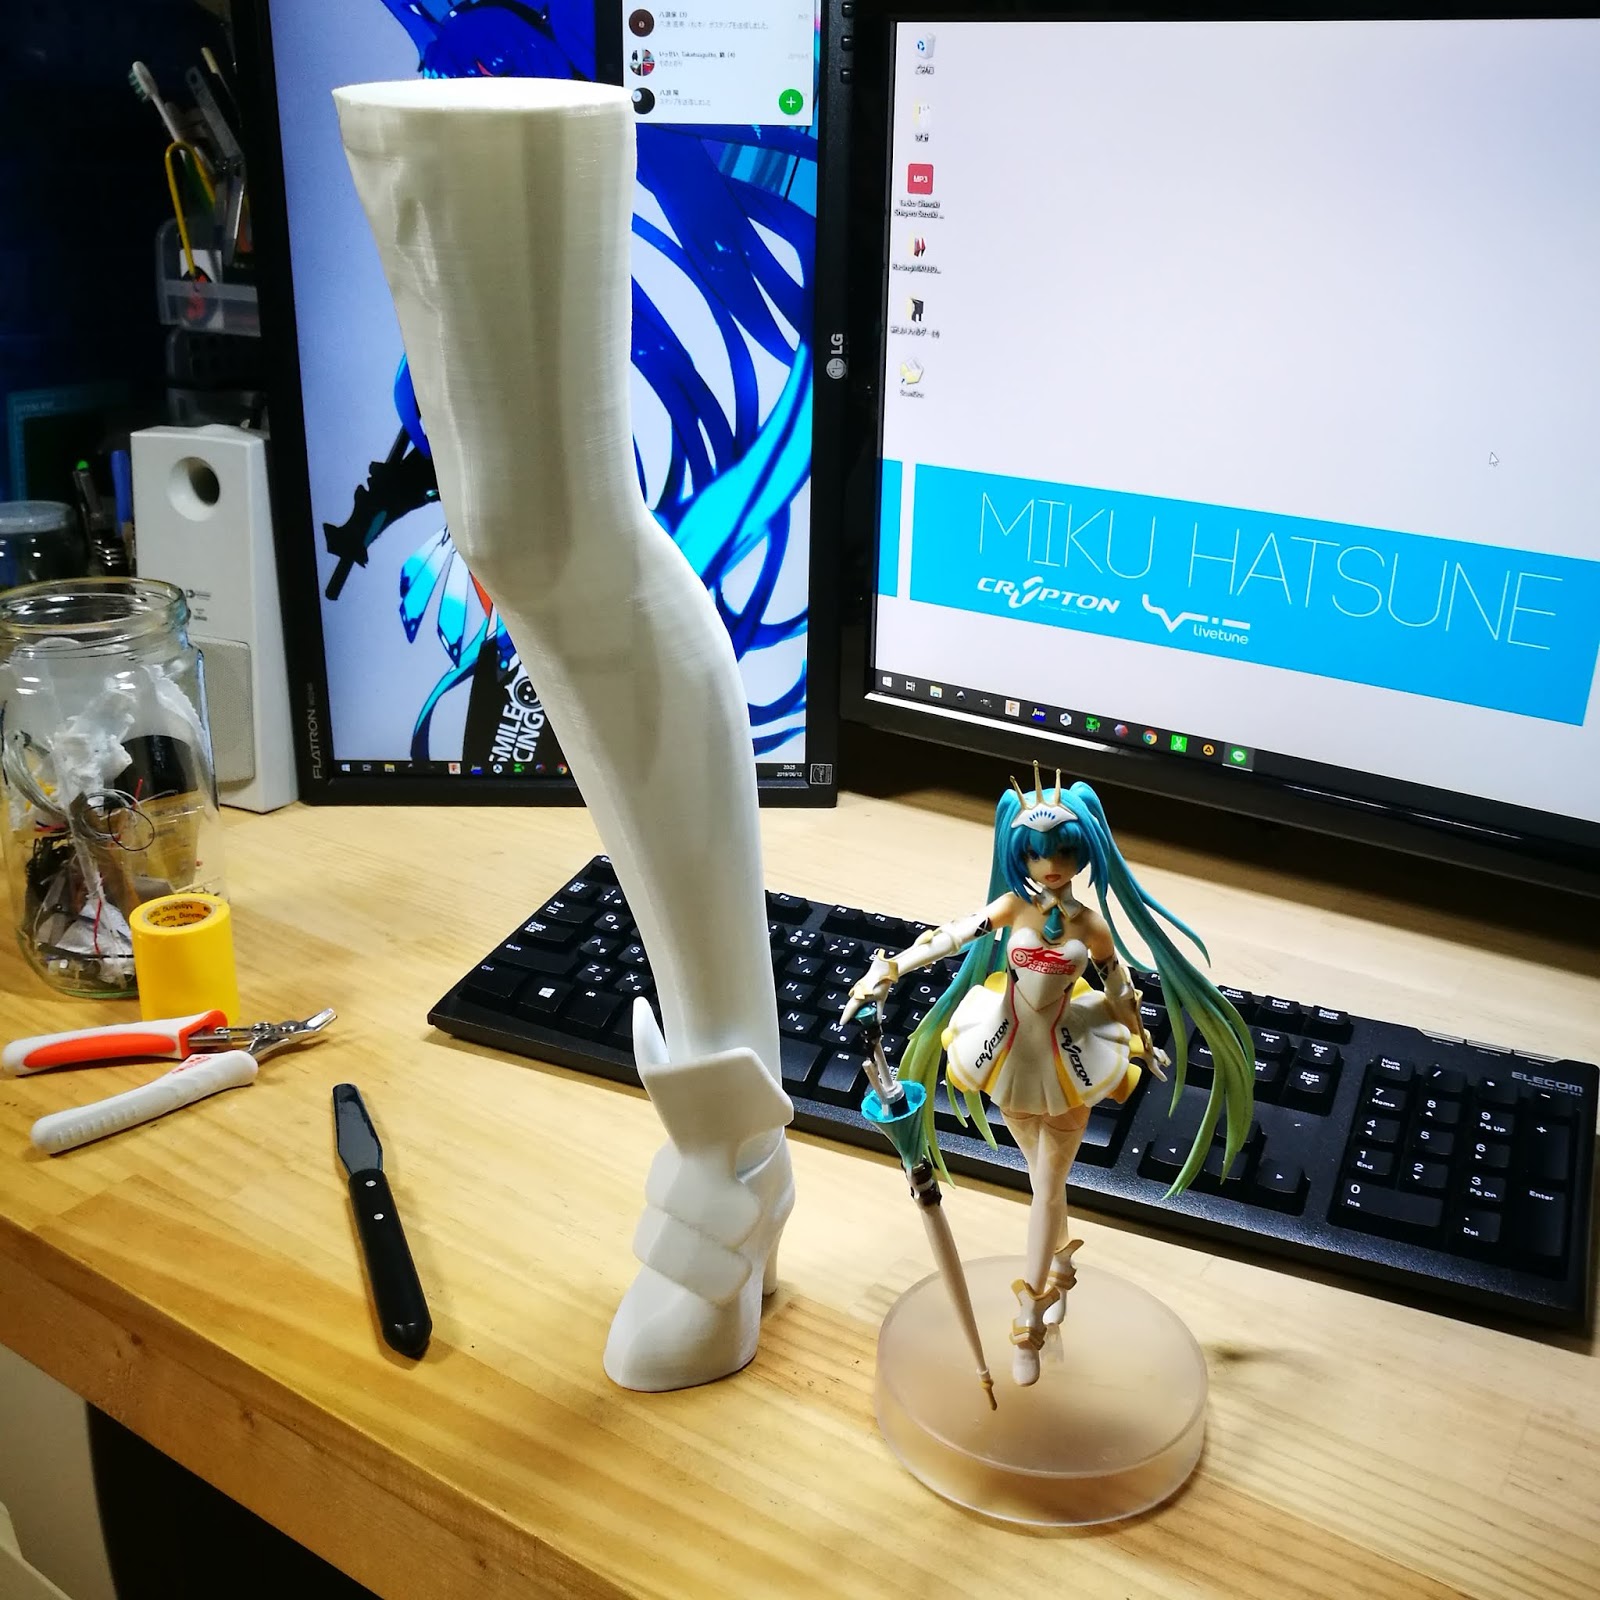
靴と組み合わせてみます。
で…でかい。1/2だし、全高800mm以上になりますのででかくて当たり前なんですが、実際に出力して目の前に置くとすごい存在感です。これは楽しみ。
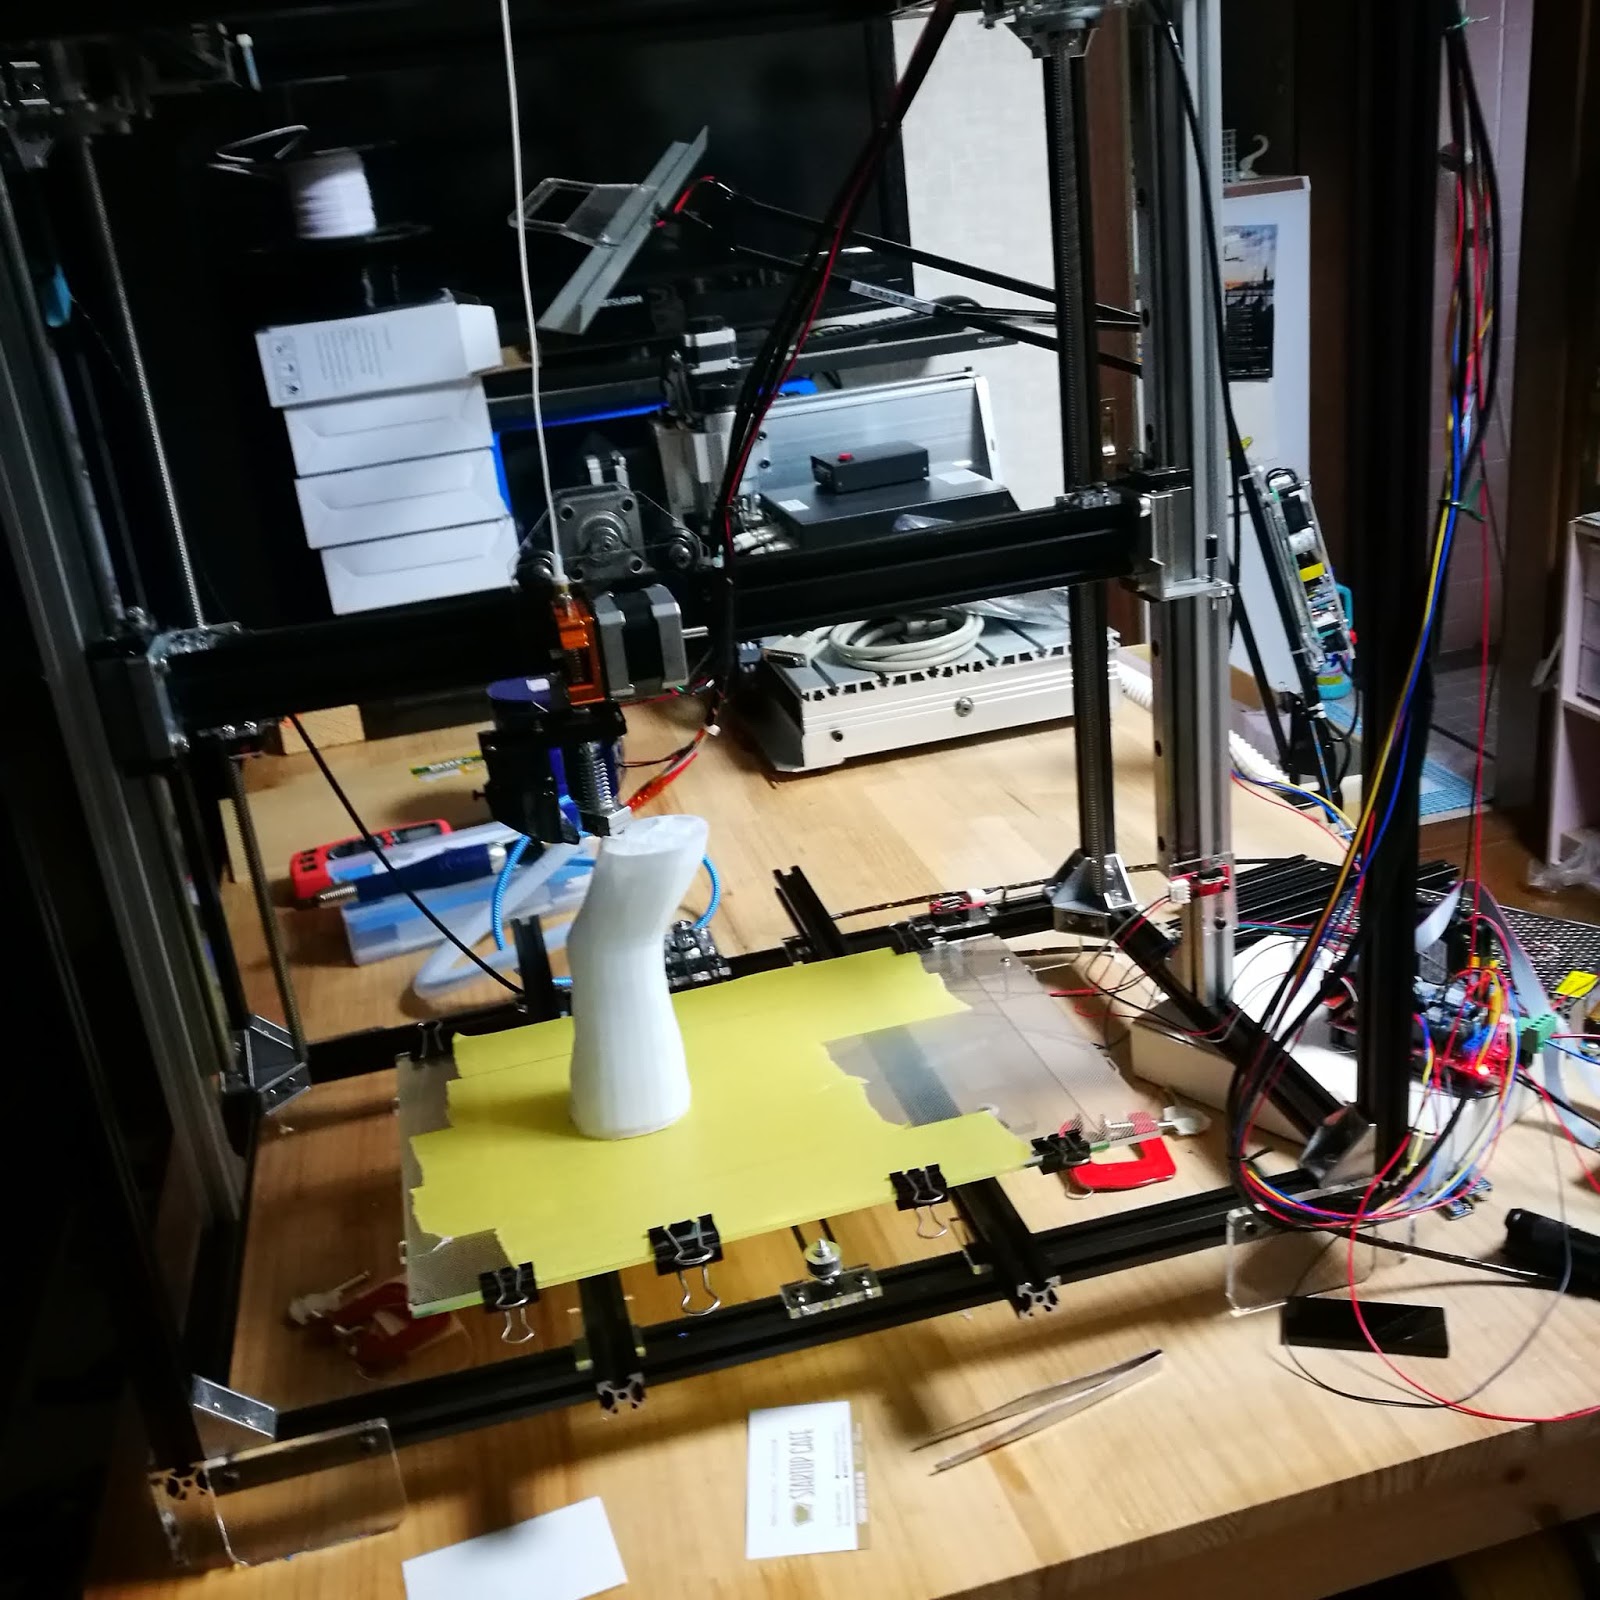
左足も一晩かけて出力。夜スタートして、
翌朝。
これは良い脚線美。
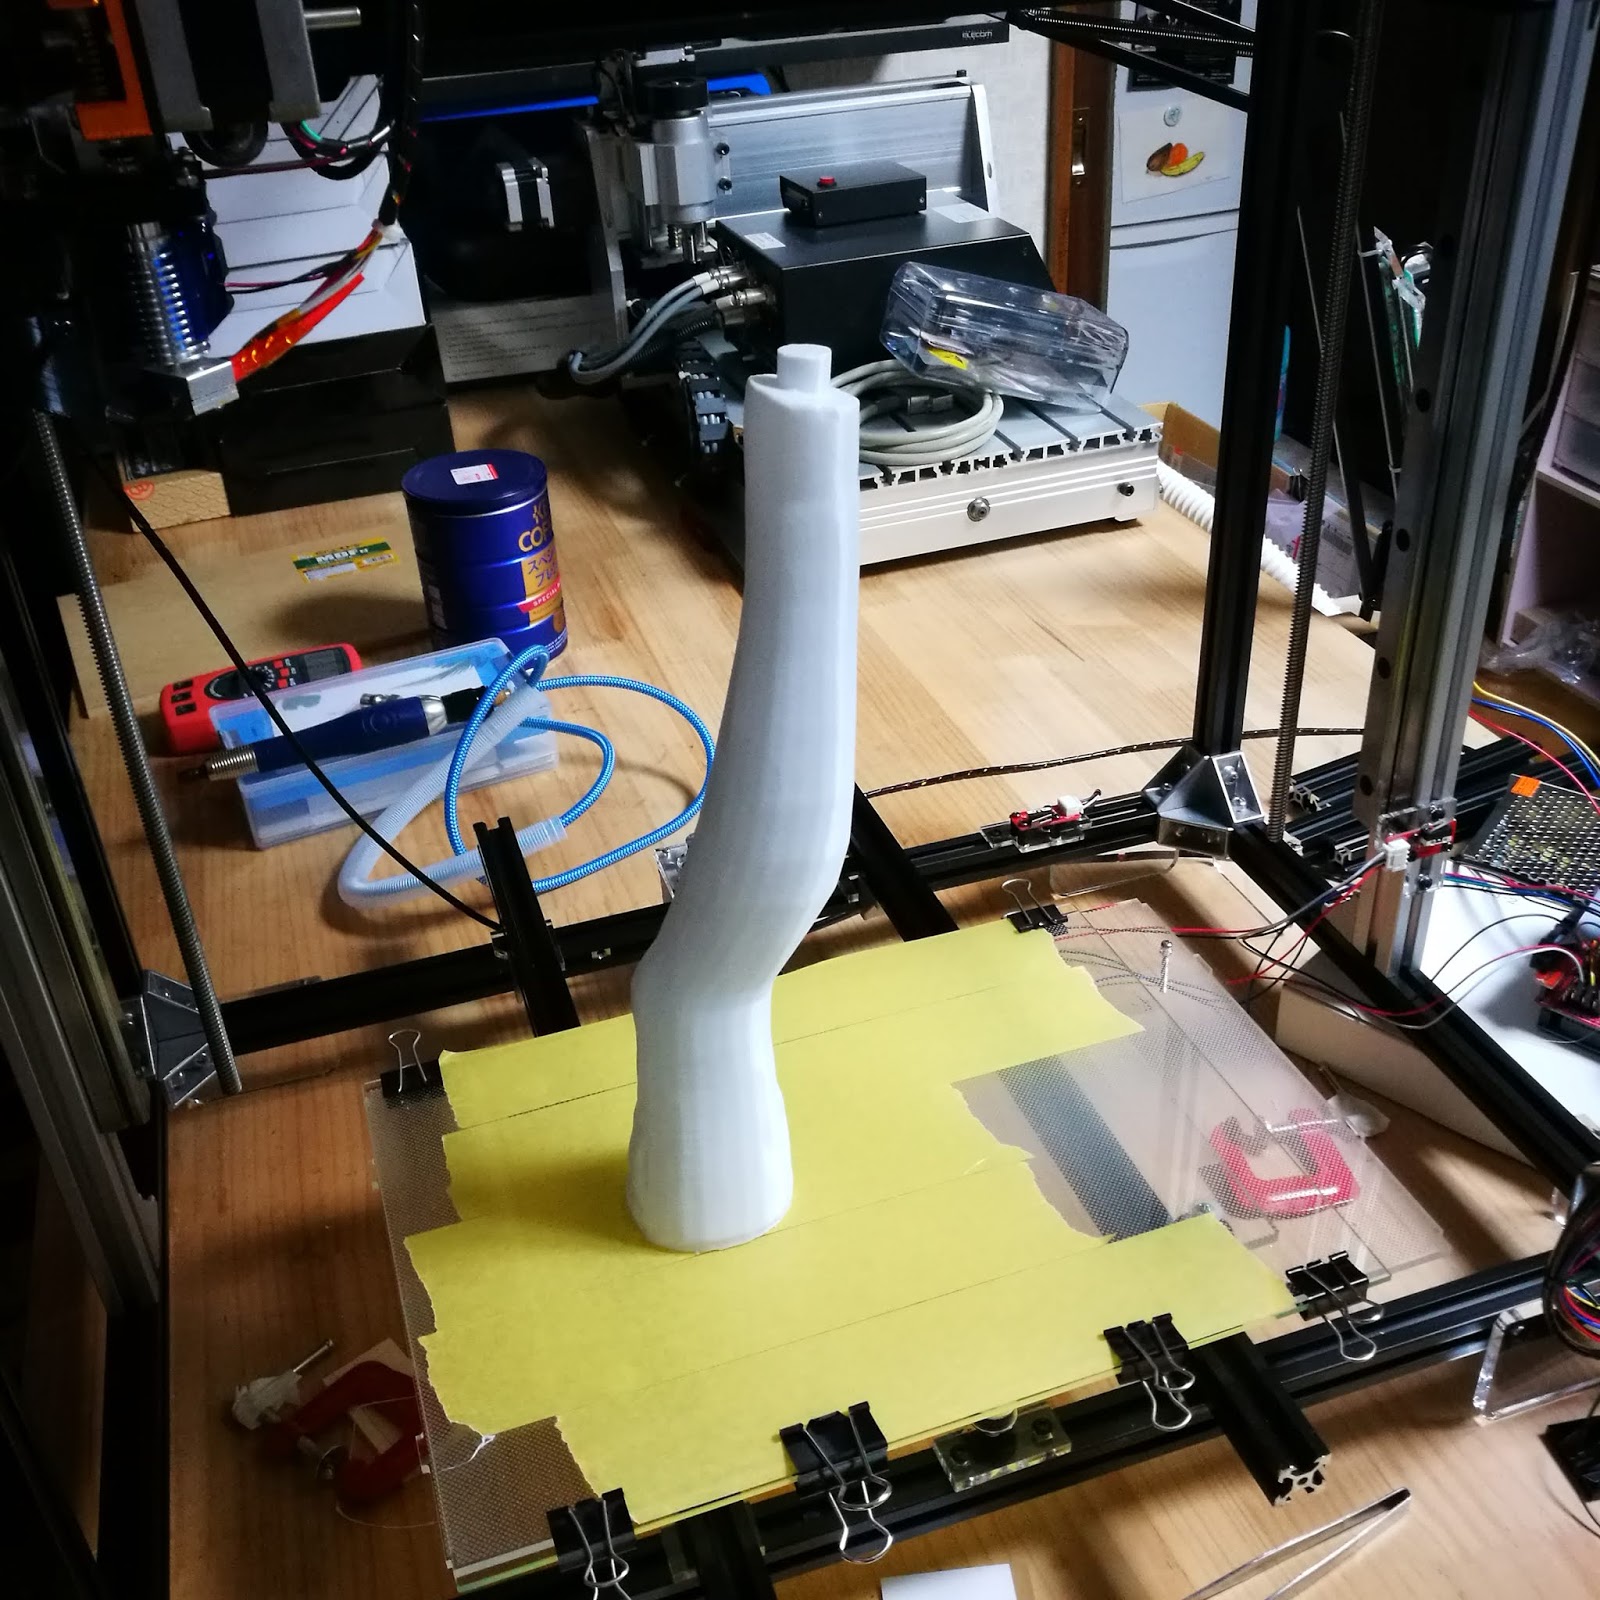
仕事から帰宅したら完成しています。
今回もノーミス。素晴らしい。
出来もうれしいですが、自作プリンタが長時間にわたって安定して動作していることが何よりもうれしいです。
外して、
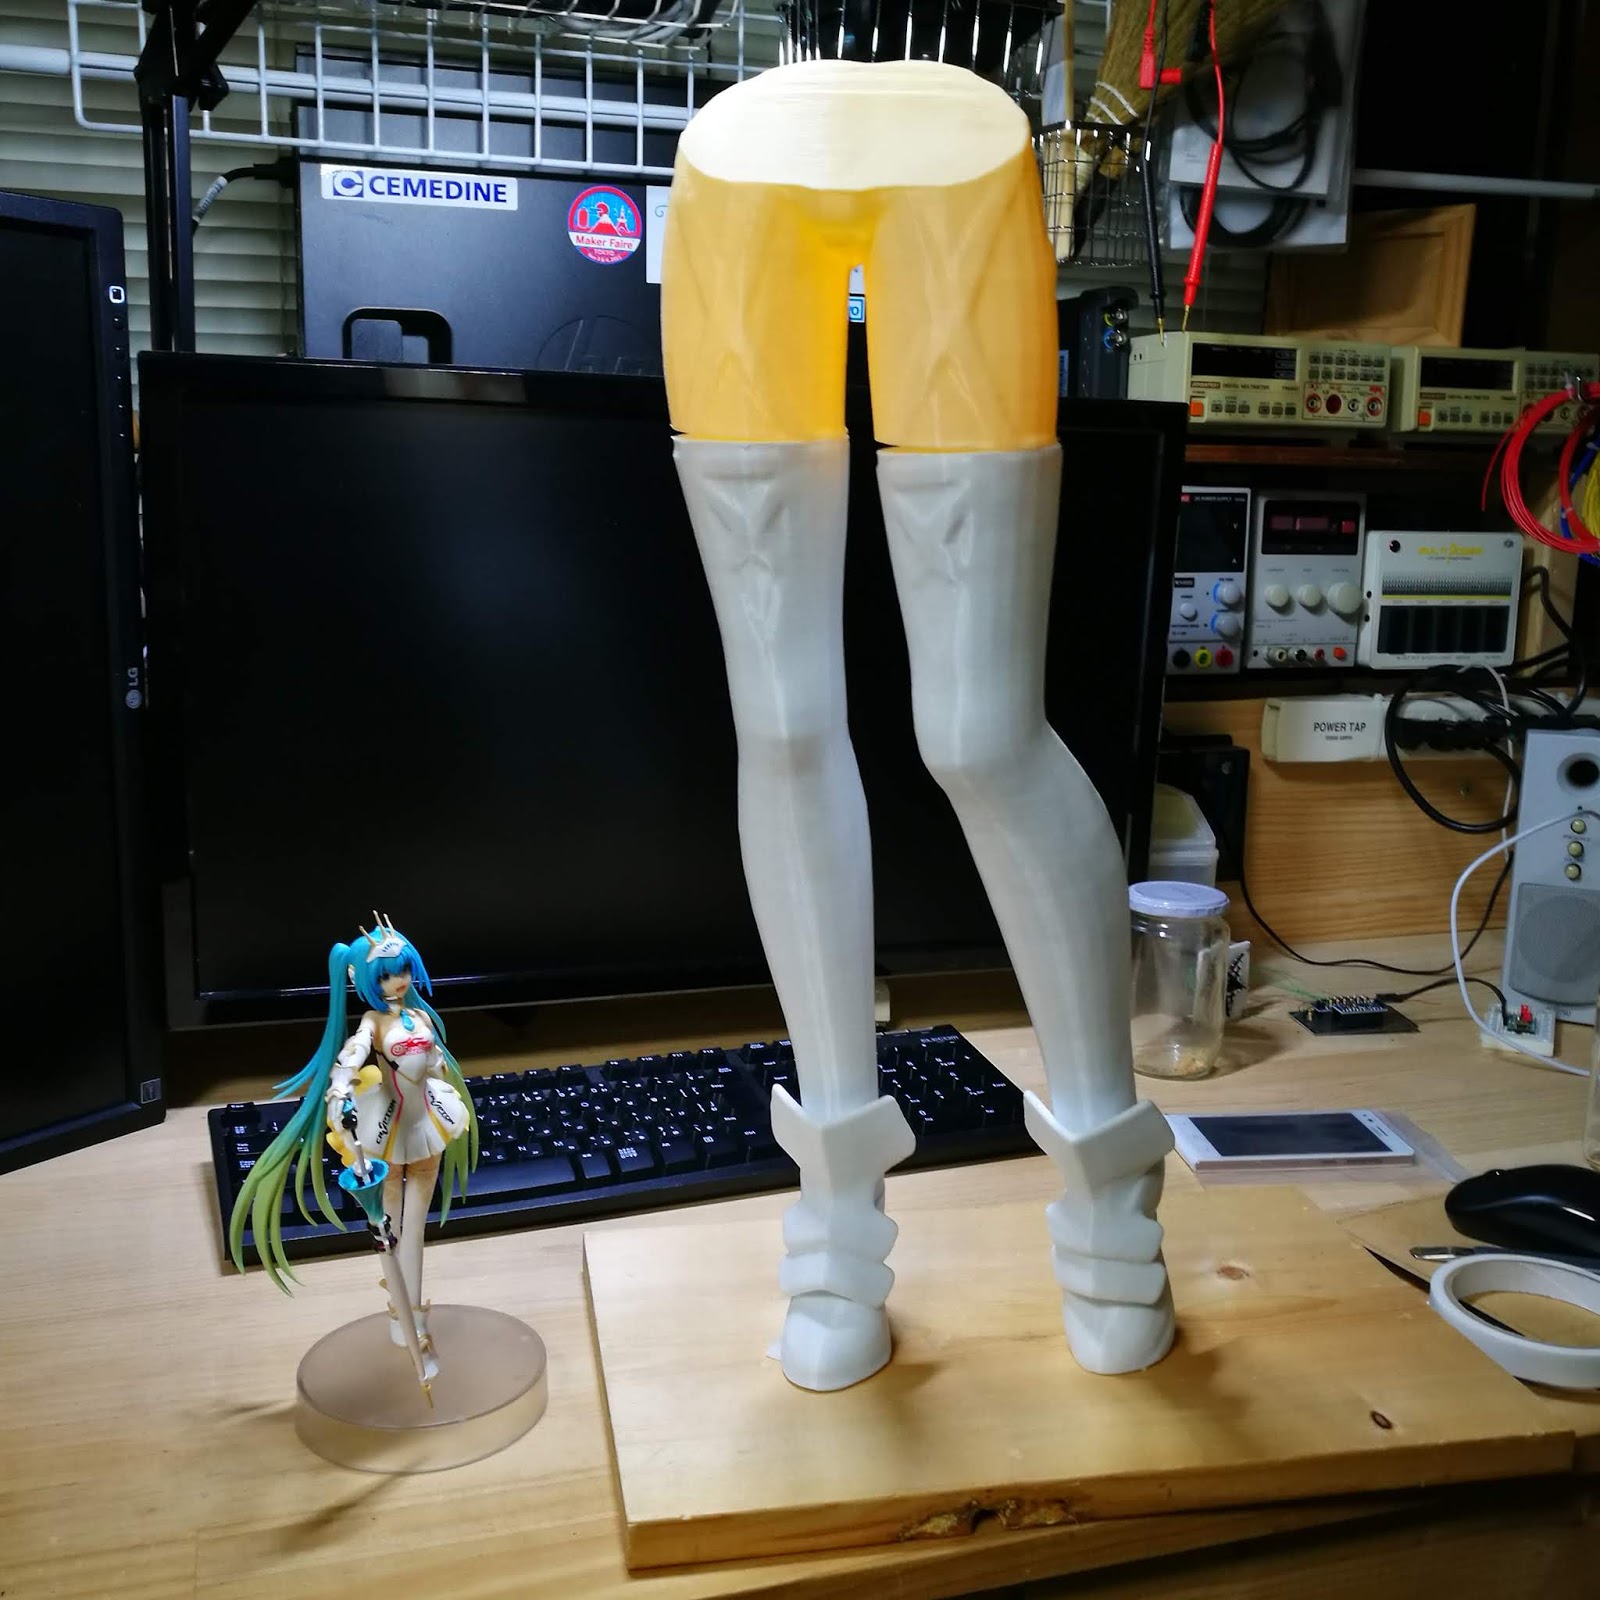
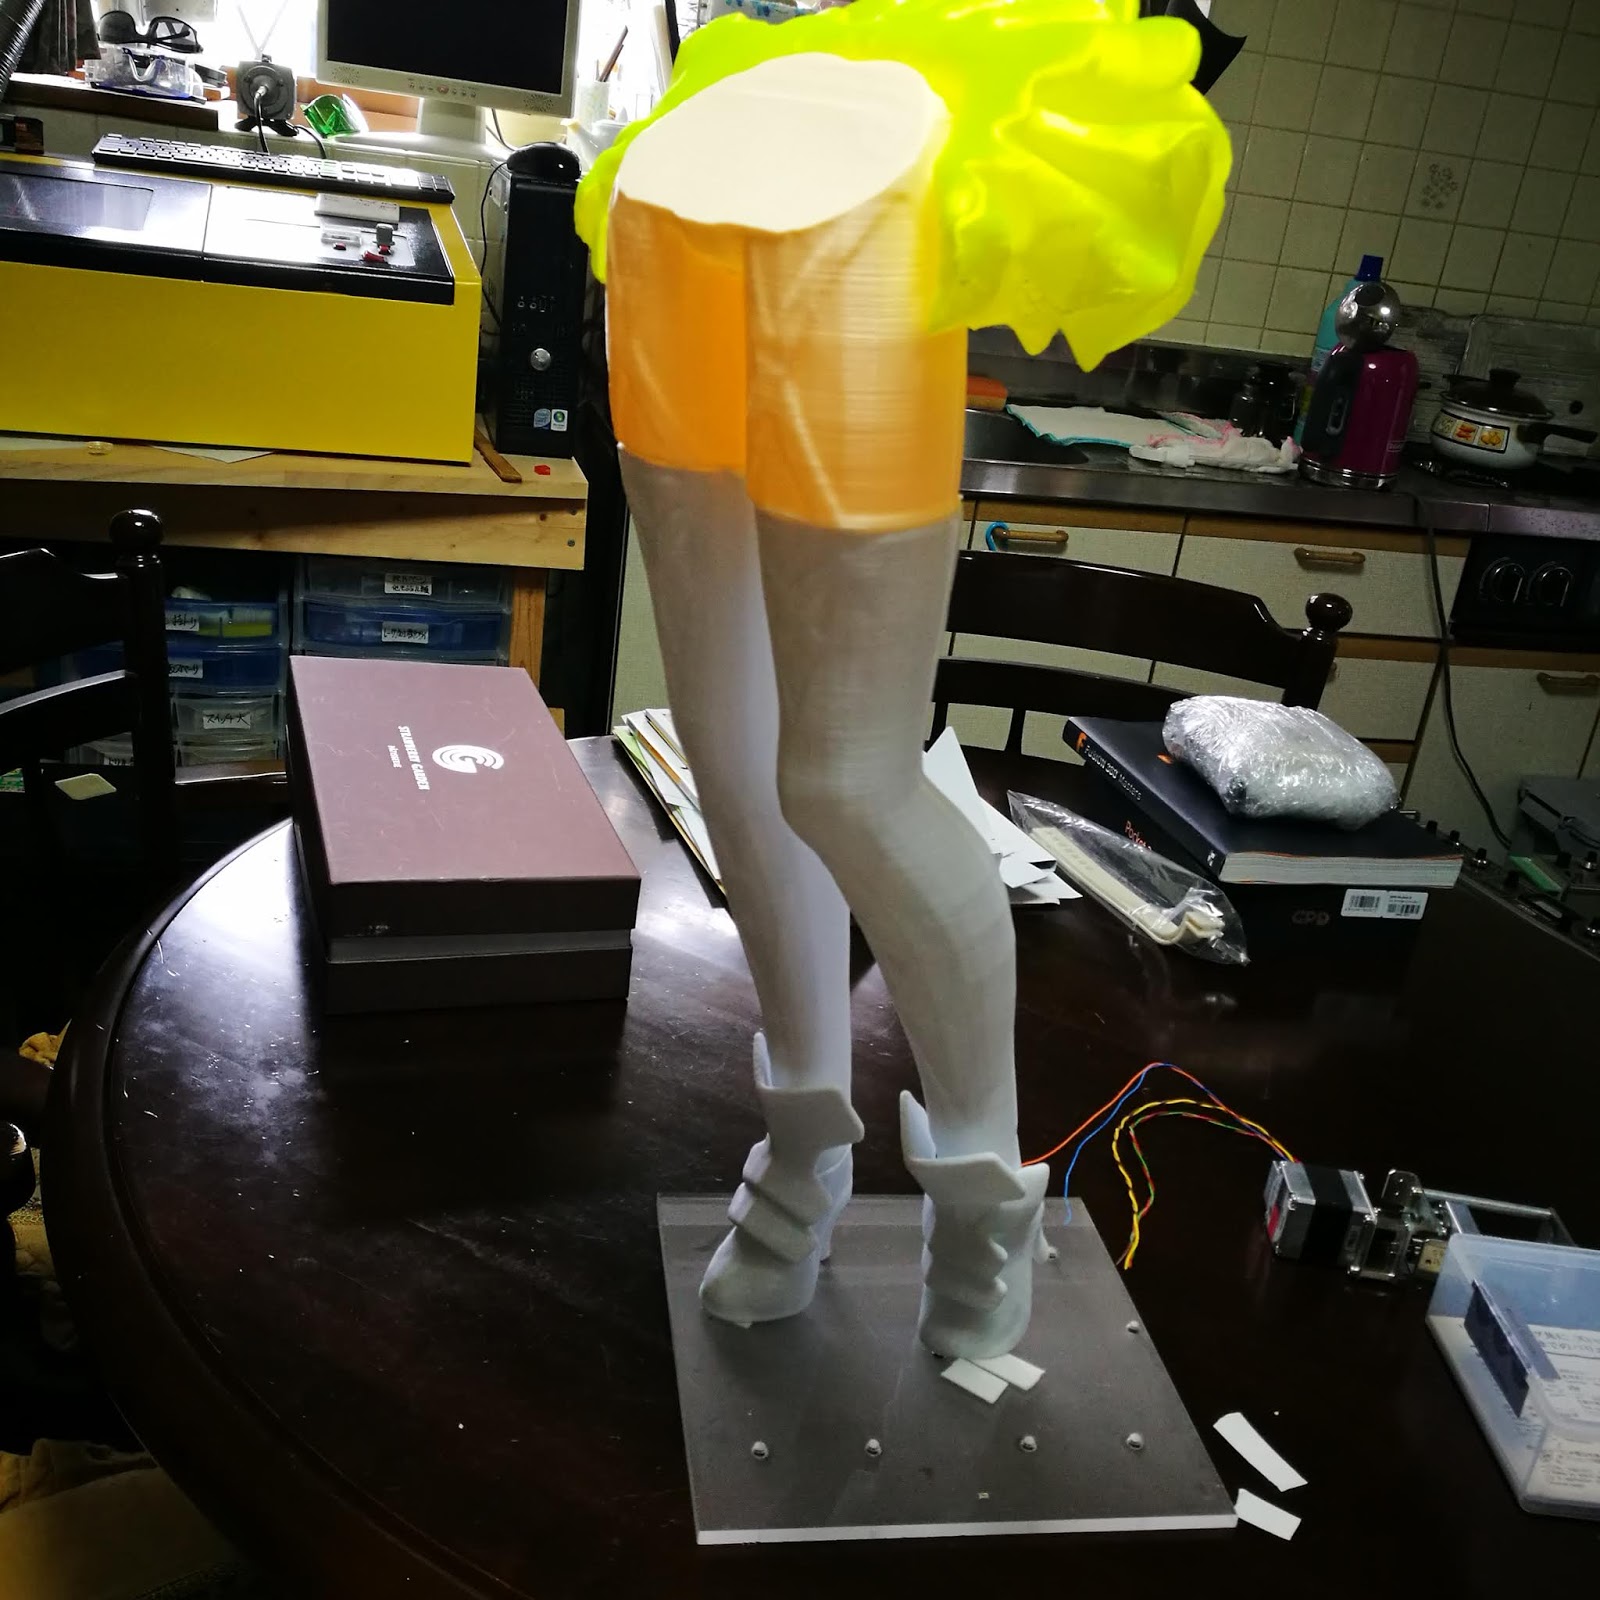
並べてみます。で…..でかい….

先に出力していたお尻を乗せてみます。いやでかいです。迫力満点。
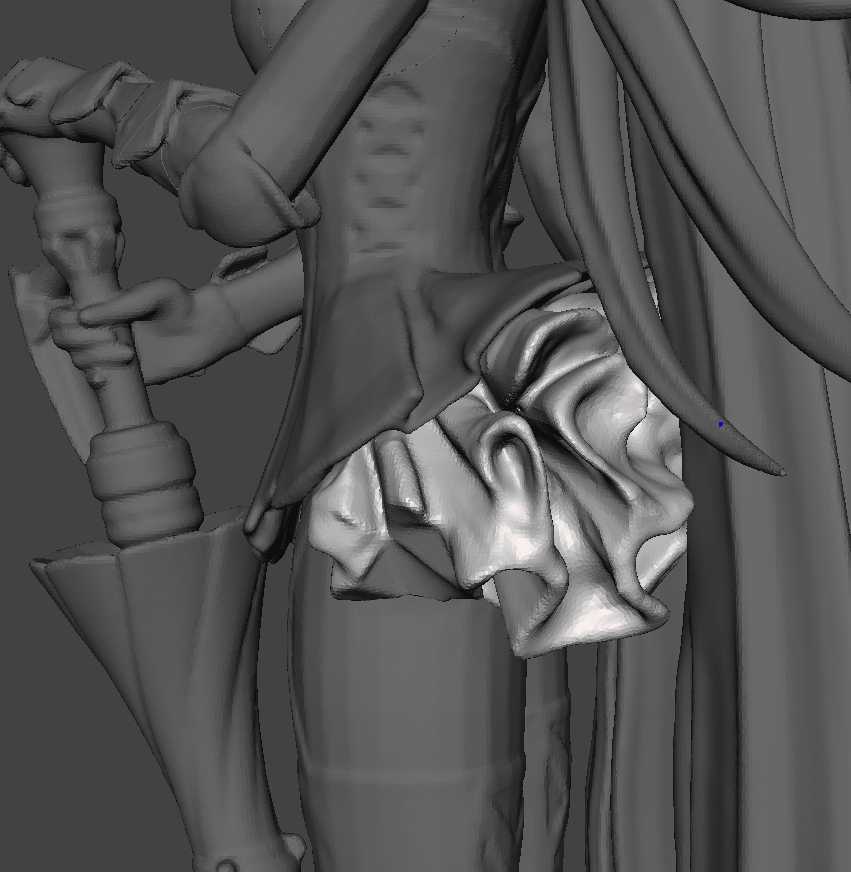
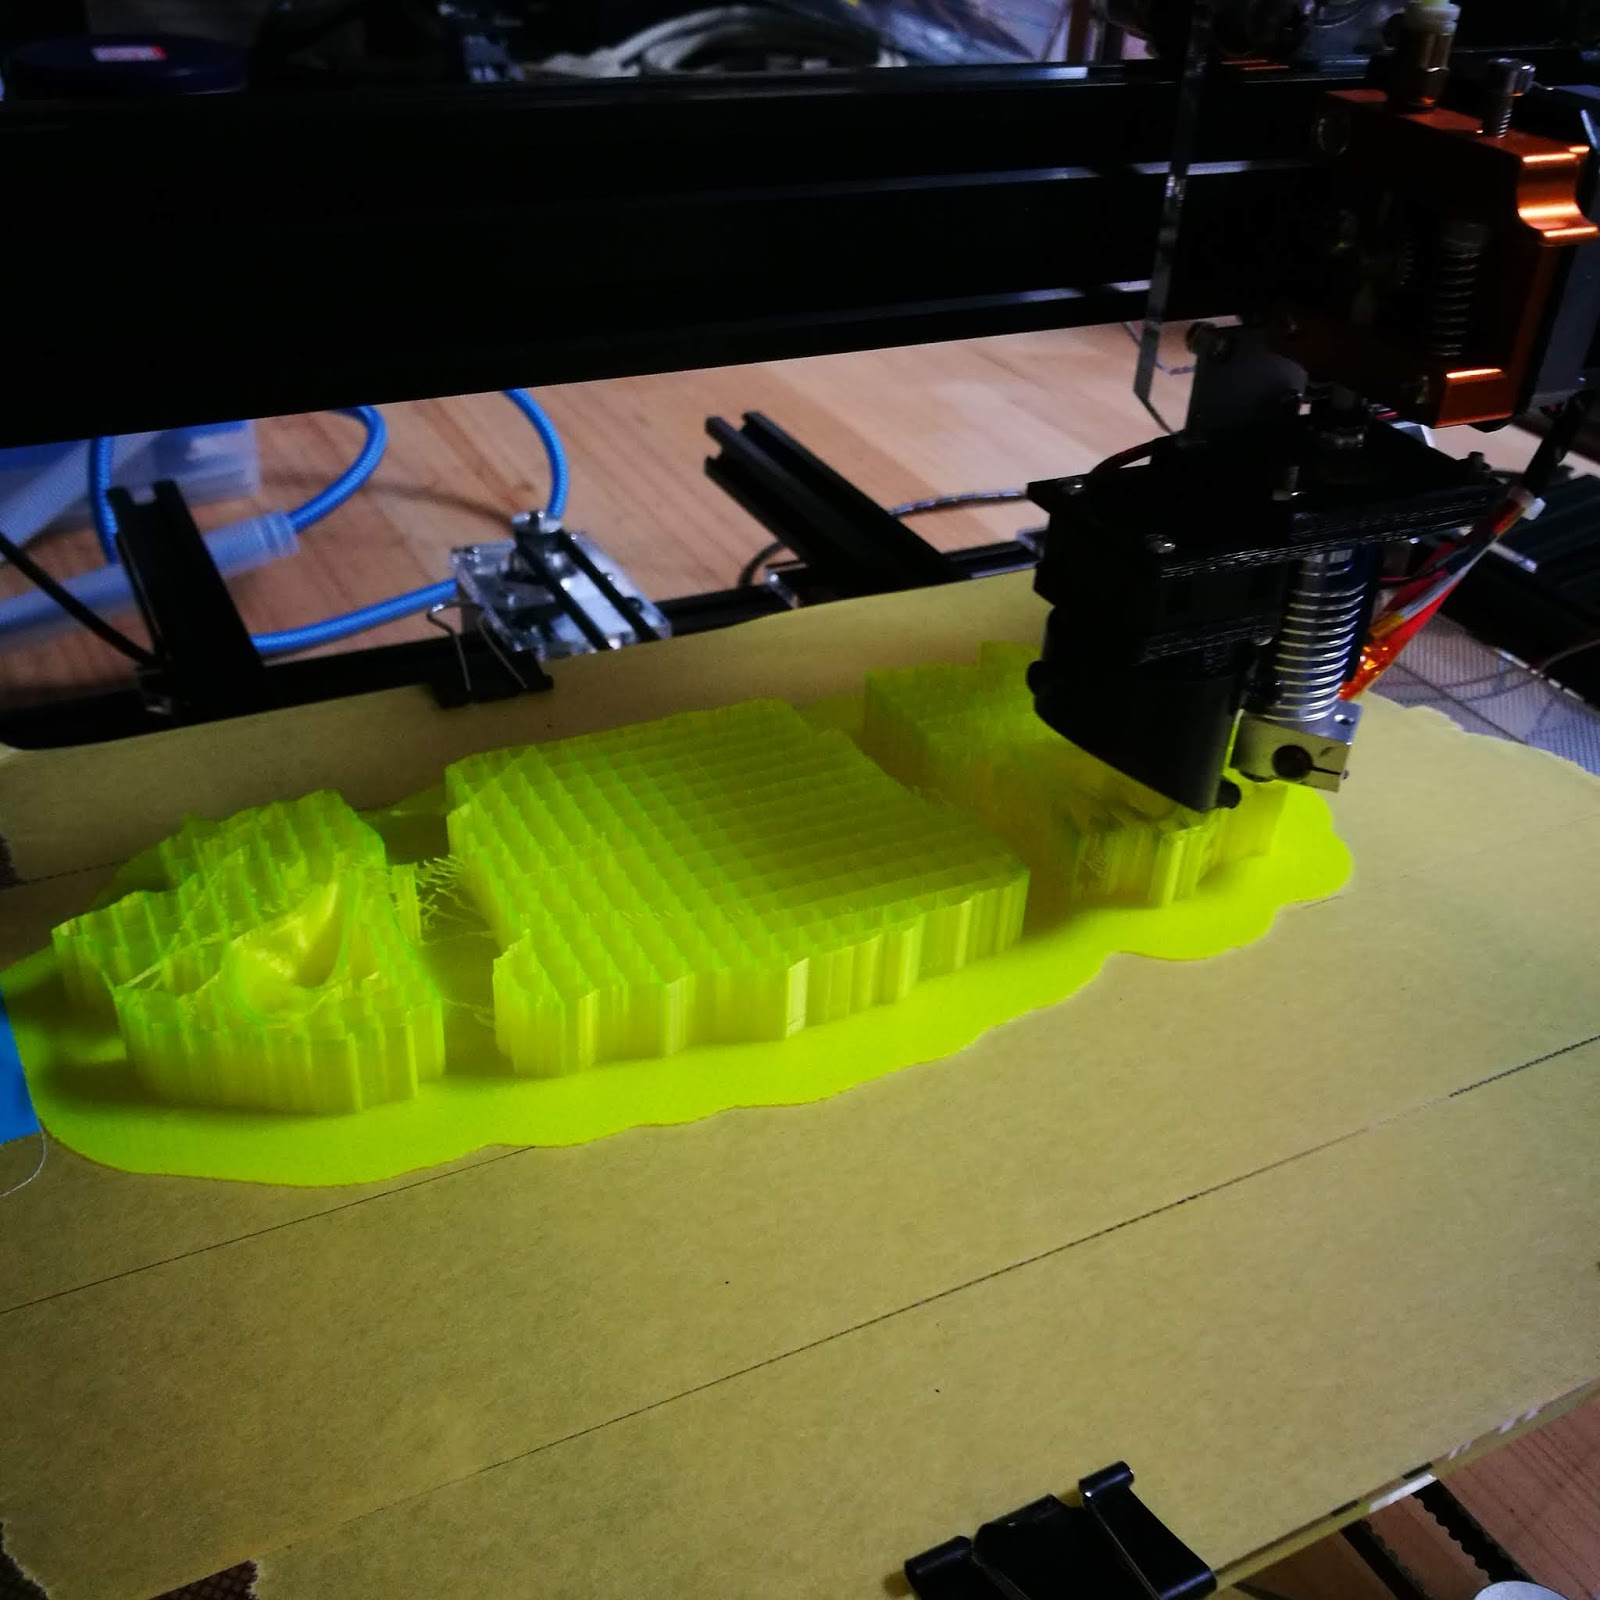
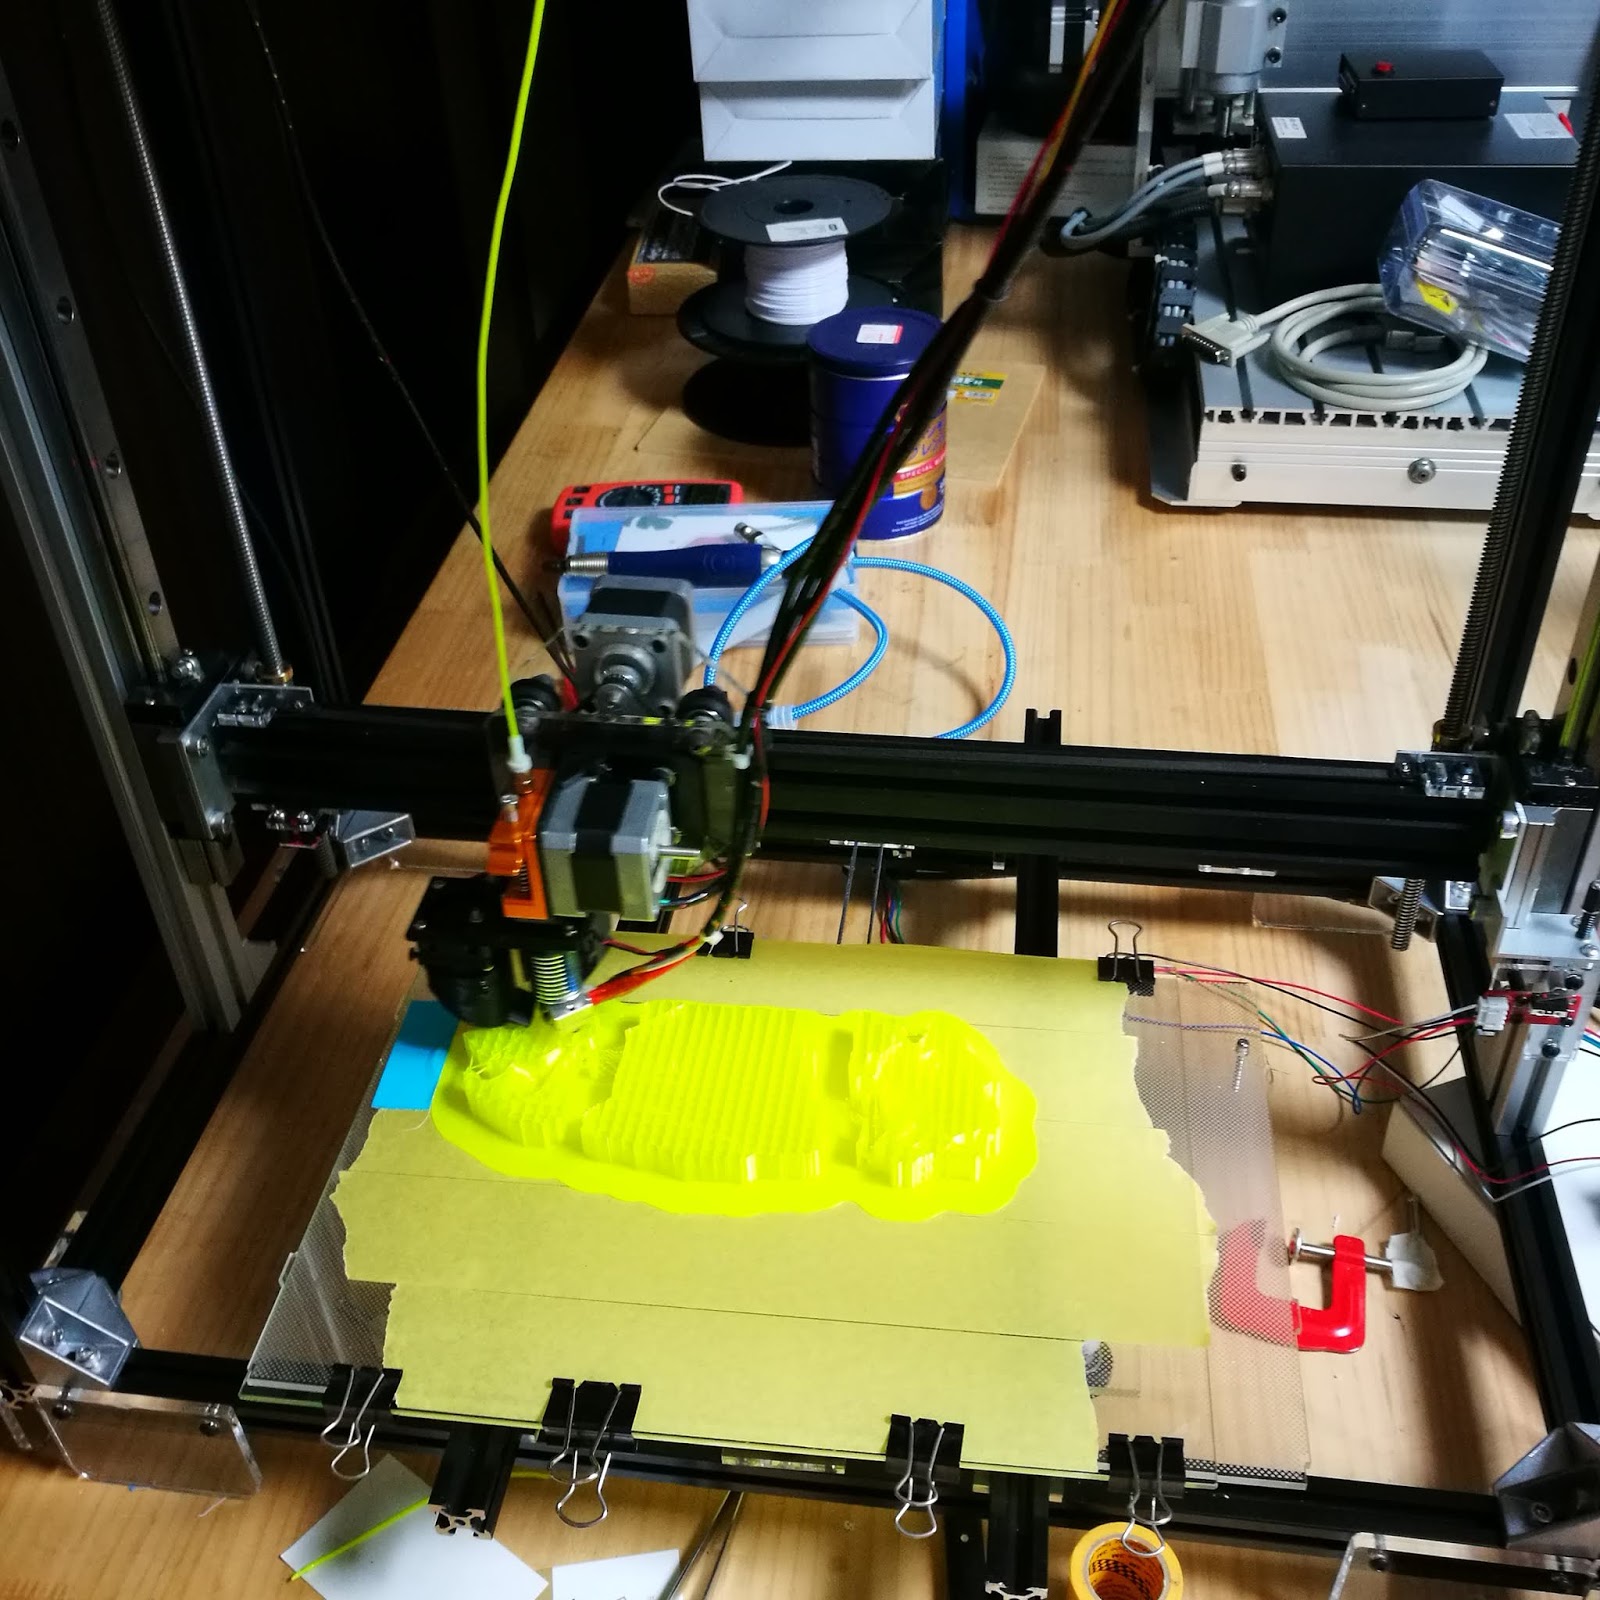
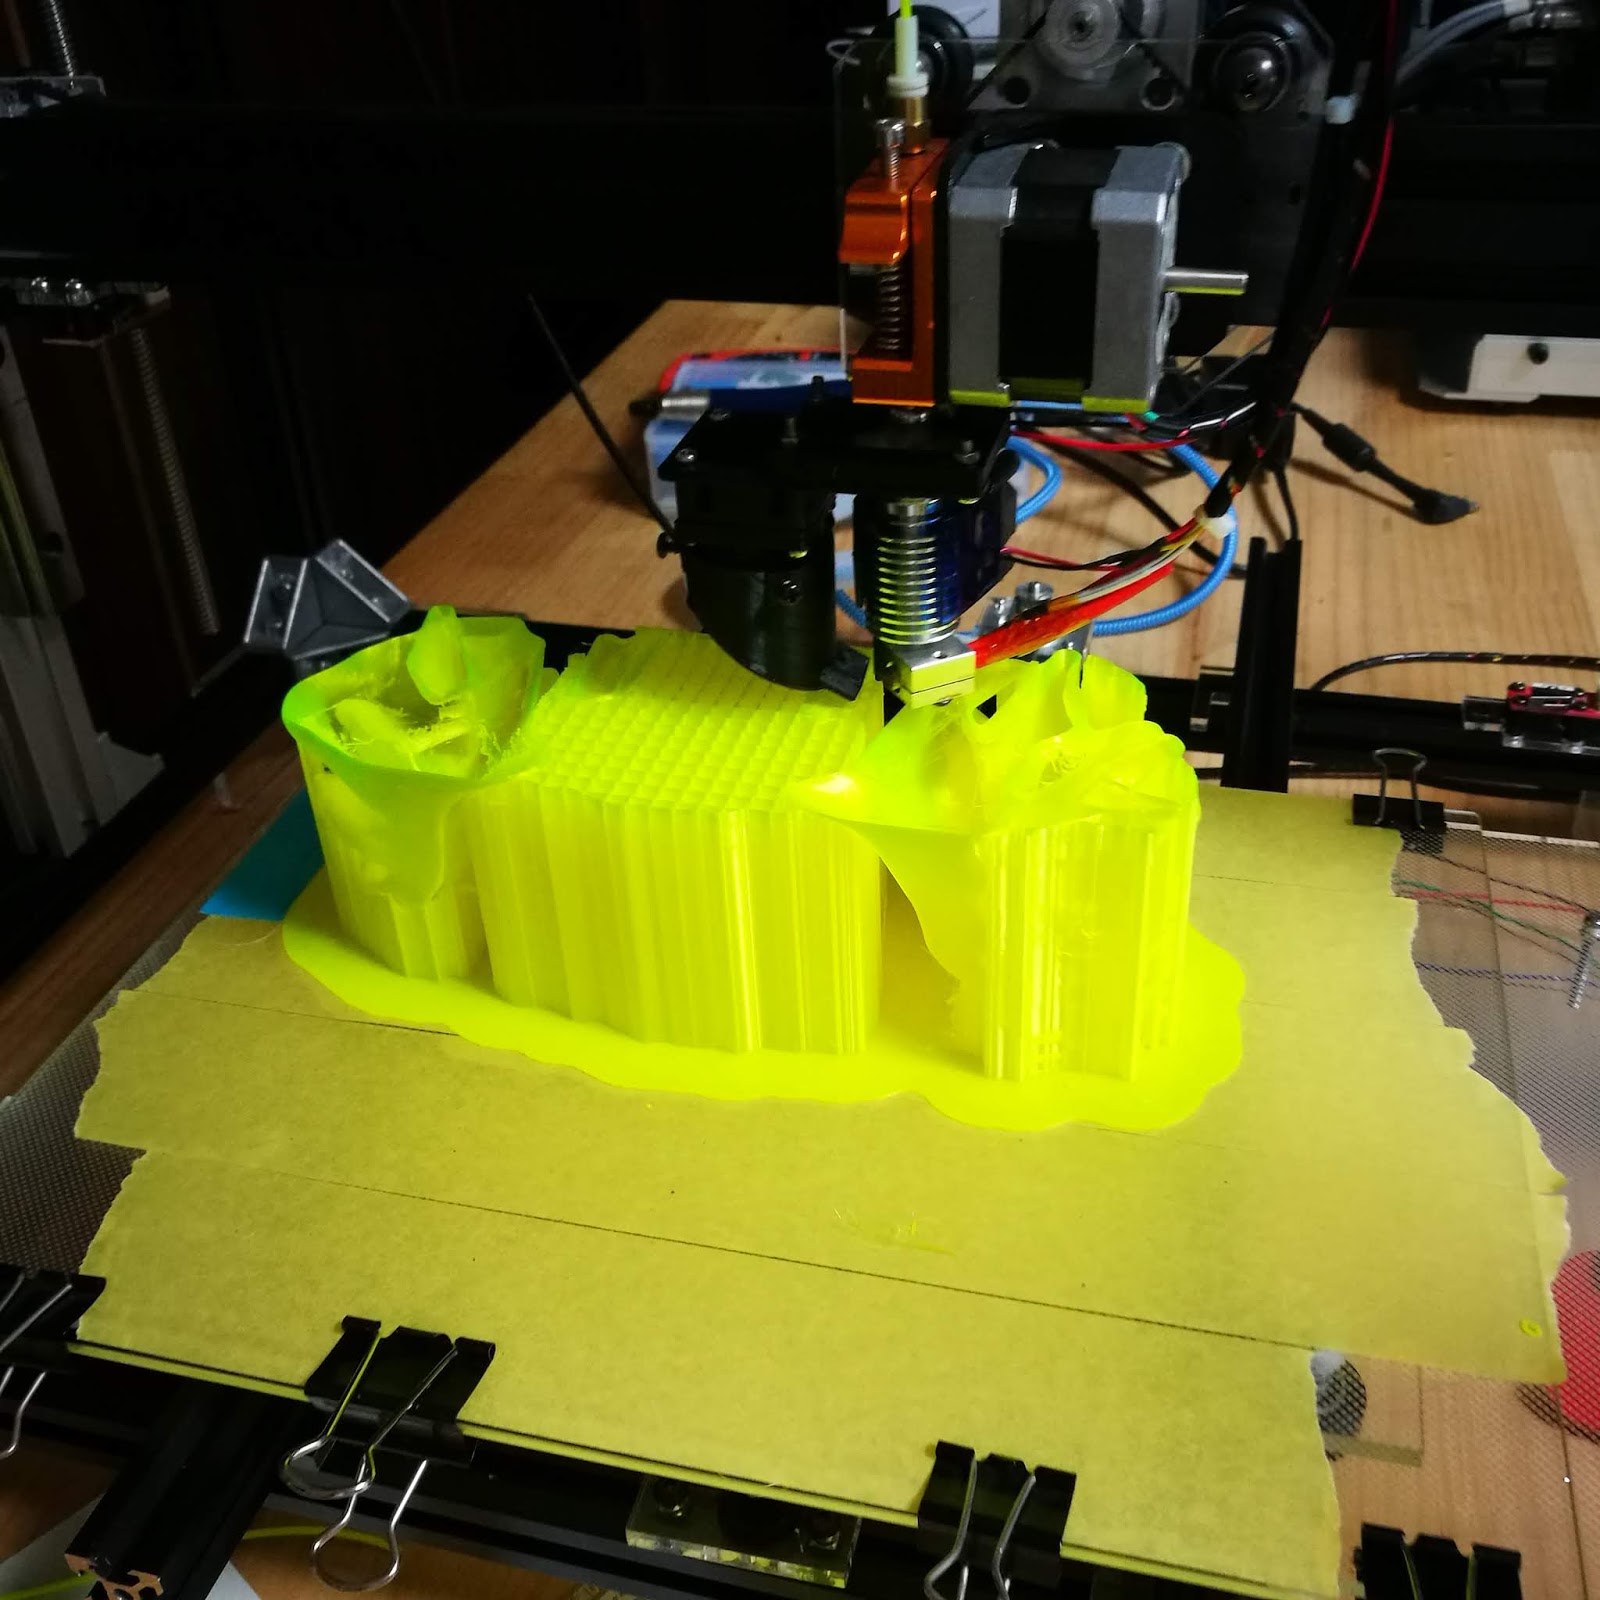
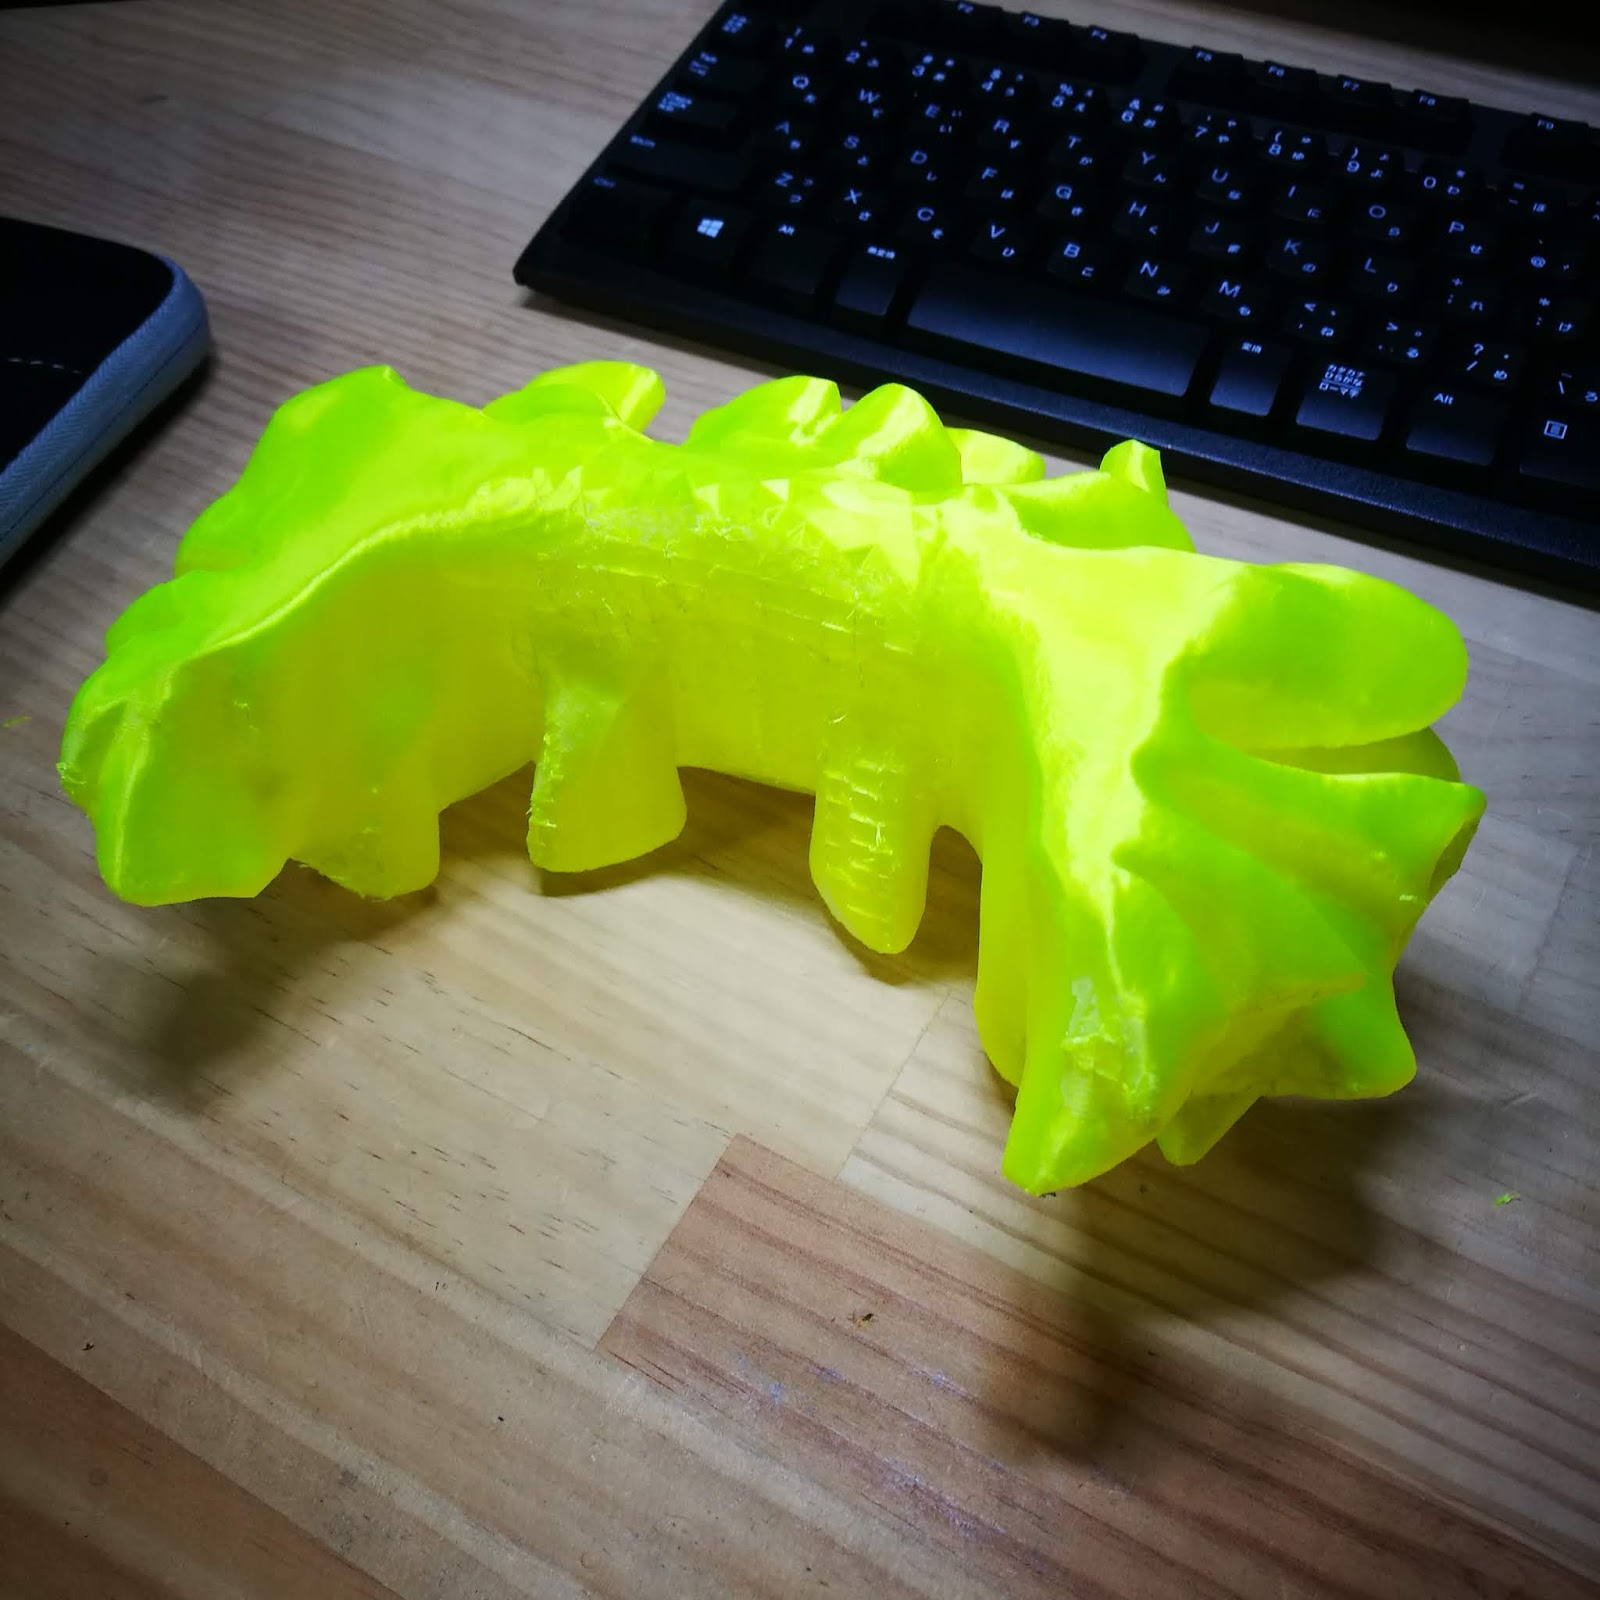
お次はスカート。ここの部分です。非常に形状が複雑ですので時間がかかりそう。サポート材も山ほど使います。
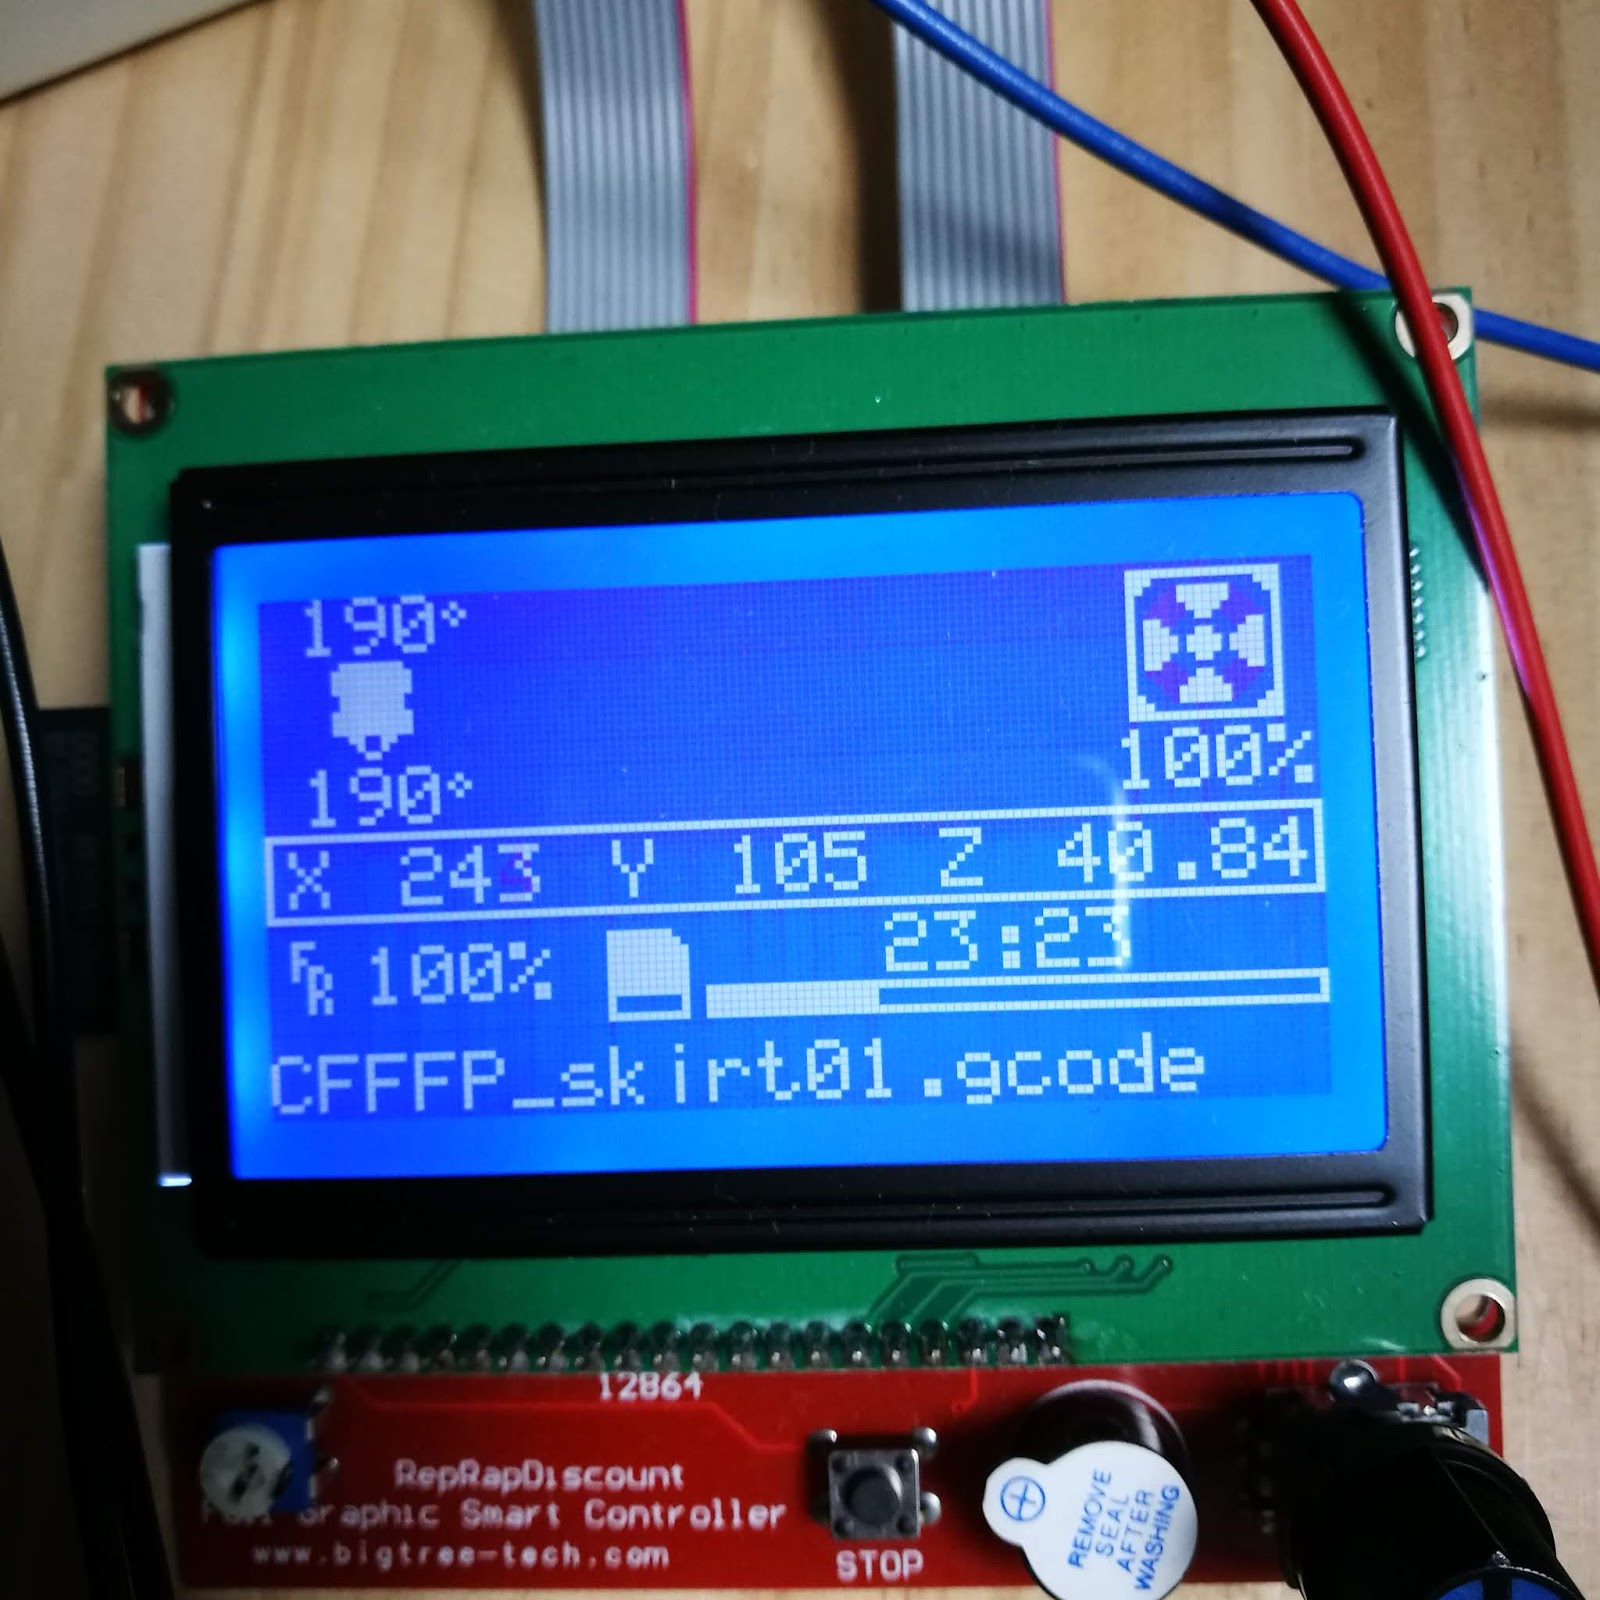
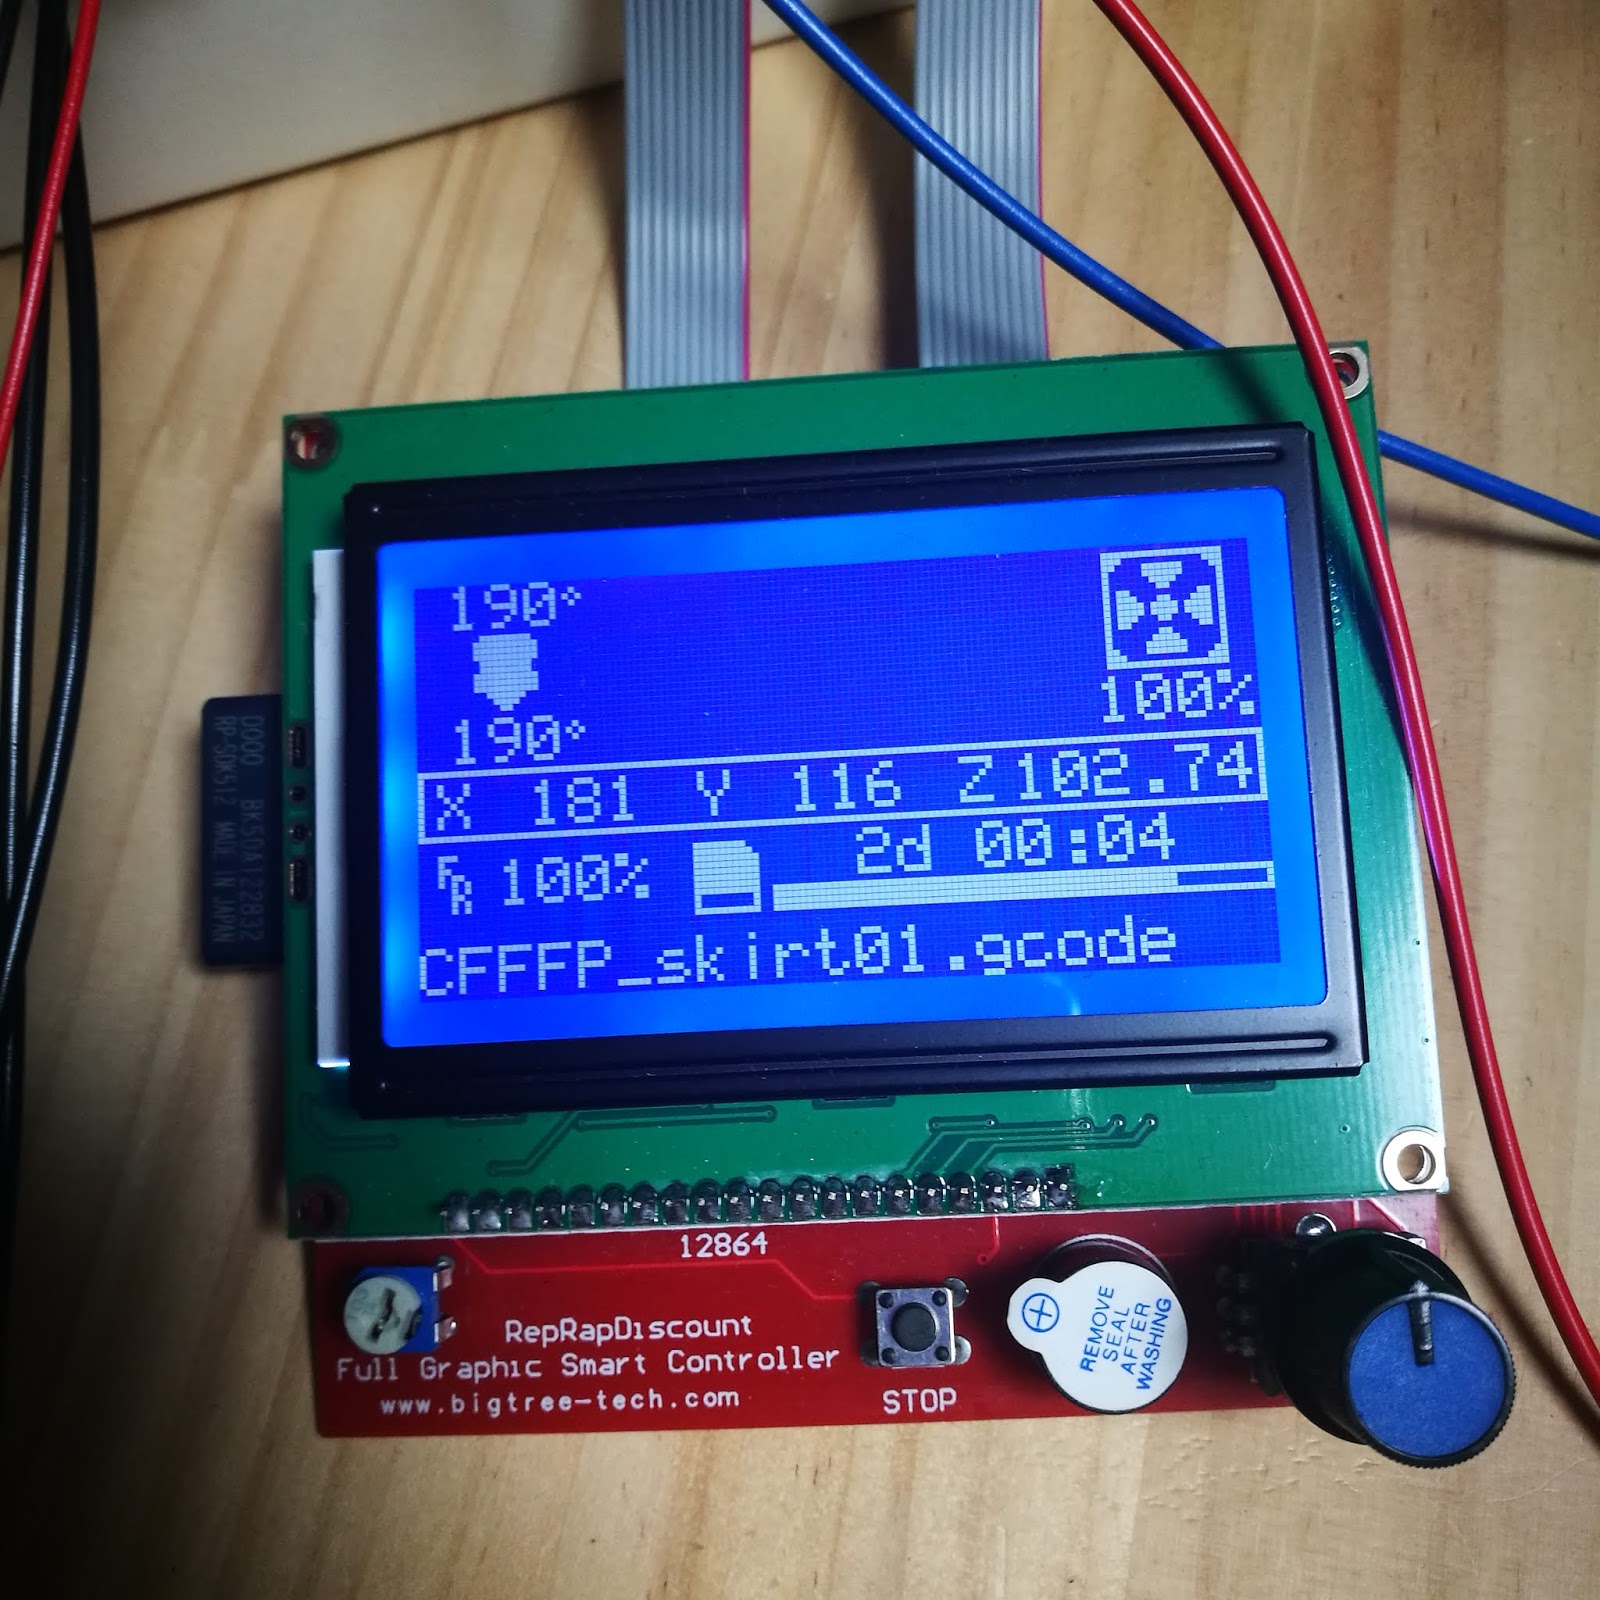
CURAの予想では1日と15時間。39時間です。ここまでで最長の出力時間。これでも充填は0%です。プリンタの信頼性が試される出力であります。
木曜日の夜にスタートし、翌朝がこれ(笑 まだほとんどサポート材だけです。
その日の夜。
ほぼ一日が経過。あと15時間でできるとはとても思えないですが…
土曜日の朝。予想ではあと8時間くらいです。できるわけなさそう。
案の定予想時間を過ぎてもできる気配は全くありません。そのまま3日目に突入。
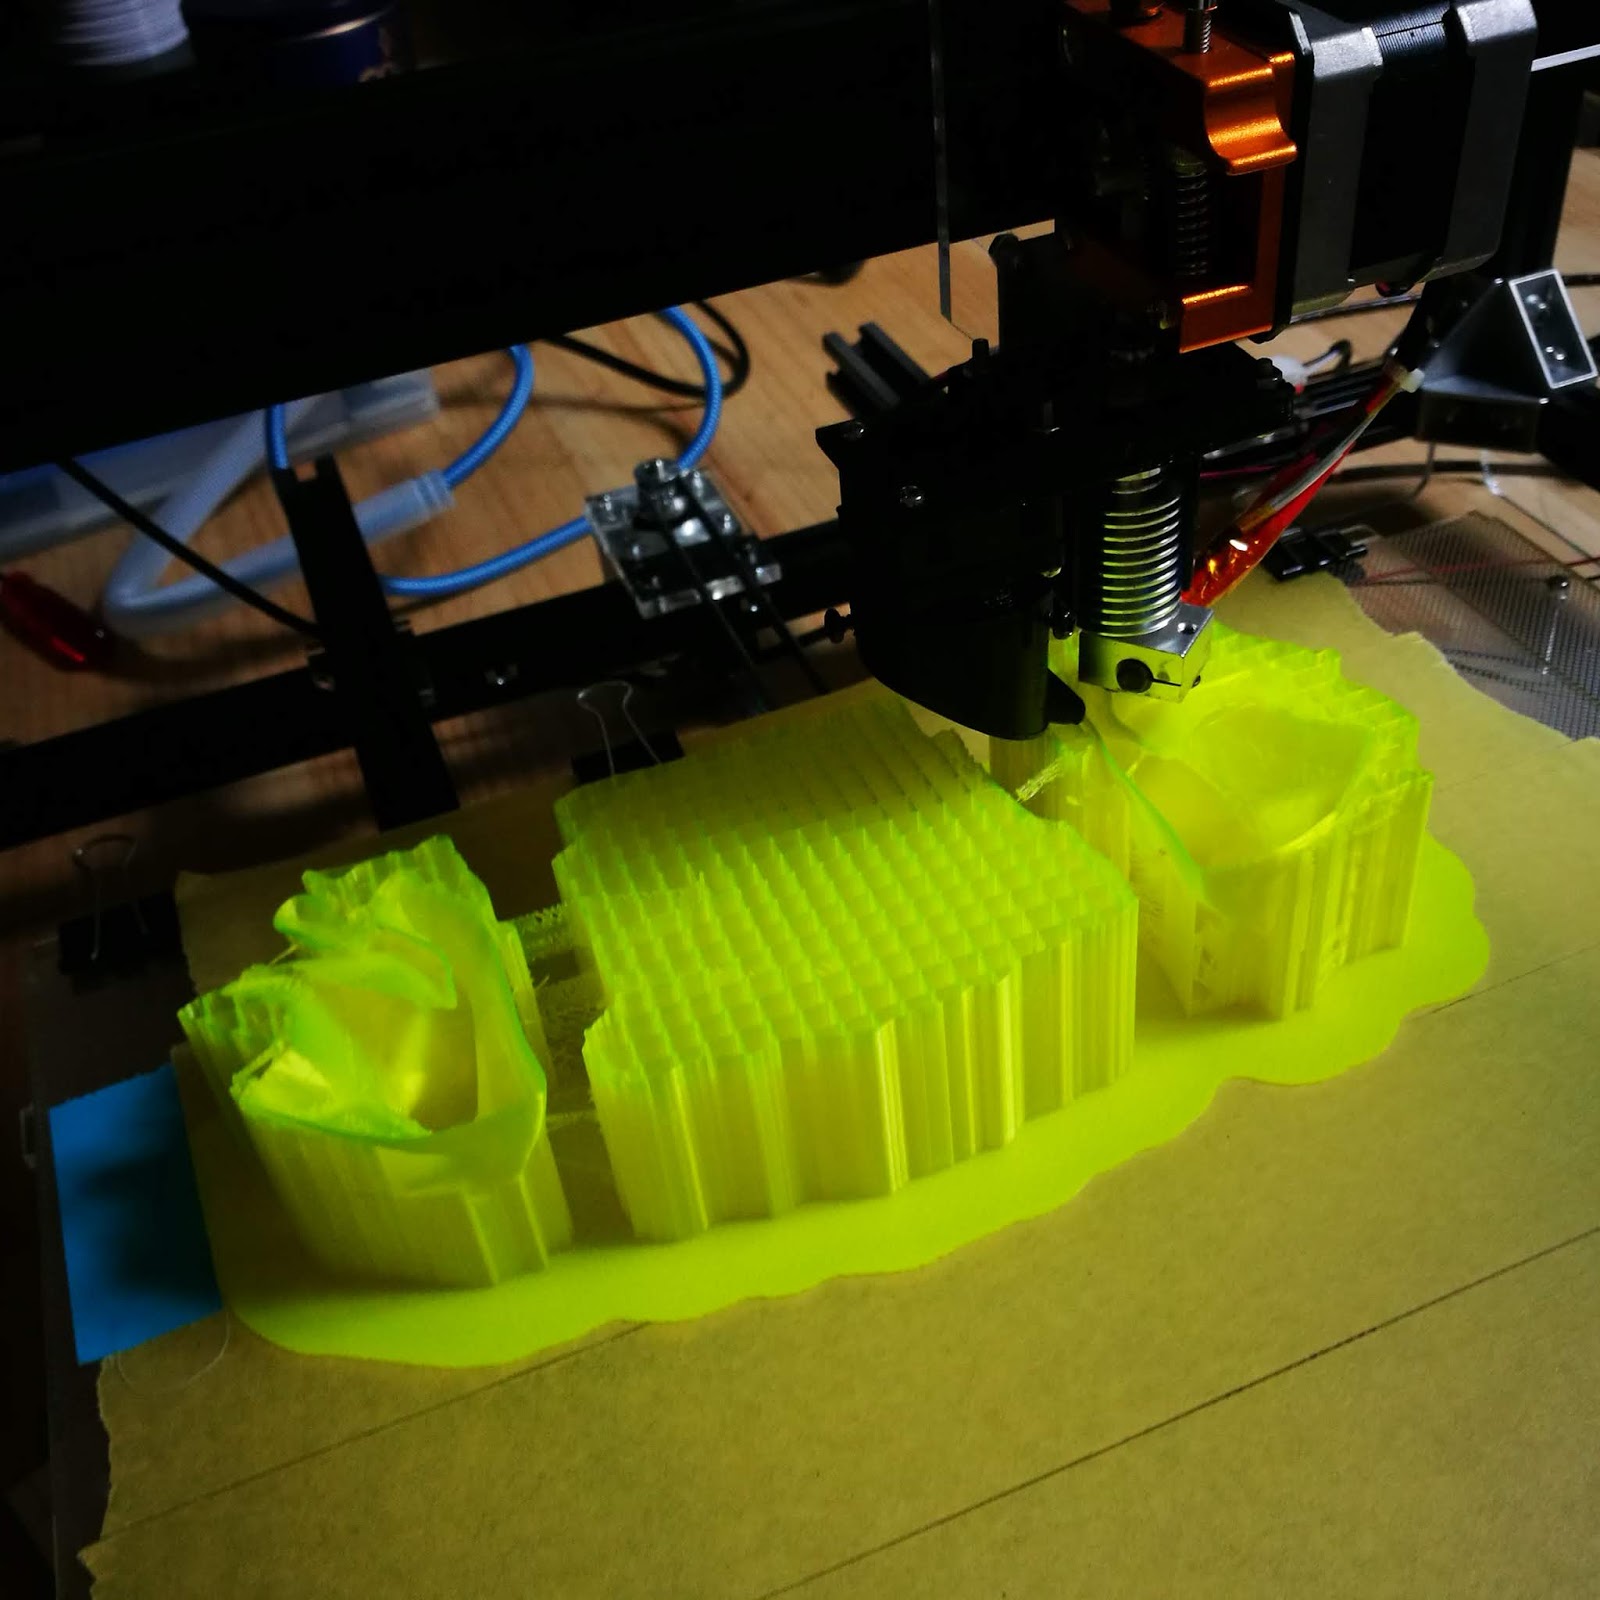
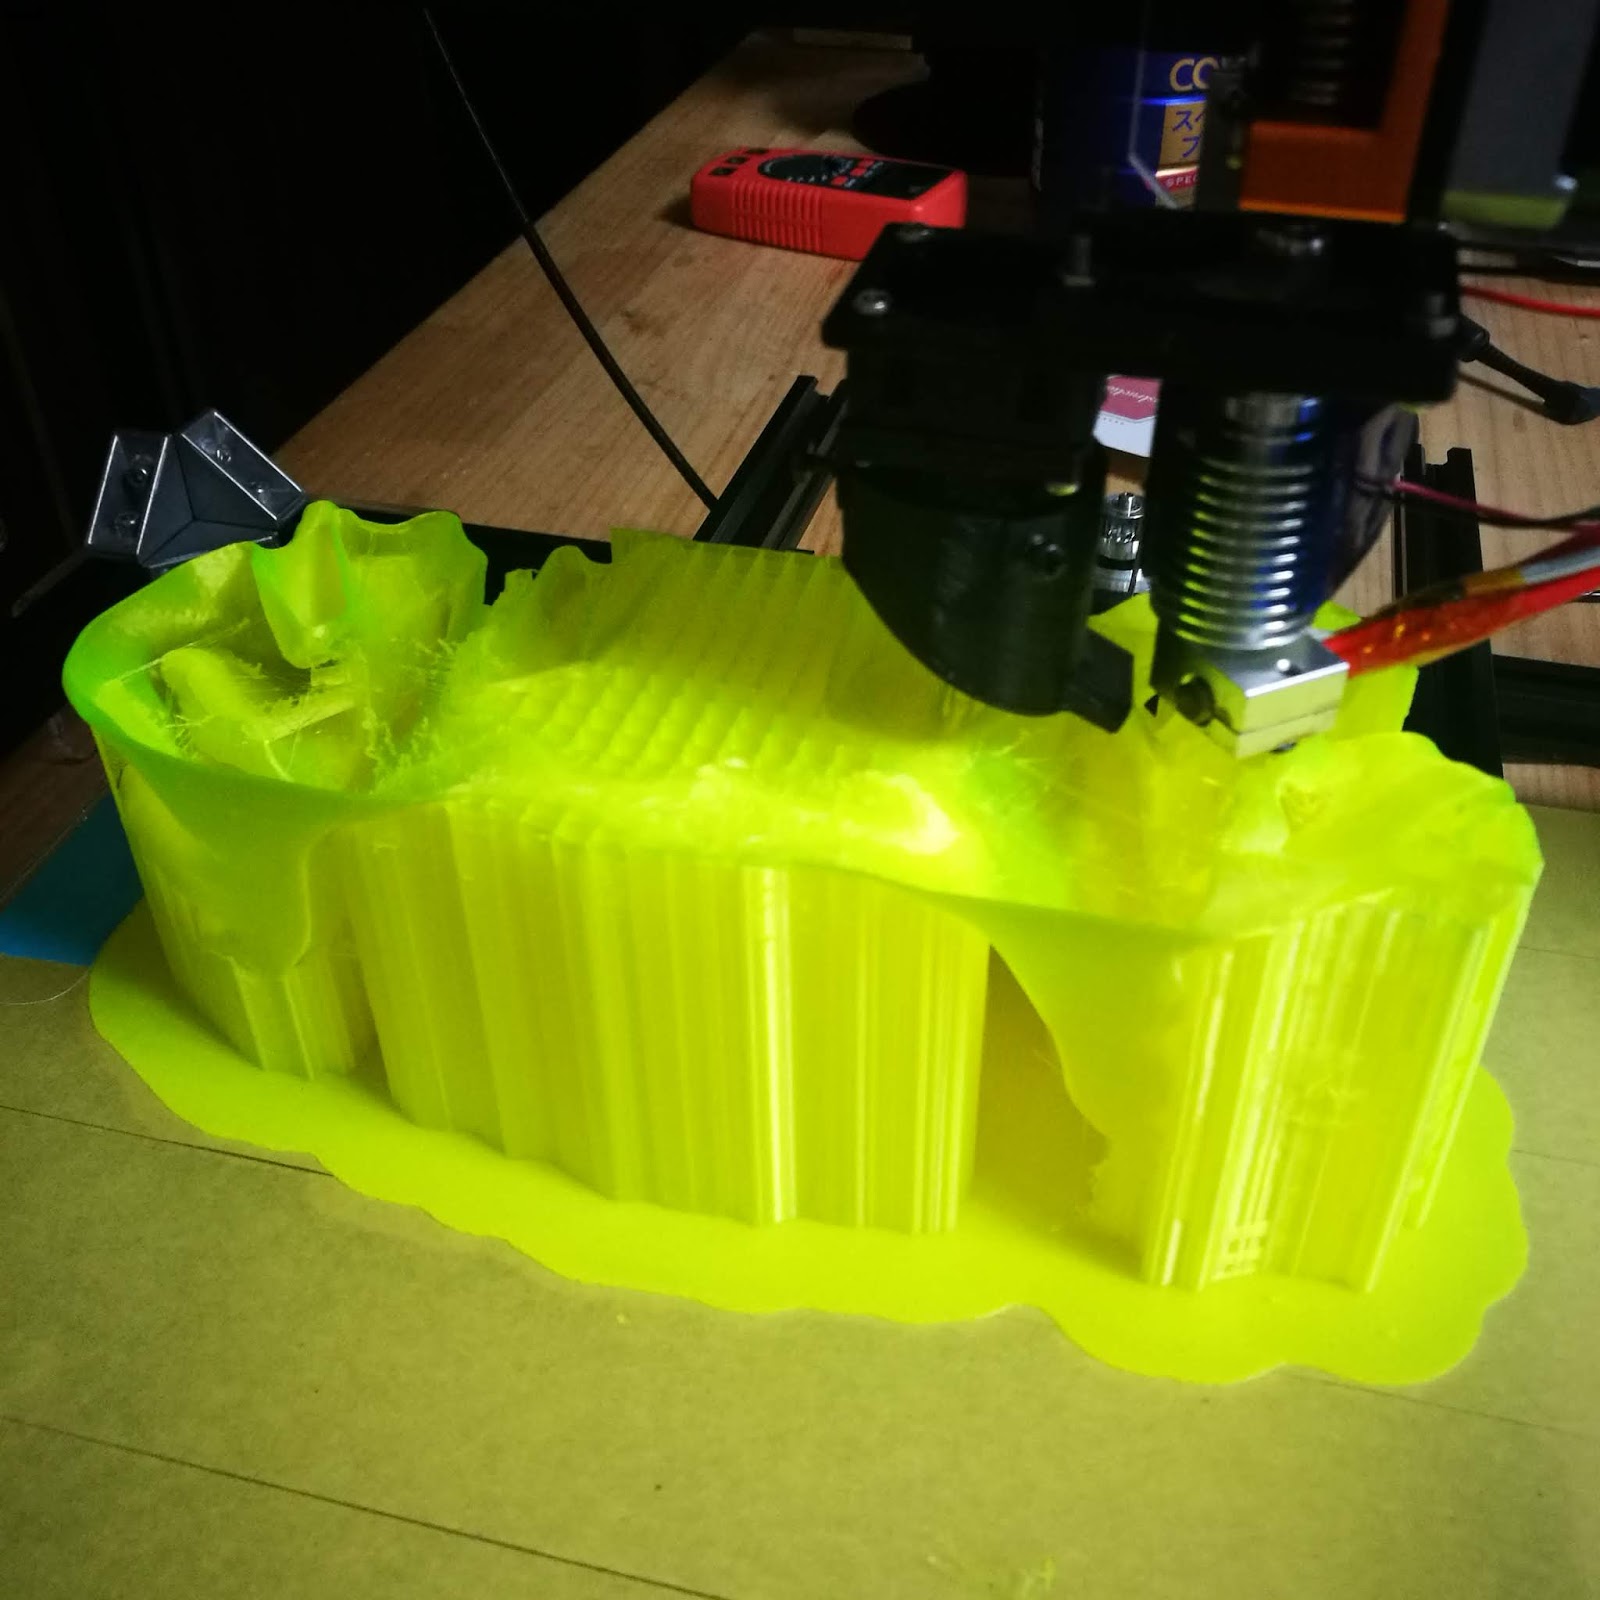
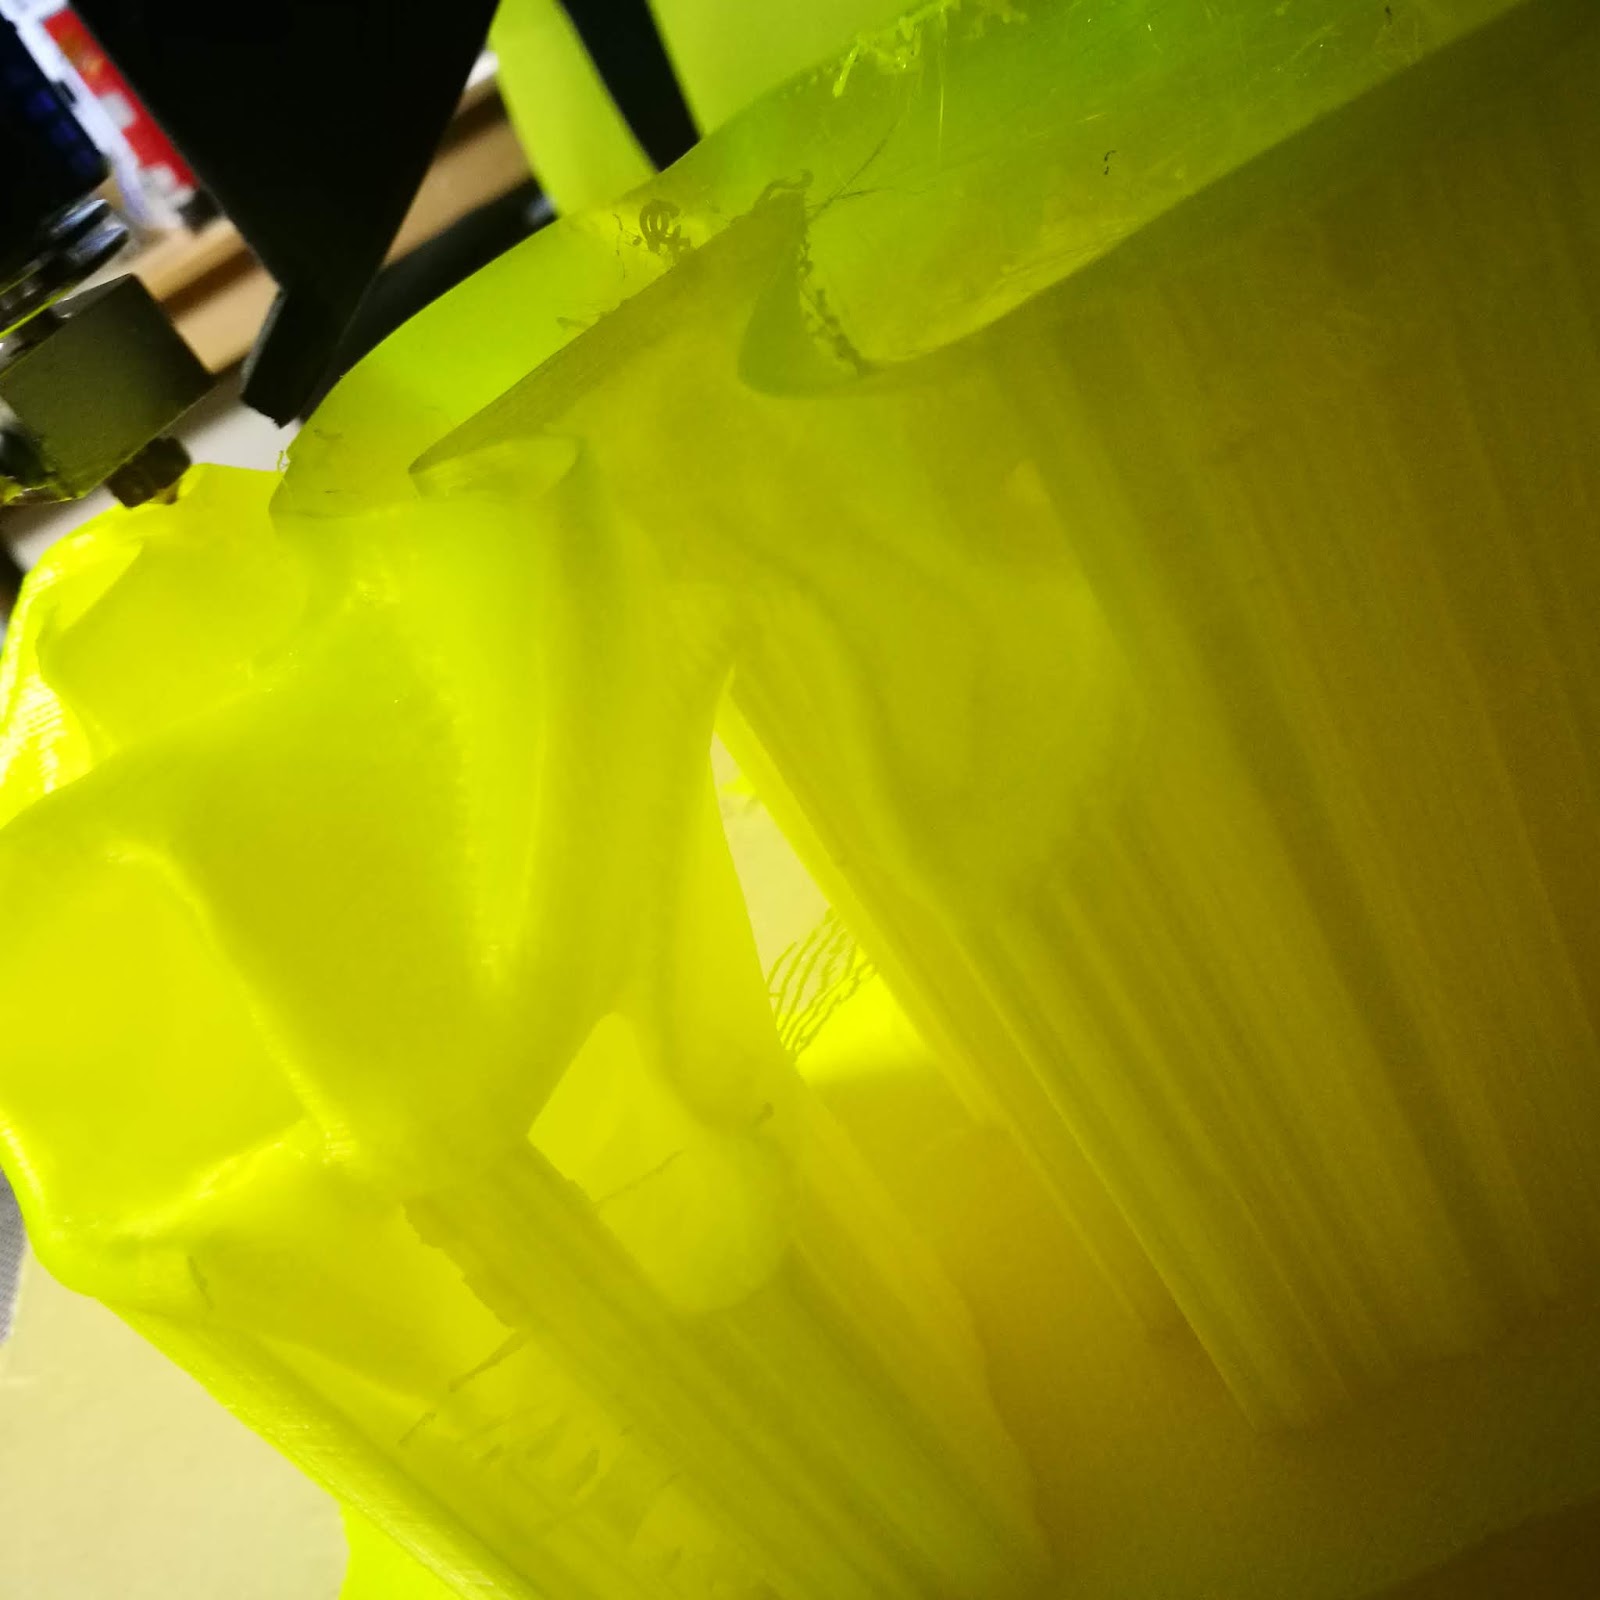
この時点ではここまで。そろそろ全体像が見え始めます。

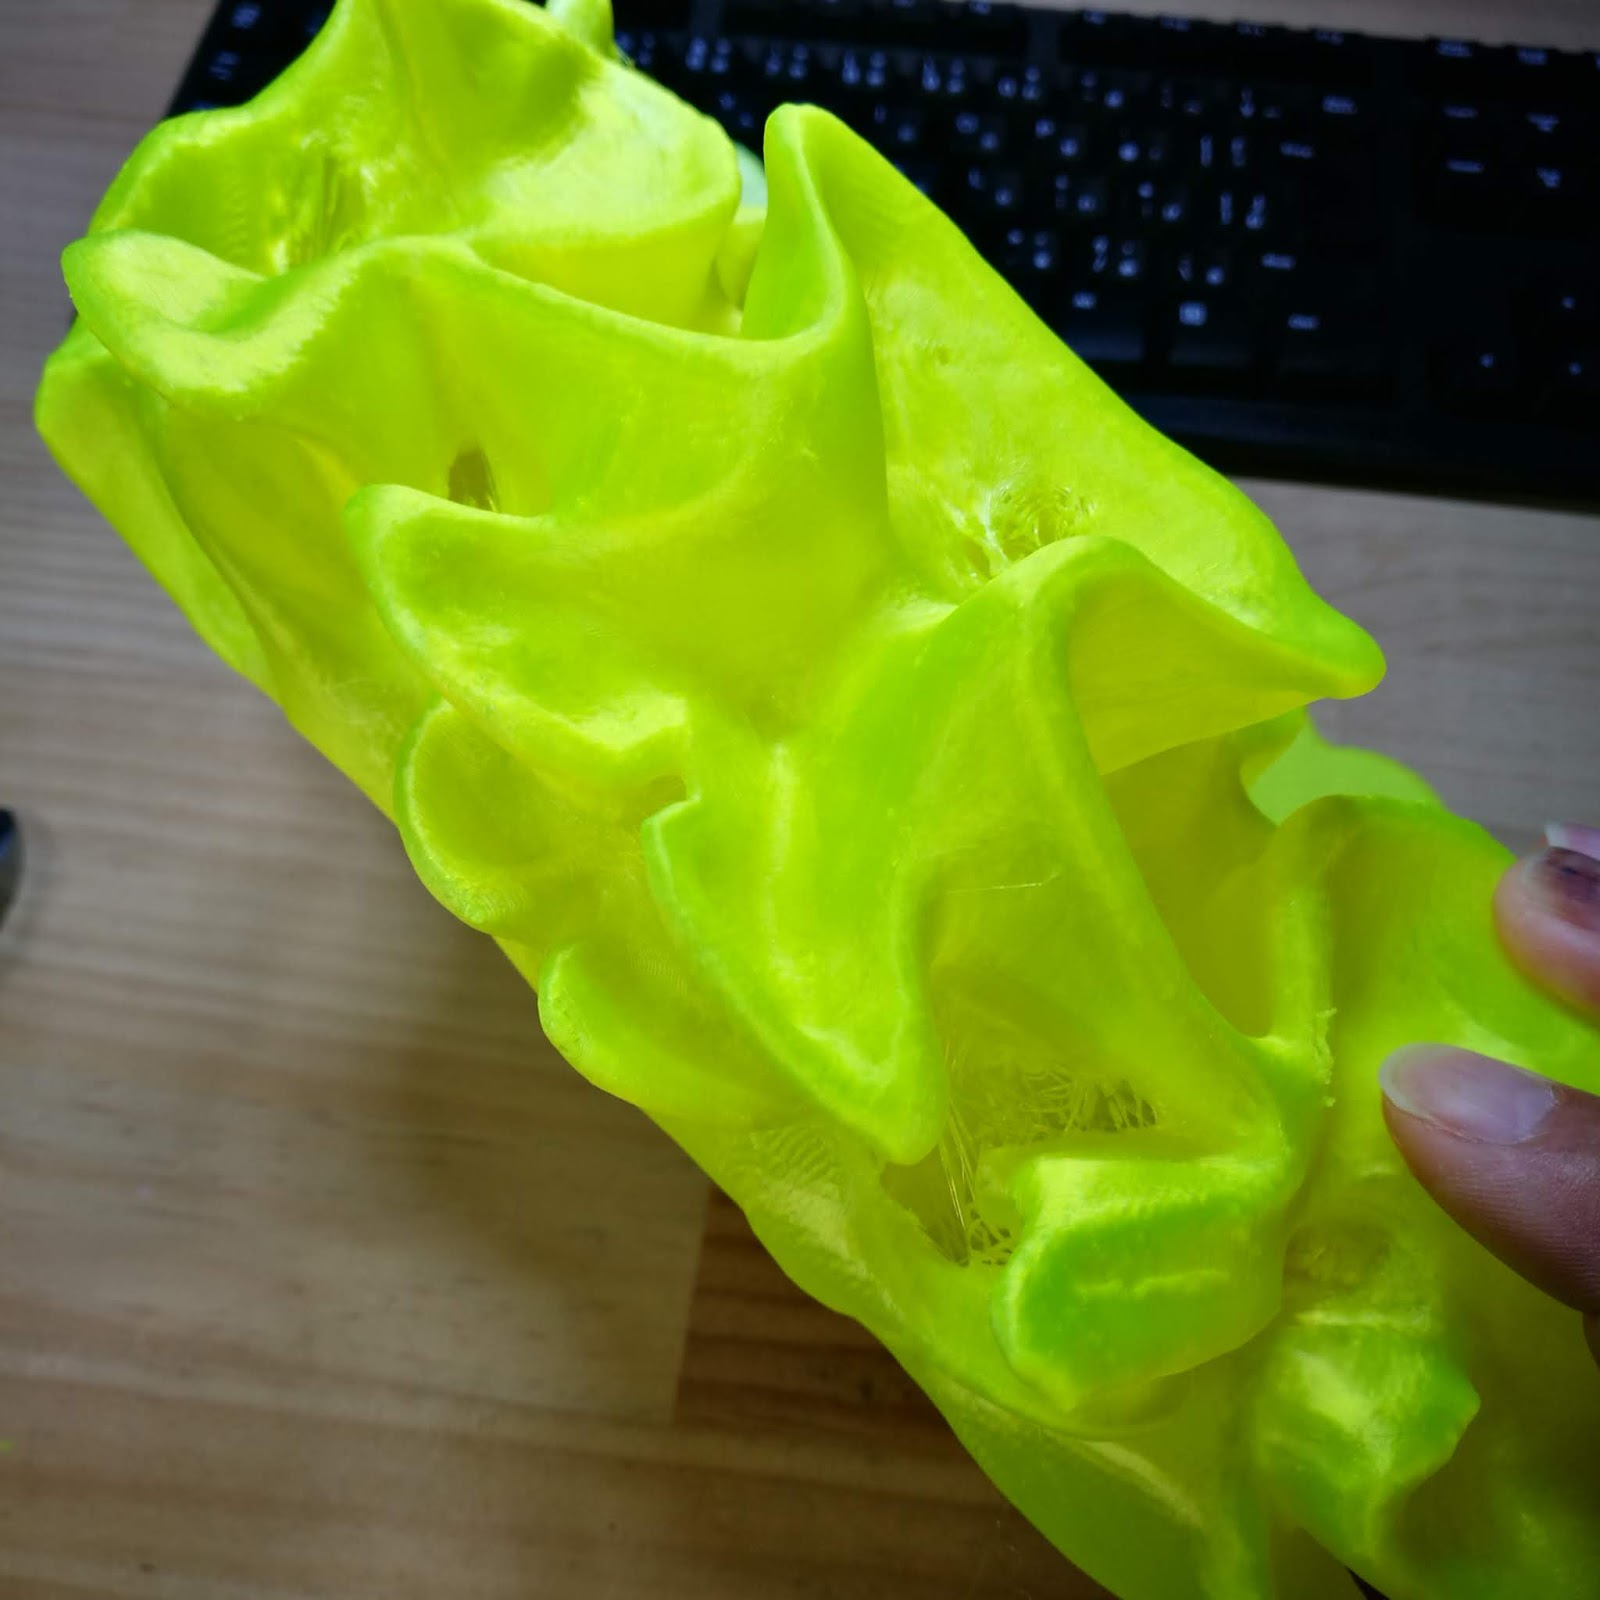
フリフリ感が。
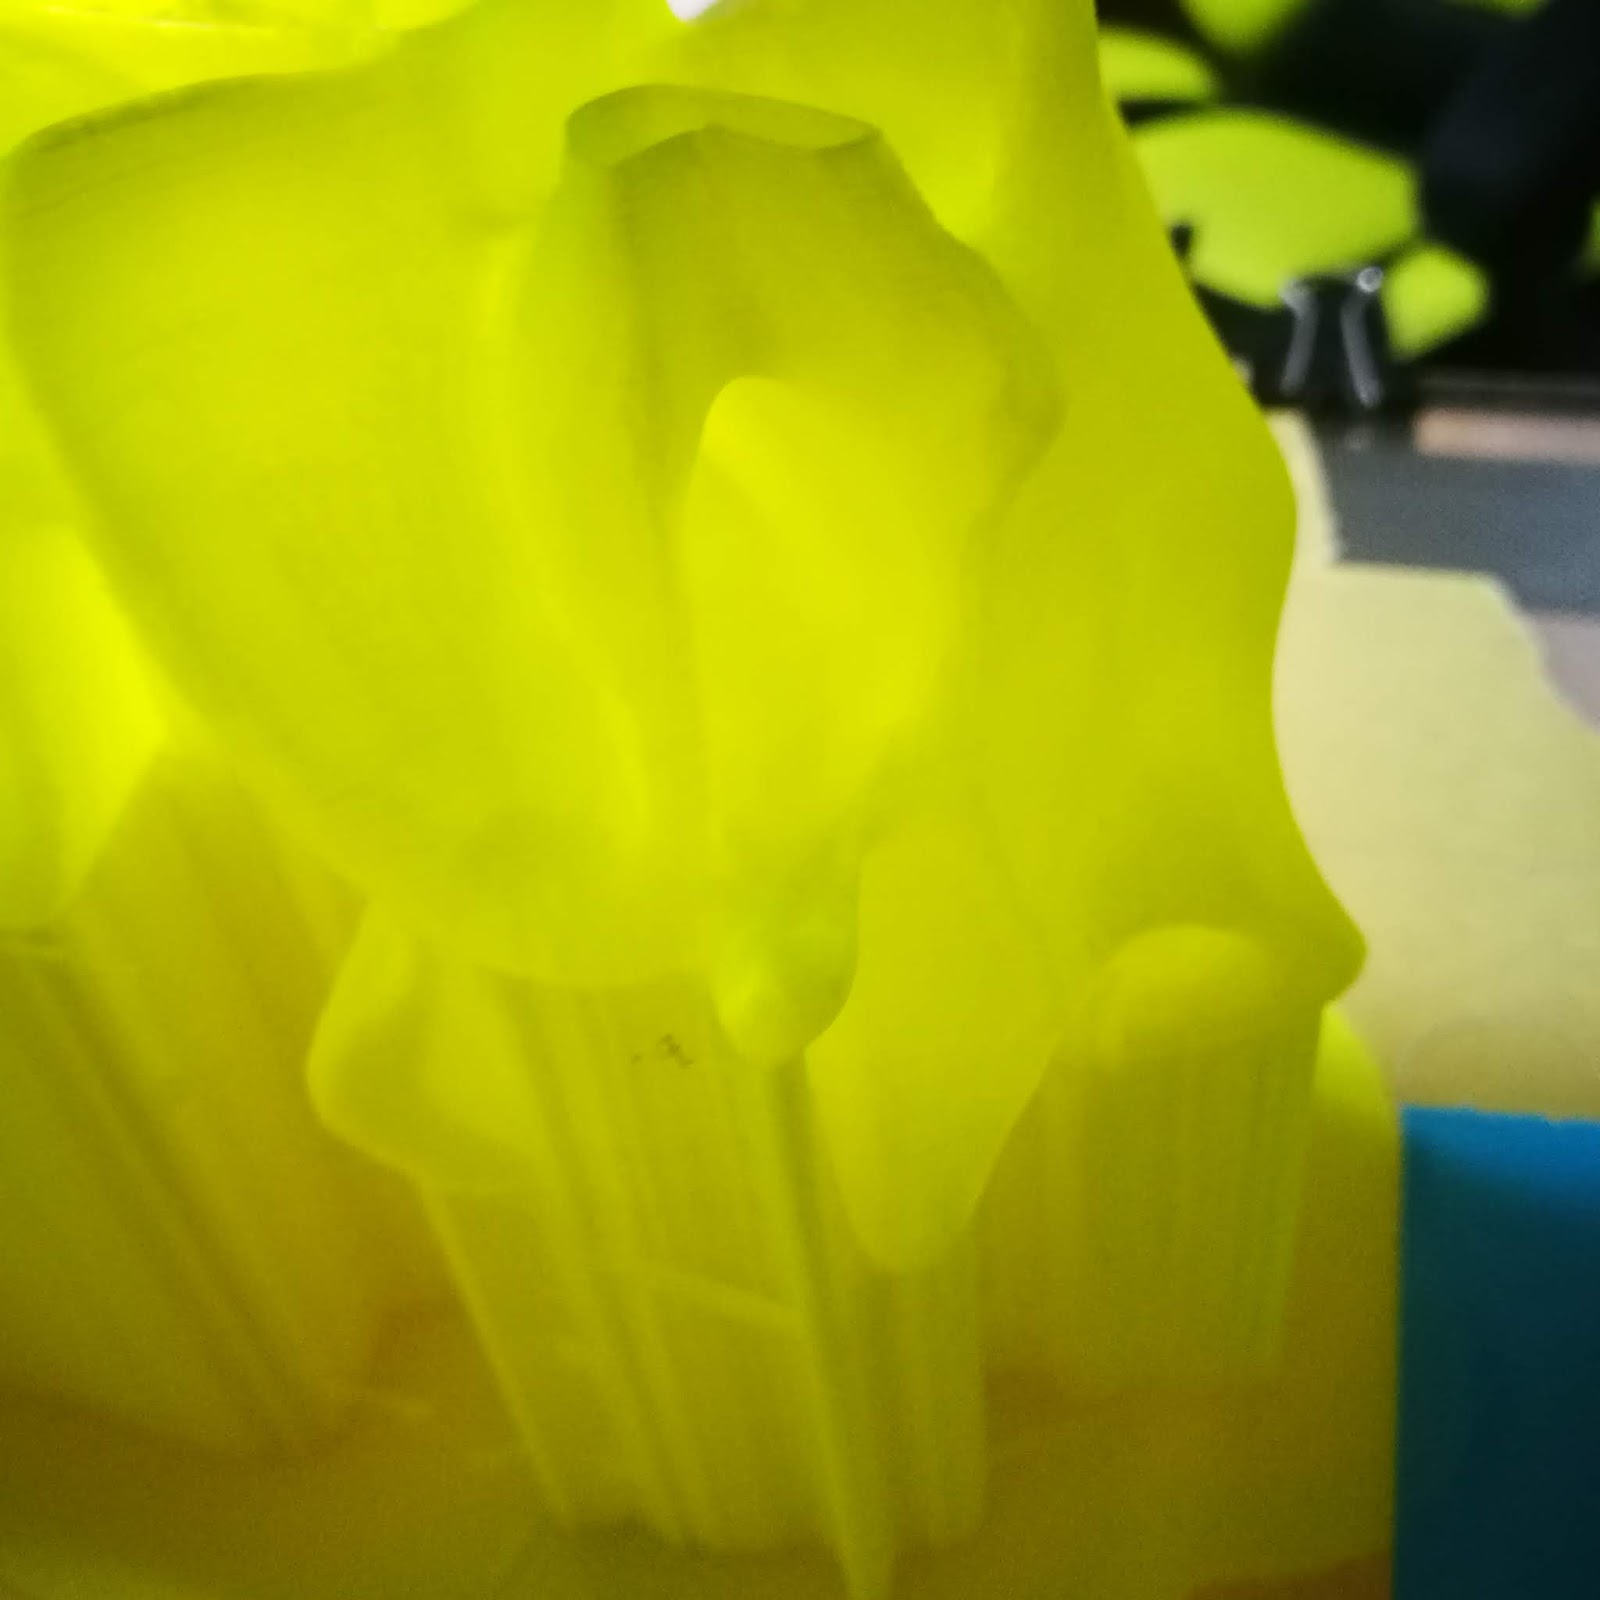
で、日曜の朝。起きたら終わってました。予想から12時間以上が経過しています。結局50時間以上かかりました。でも完走です。
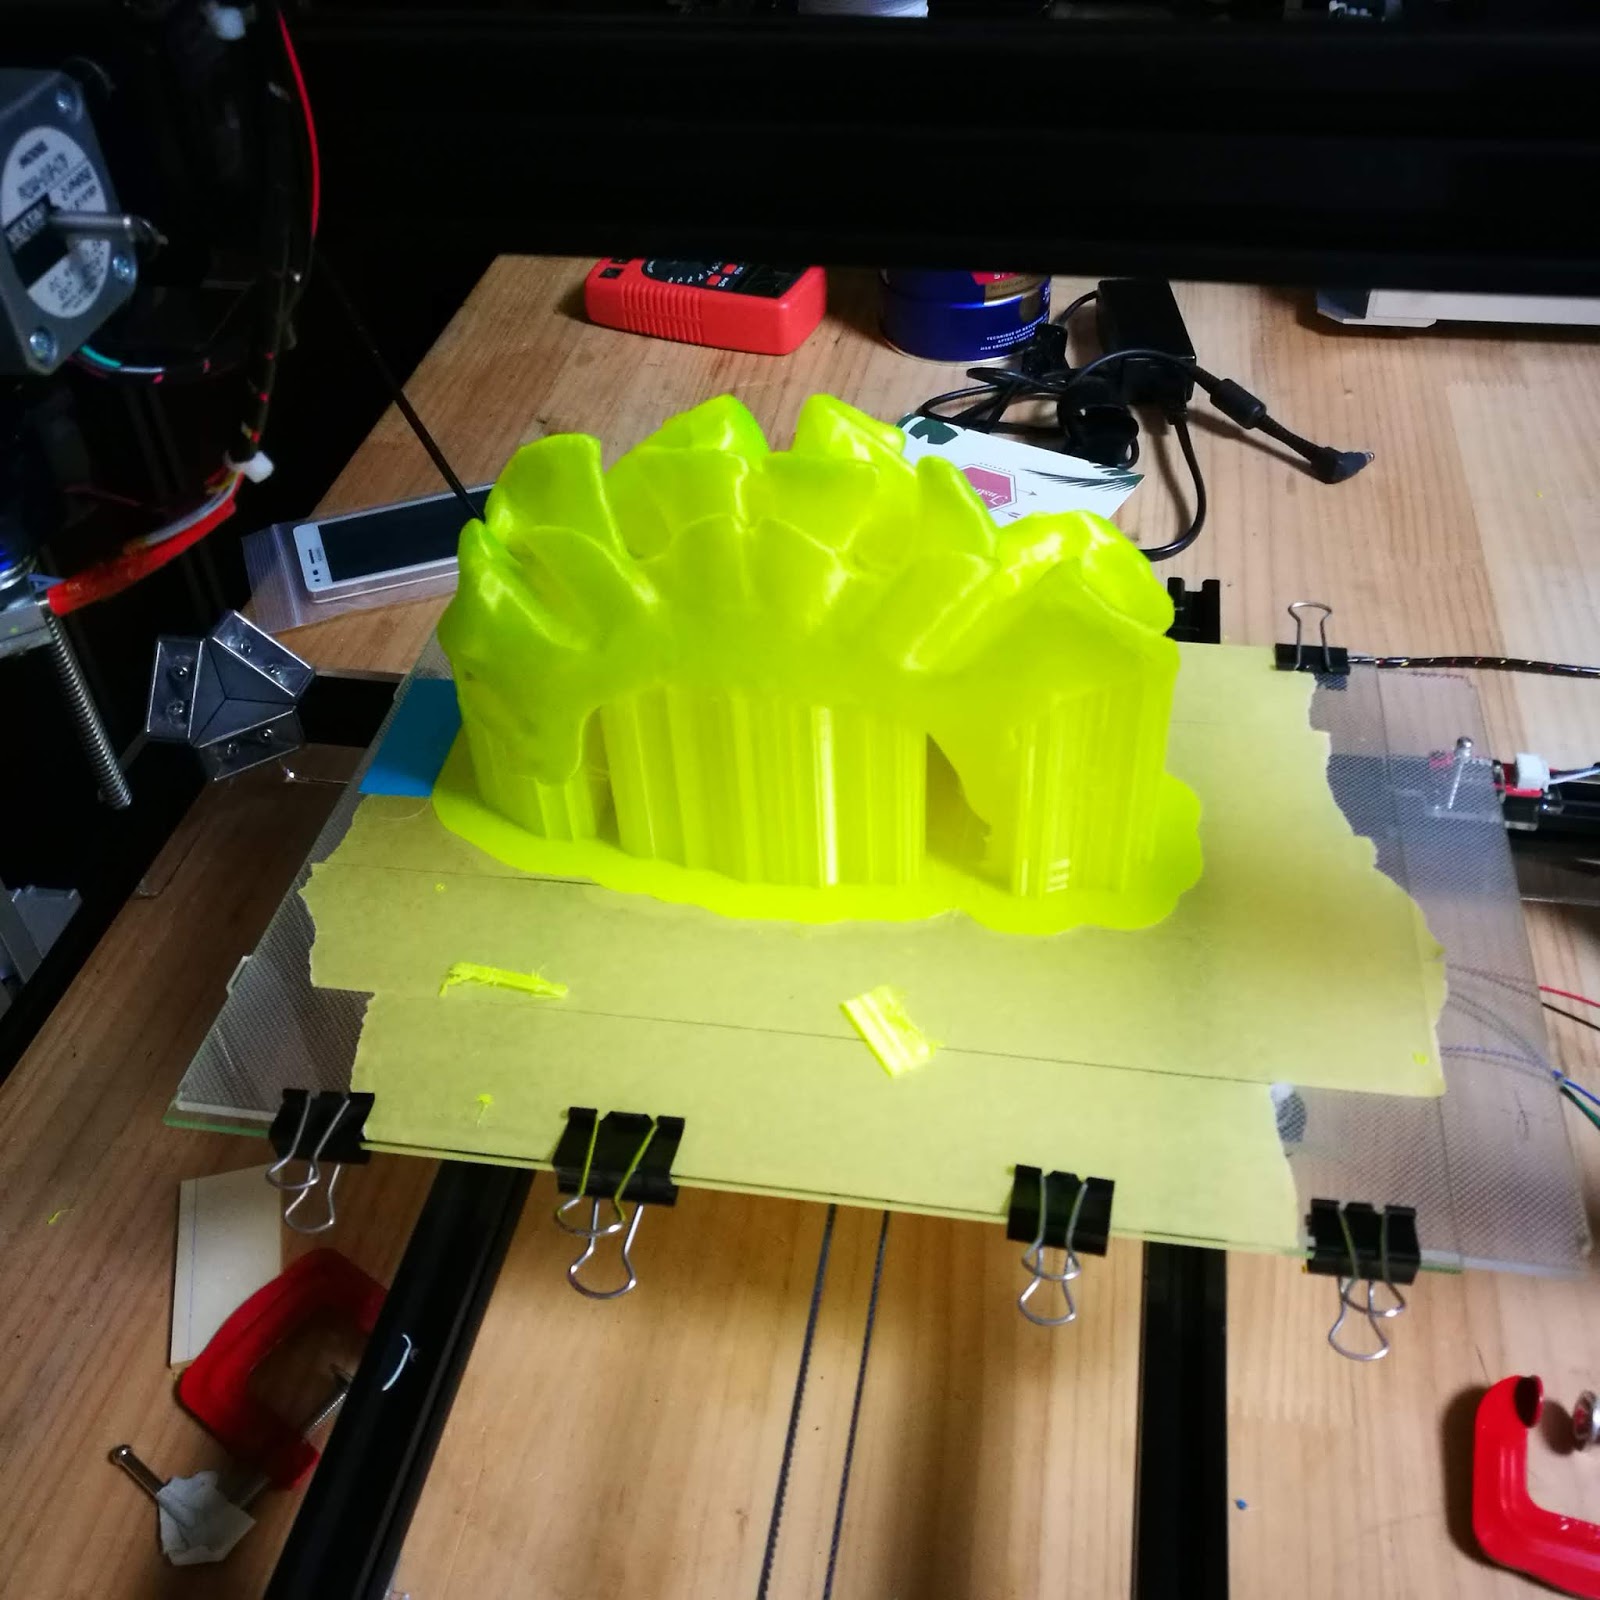
充填が無いのでいきなり空中に床作っているところがあり、穴が開いていますが、外形はほぼできています。形状確認には十分でしょう。
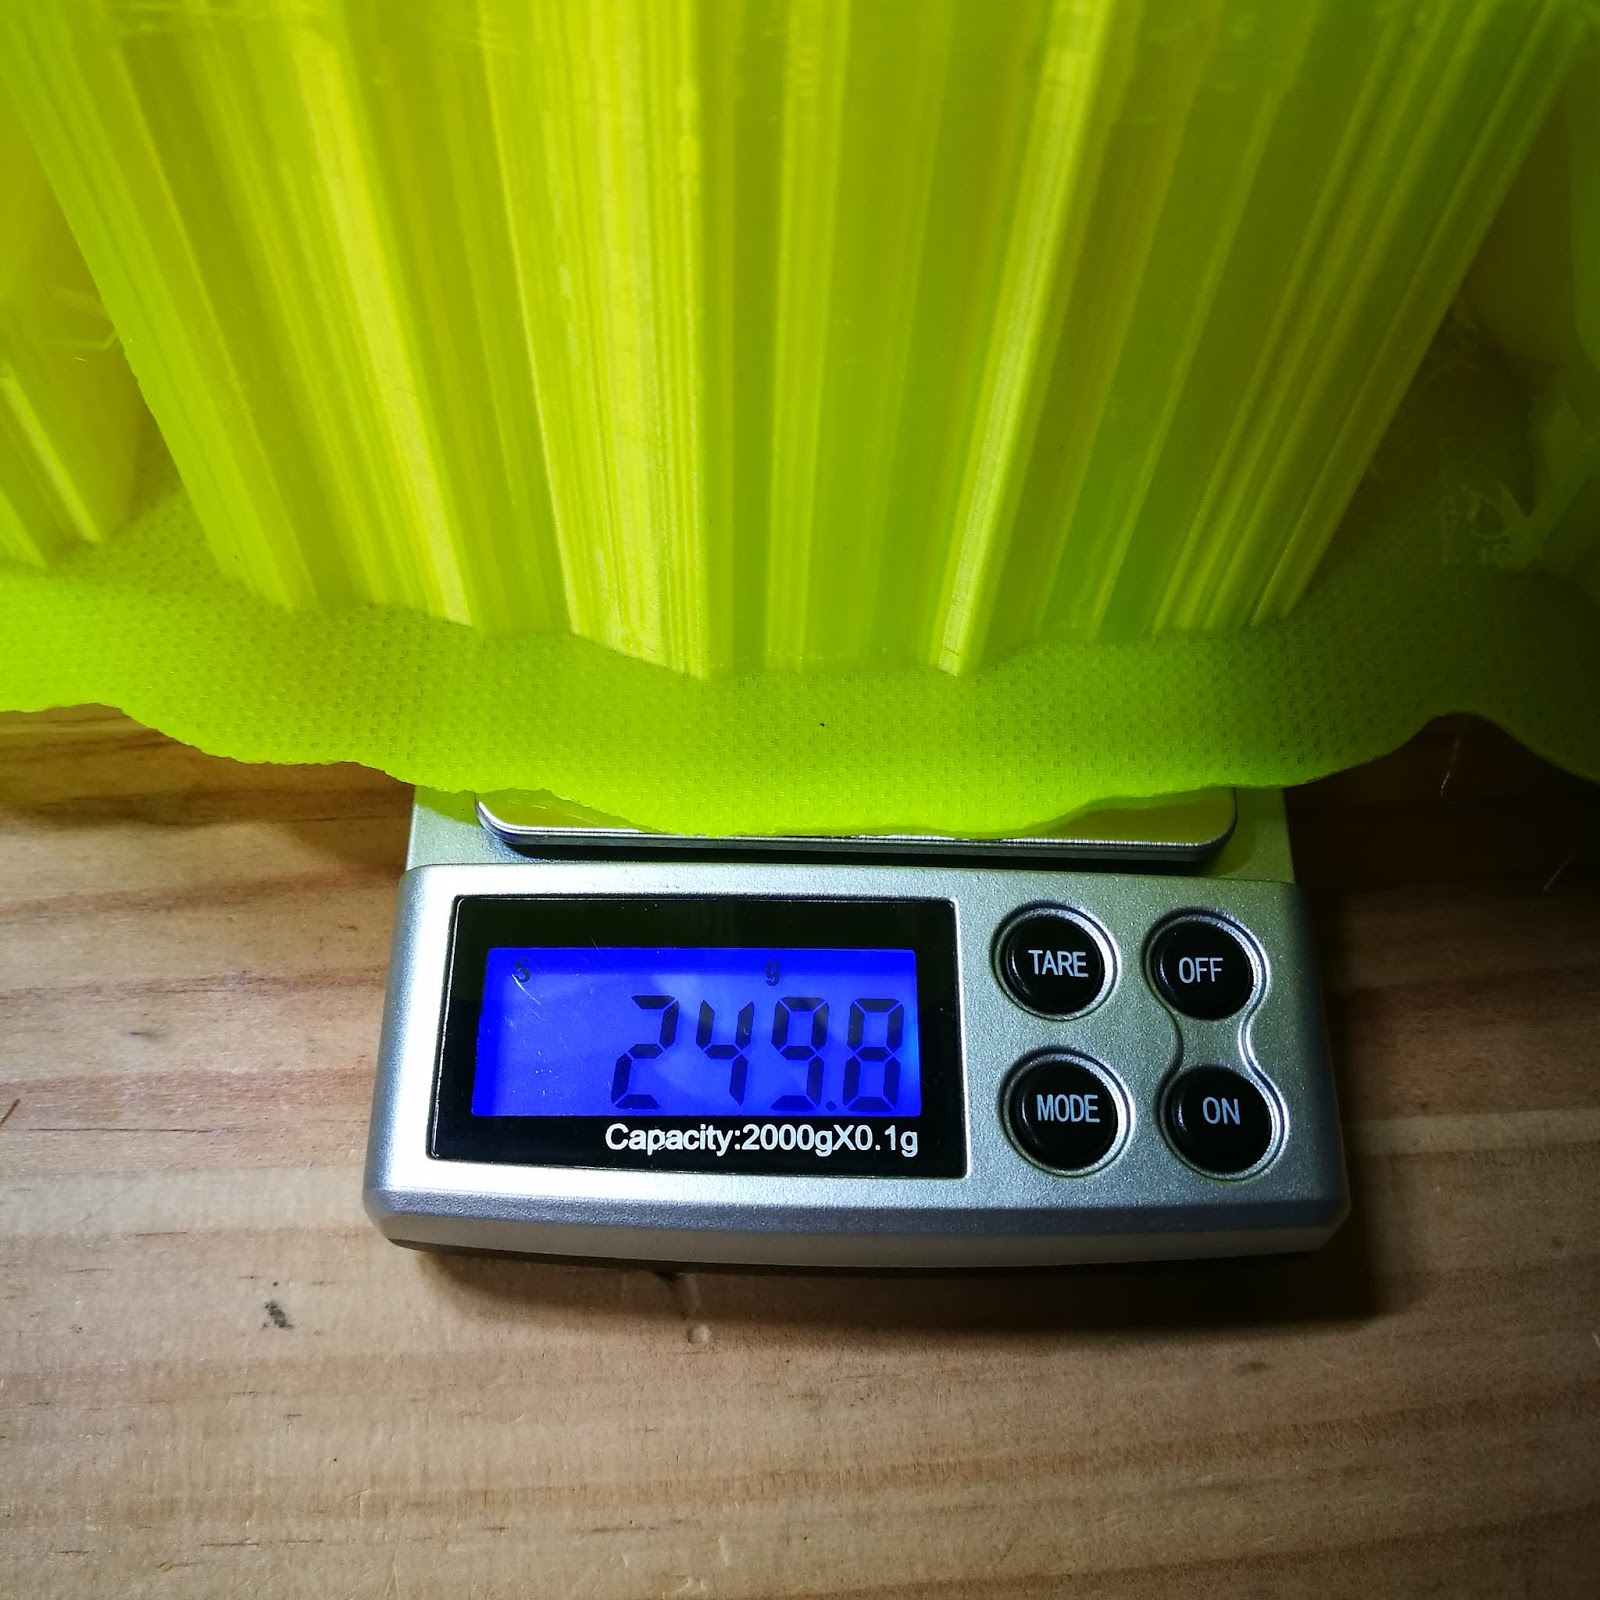
ラフトごと外します。

250gありました。フィラメントの1/4を消費。
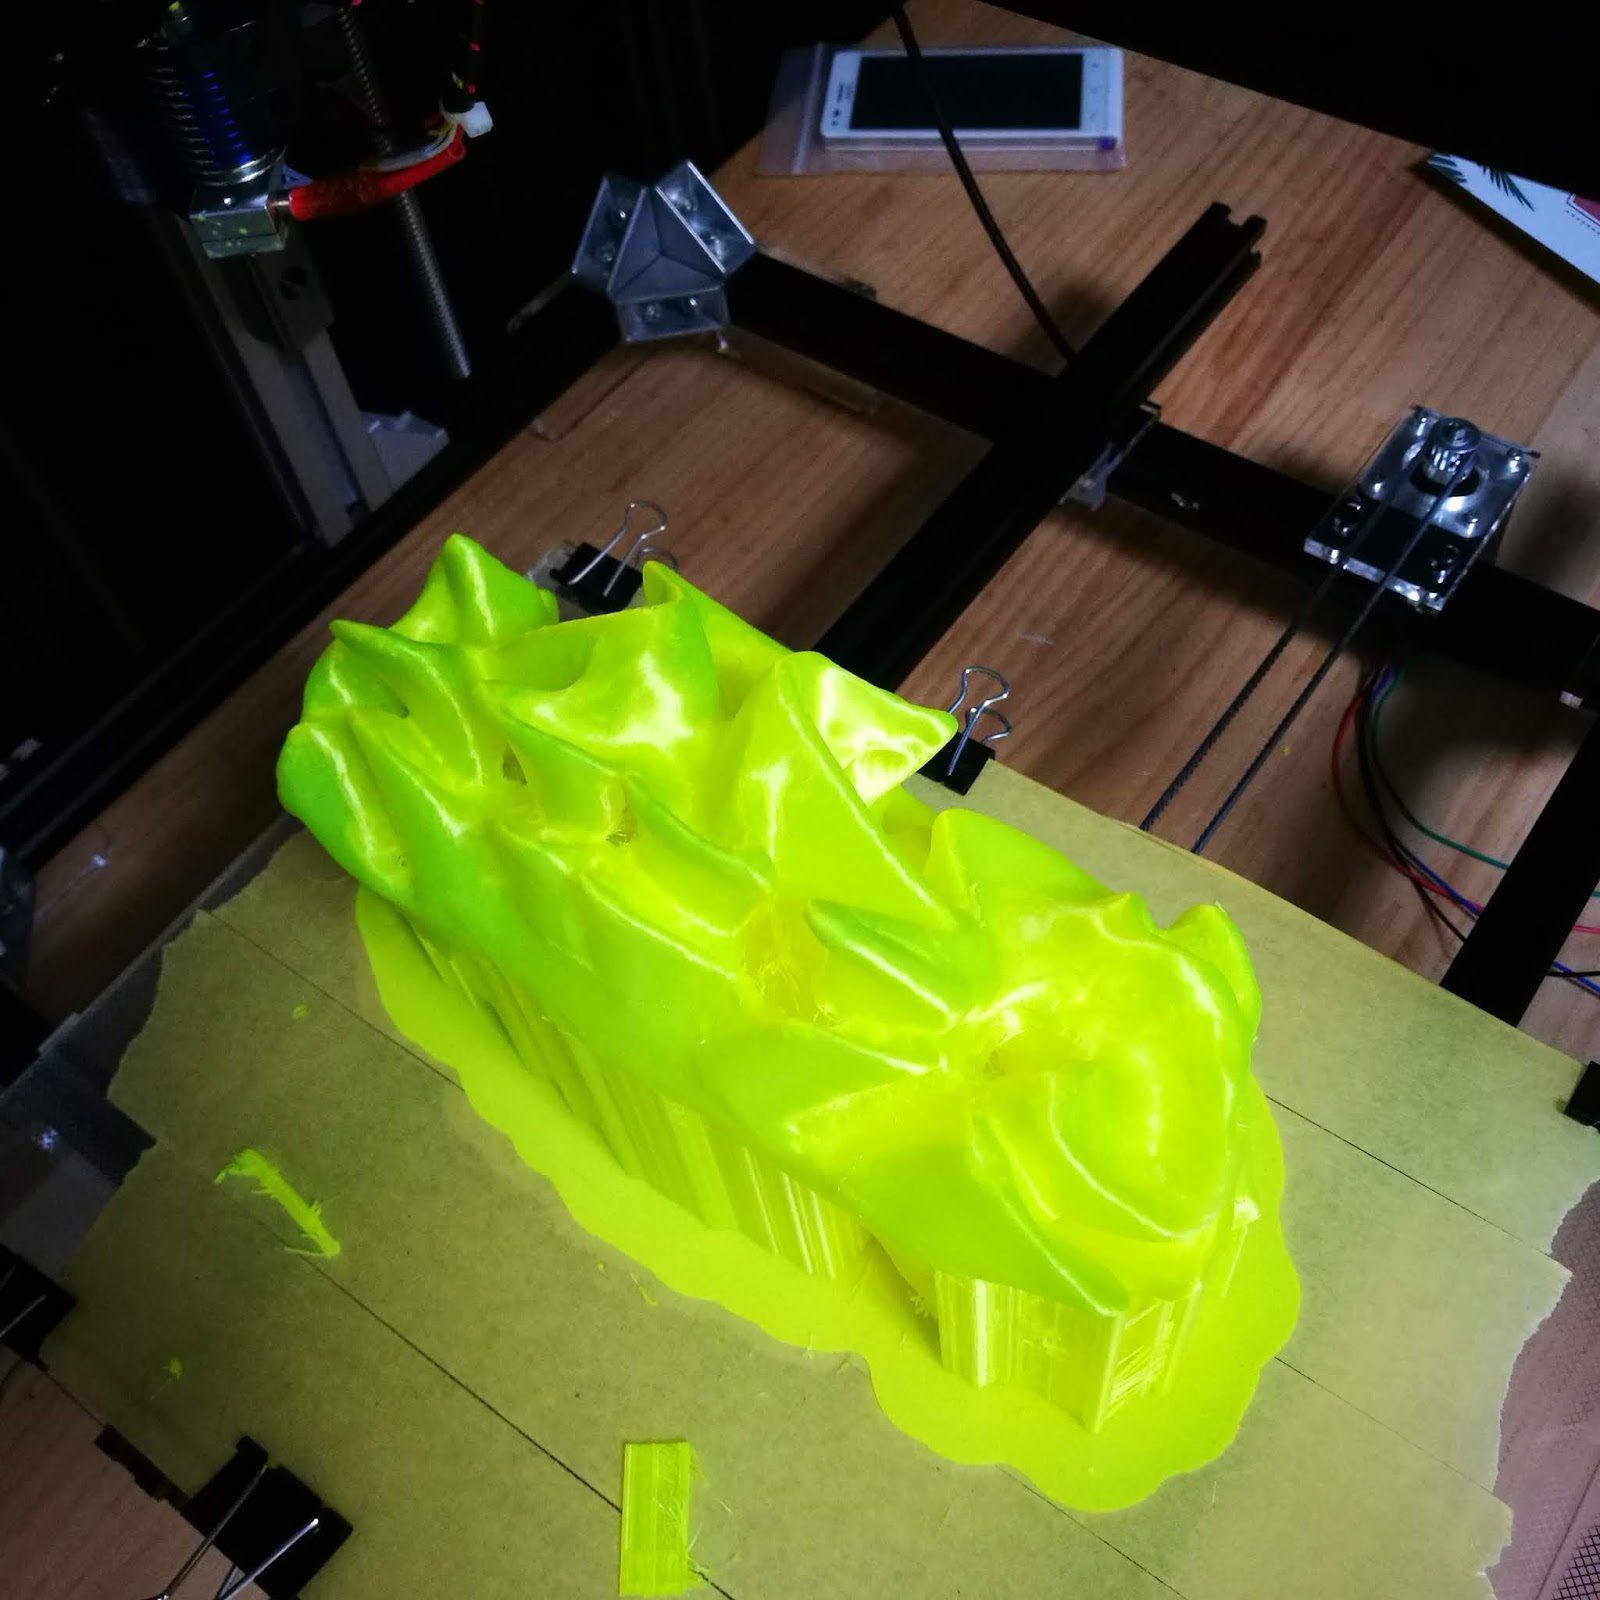
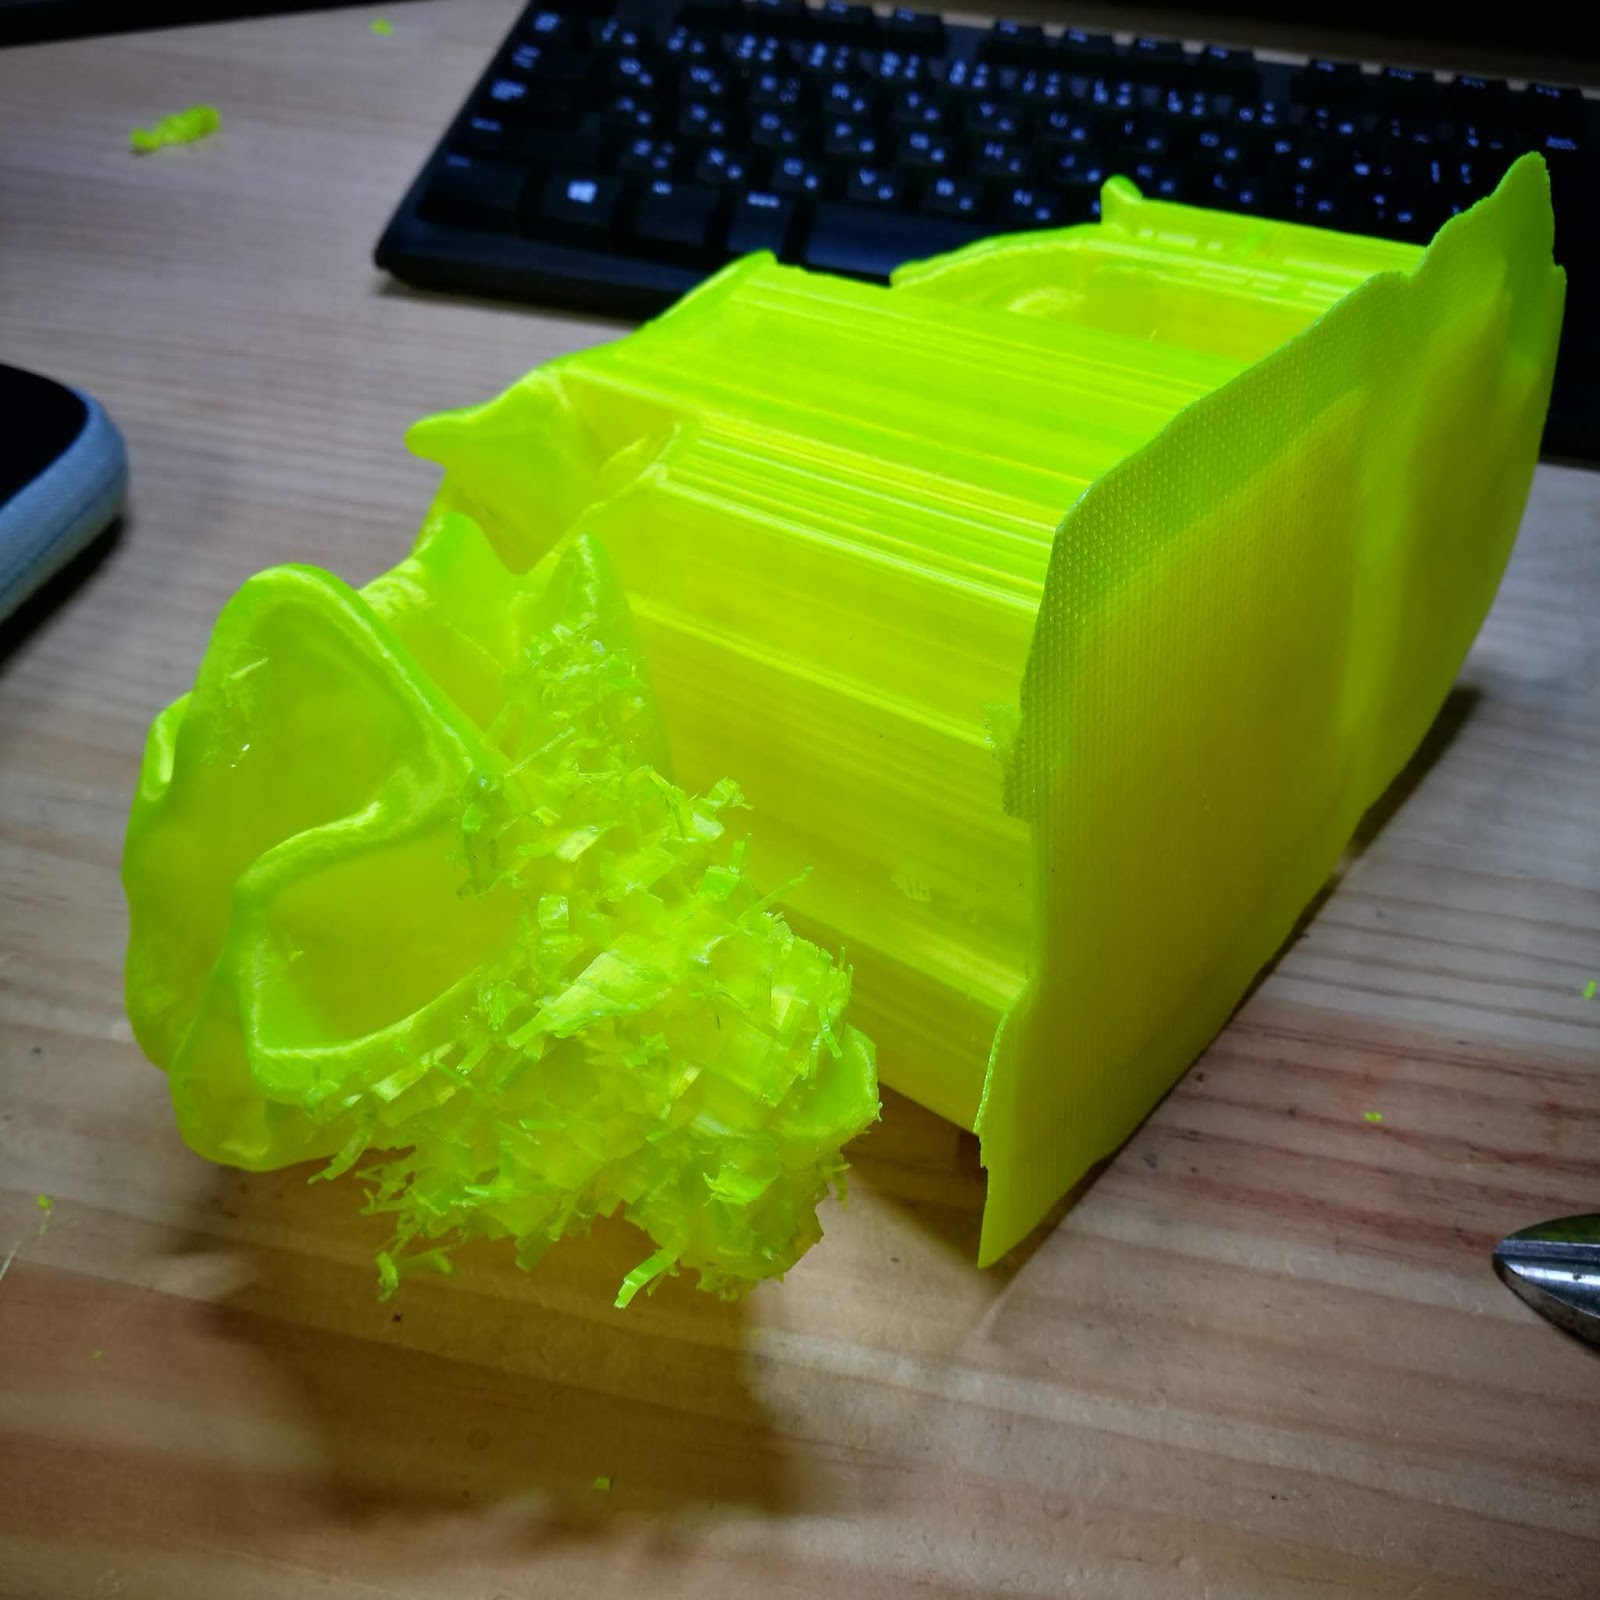
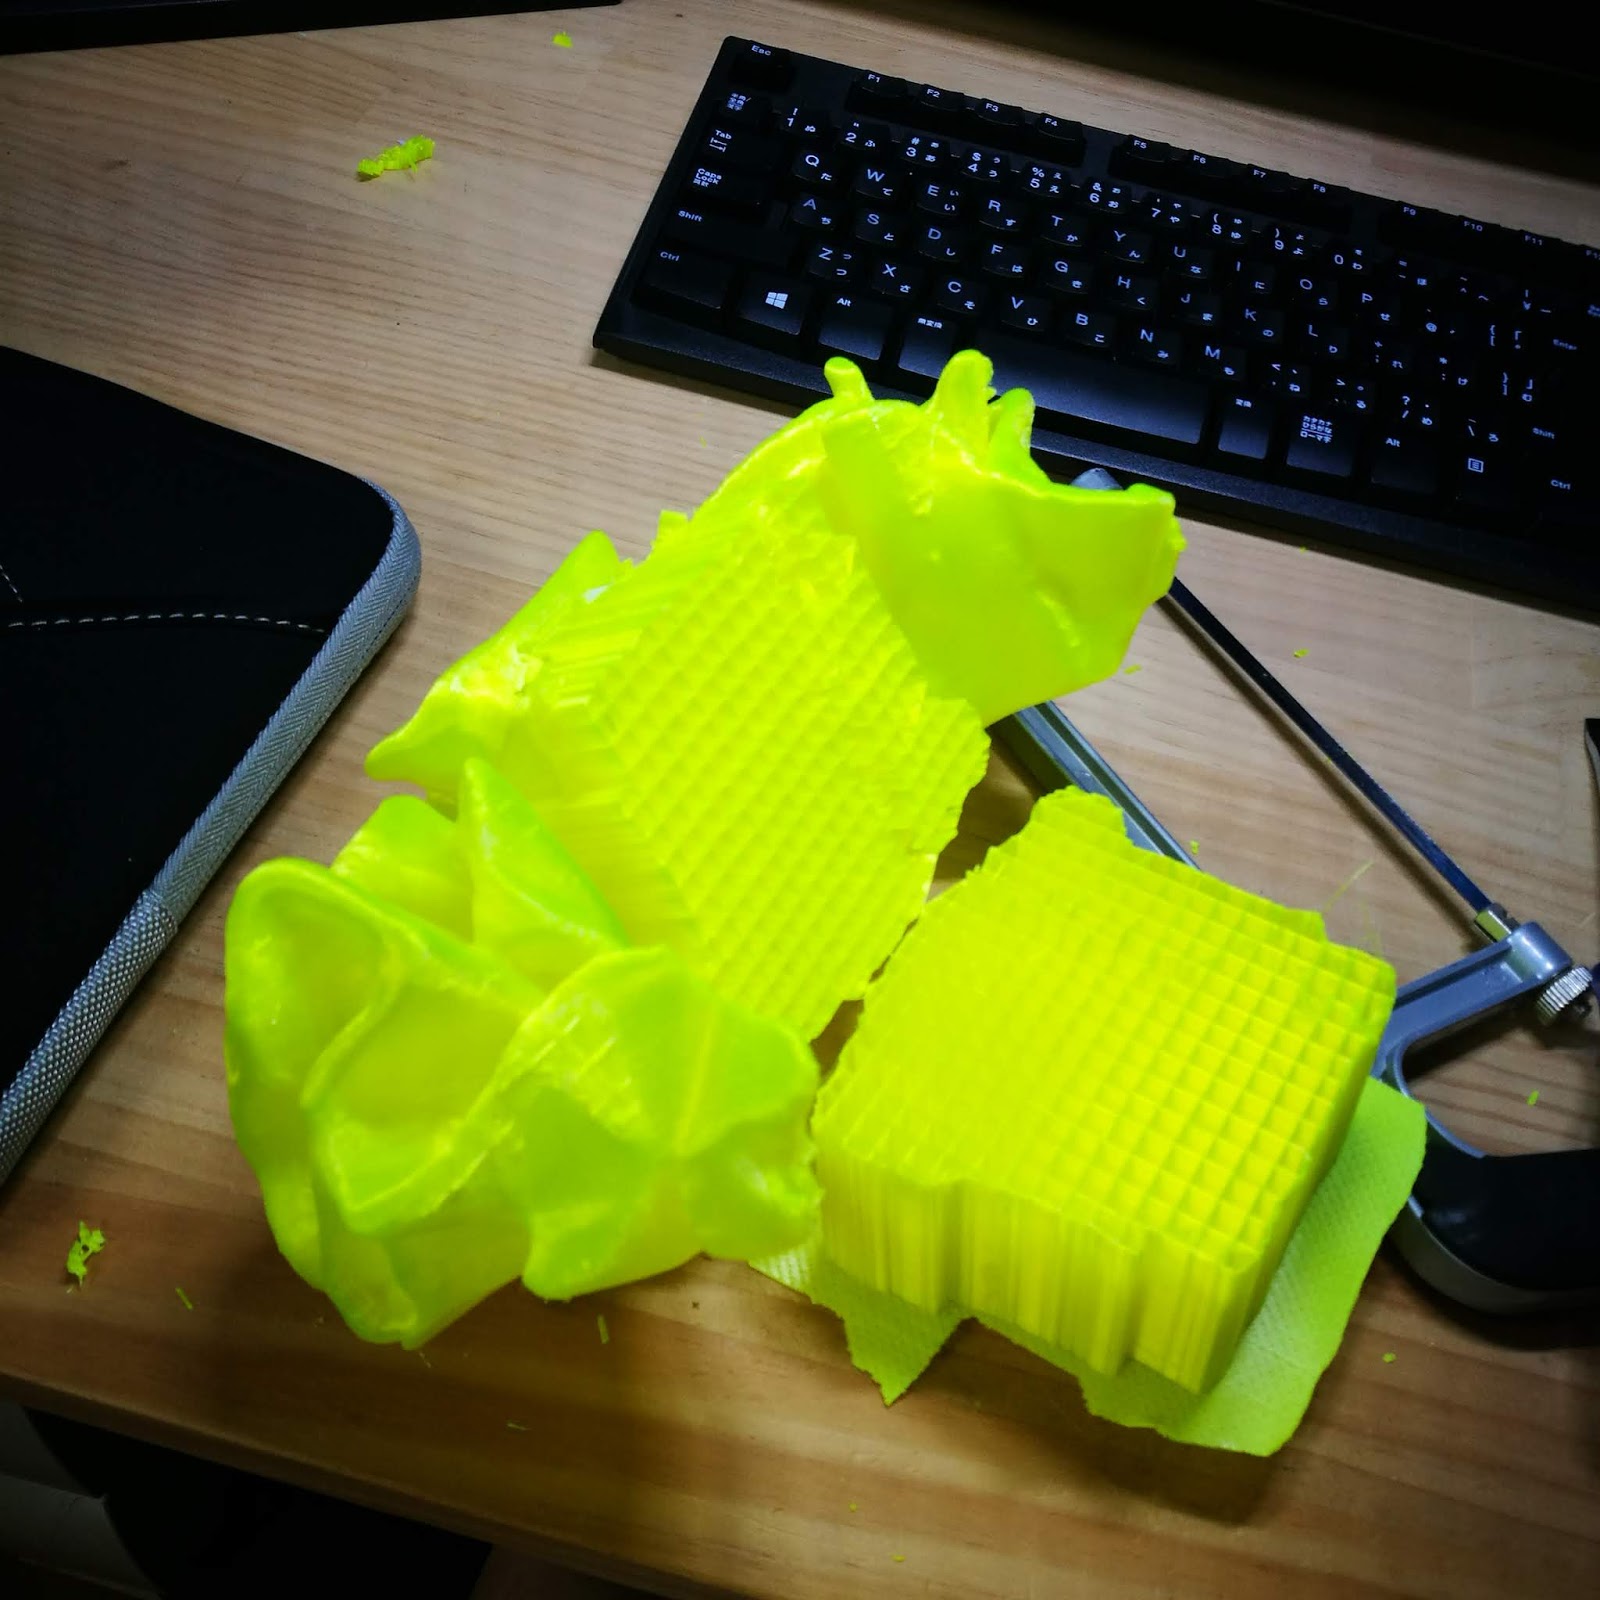
サポート材外しに入ります。

あっちこっち穴が開いていますが、データ通りの形状です。自分で編集した跡がしっかり残っていて、苦労して修正したのを思い出します。
サポート材を外していきます。がっちりついていので大変。
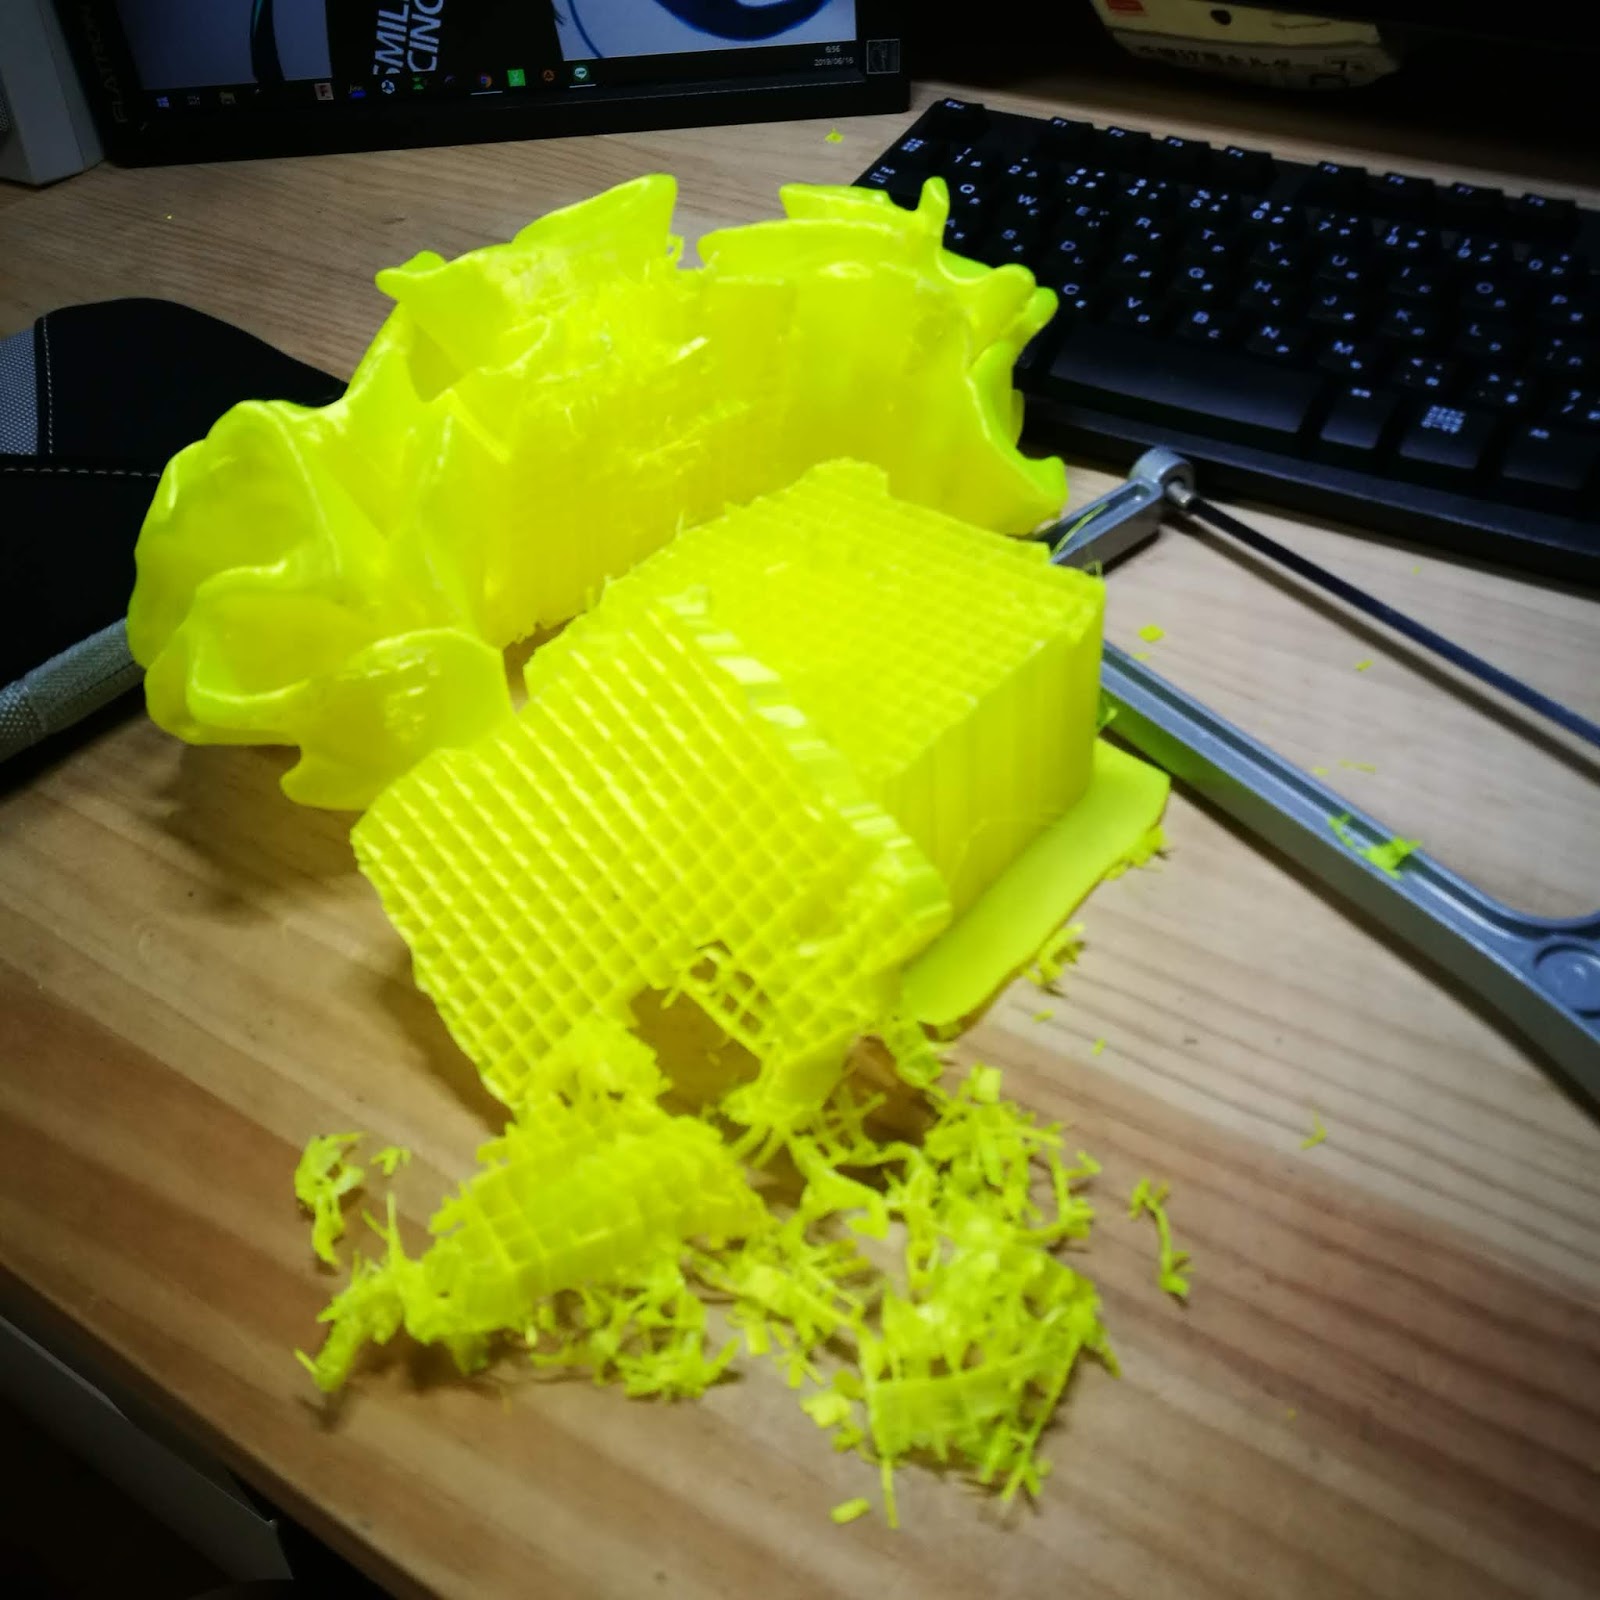
ニッパー使いながらちまちま進めて、
ここまでくれば、中央部は腰が入るところなので全部サポート材。

のこでぶった切って、
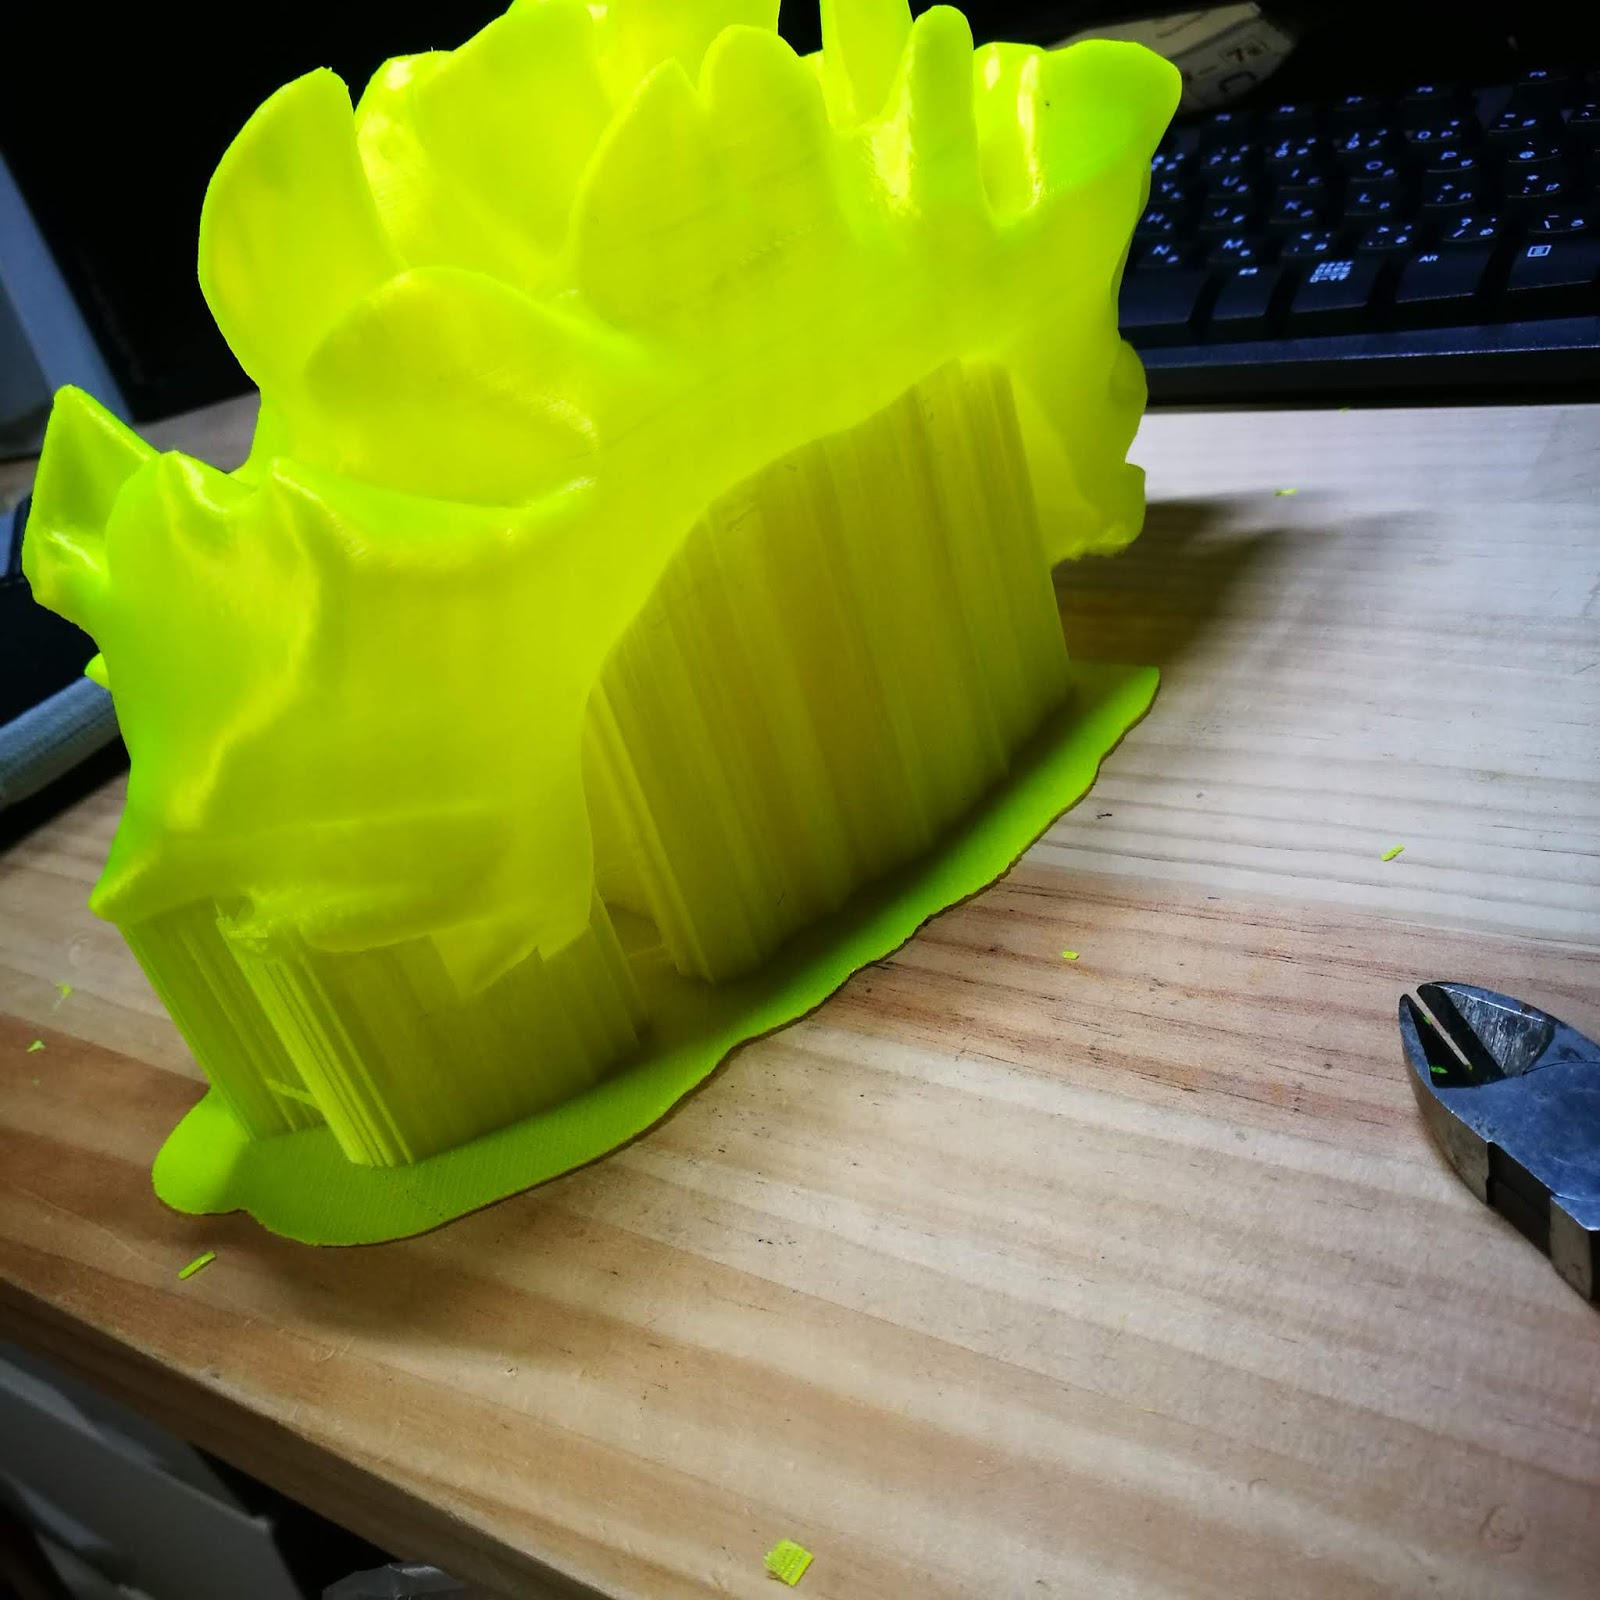
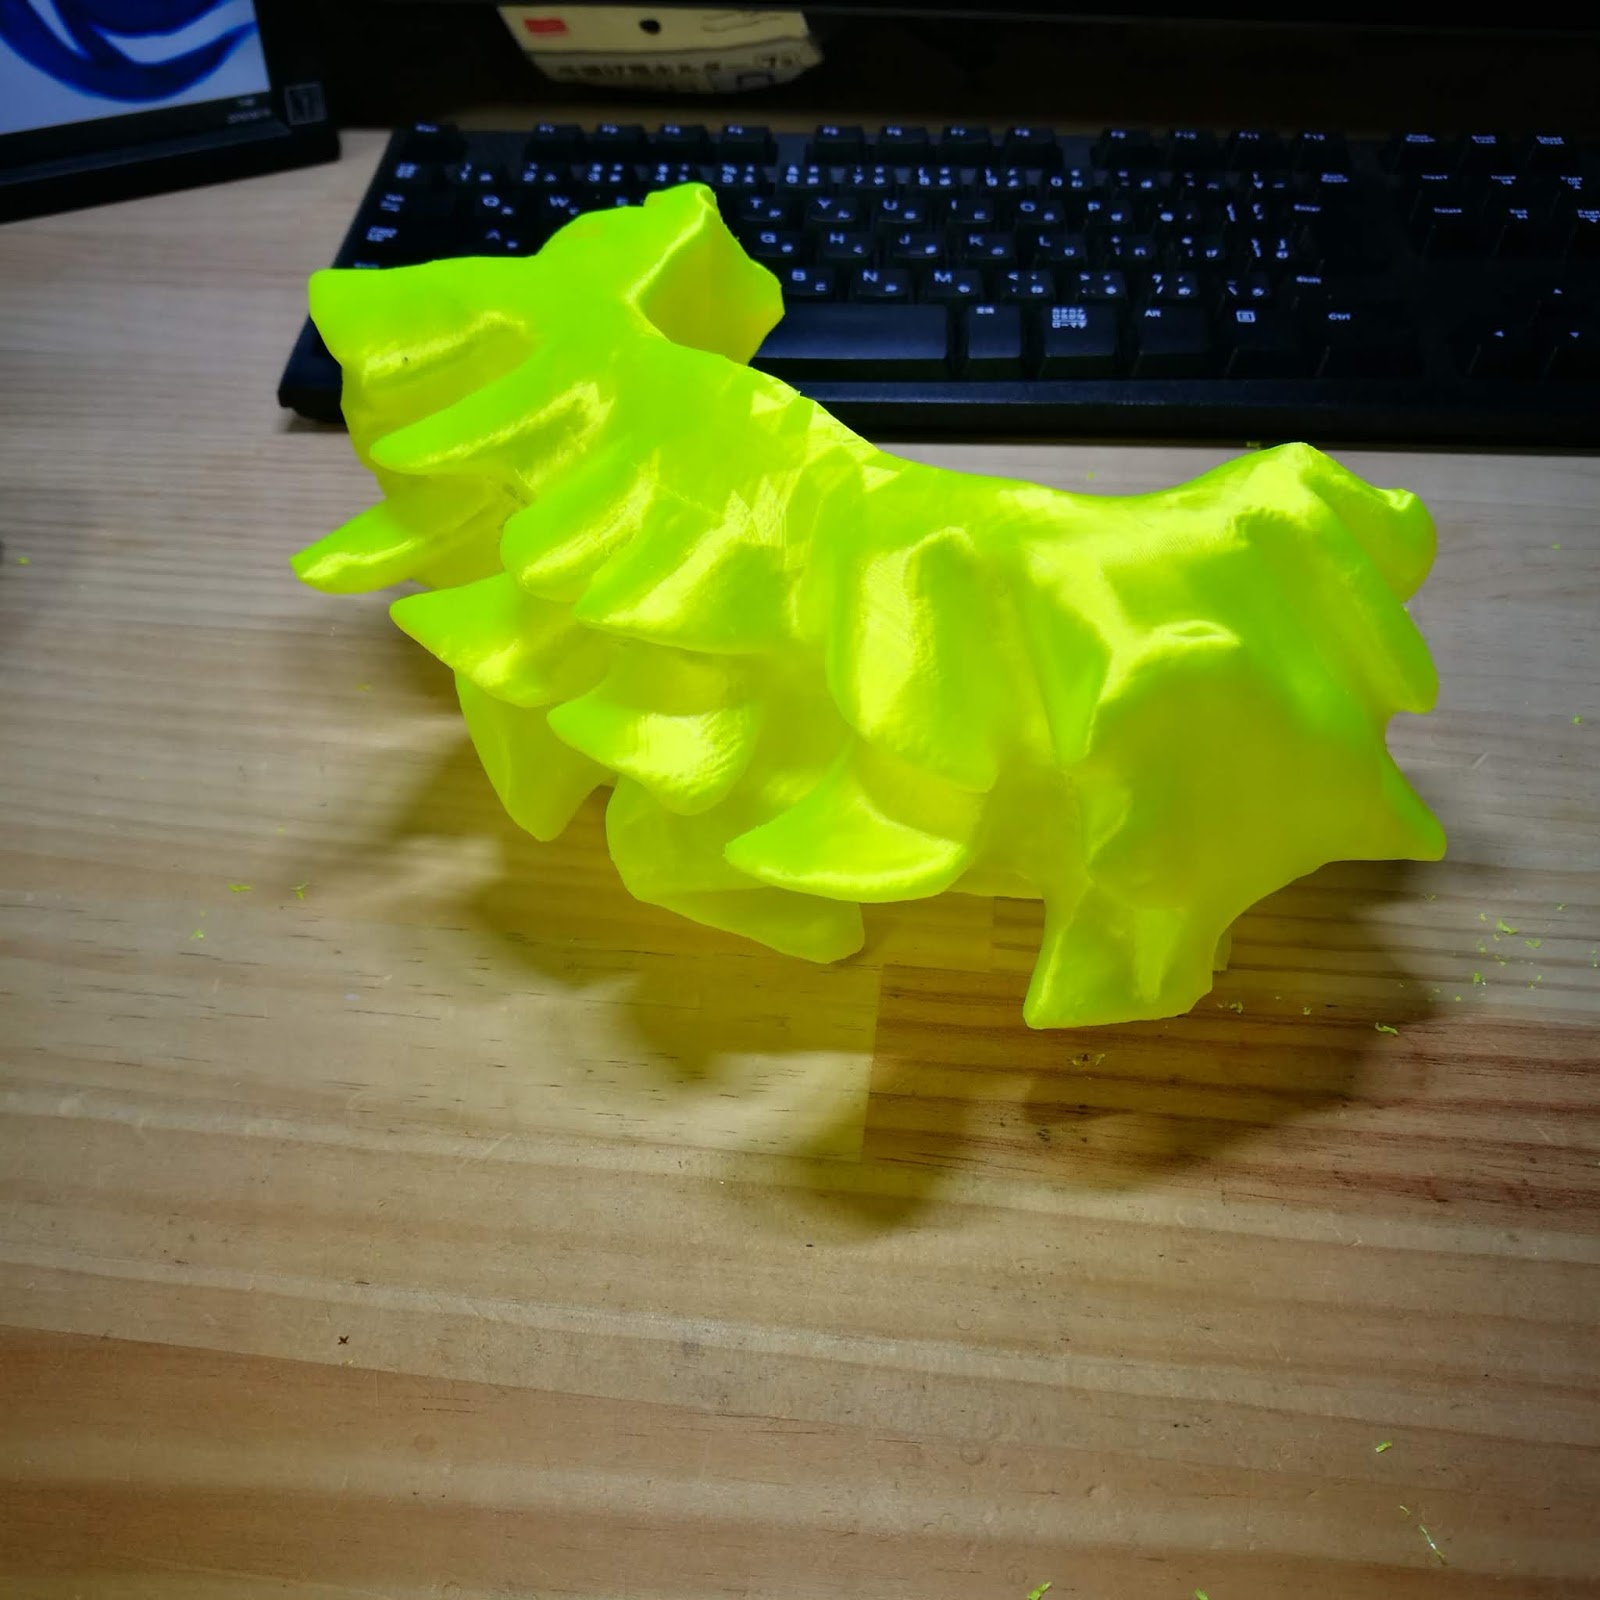
大胆に外していきます。ハチの巣みたい。
ほぼ掘り出せました。
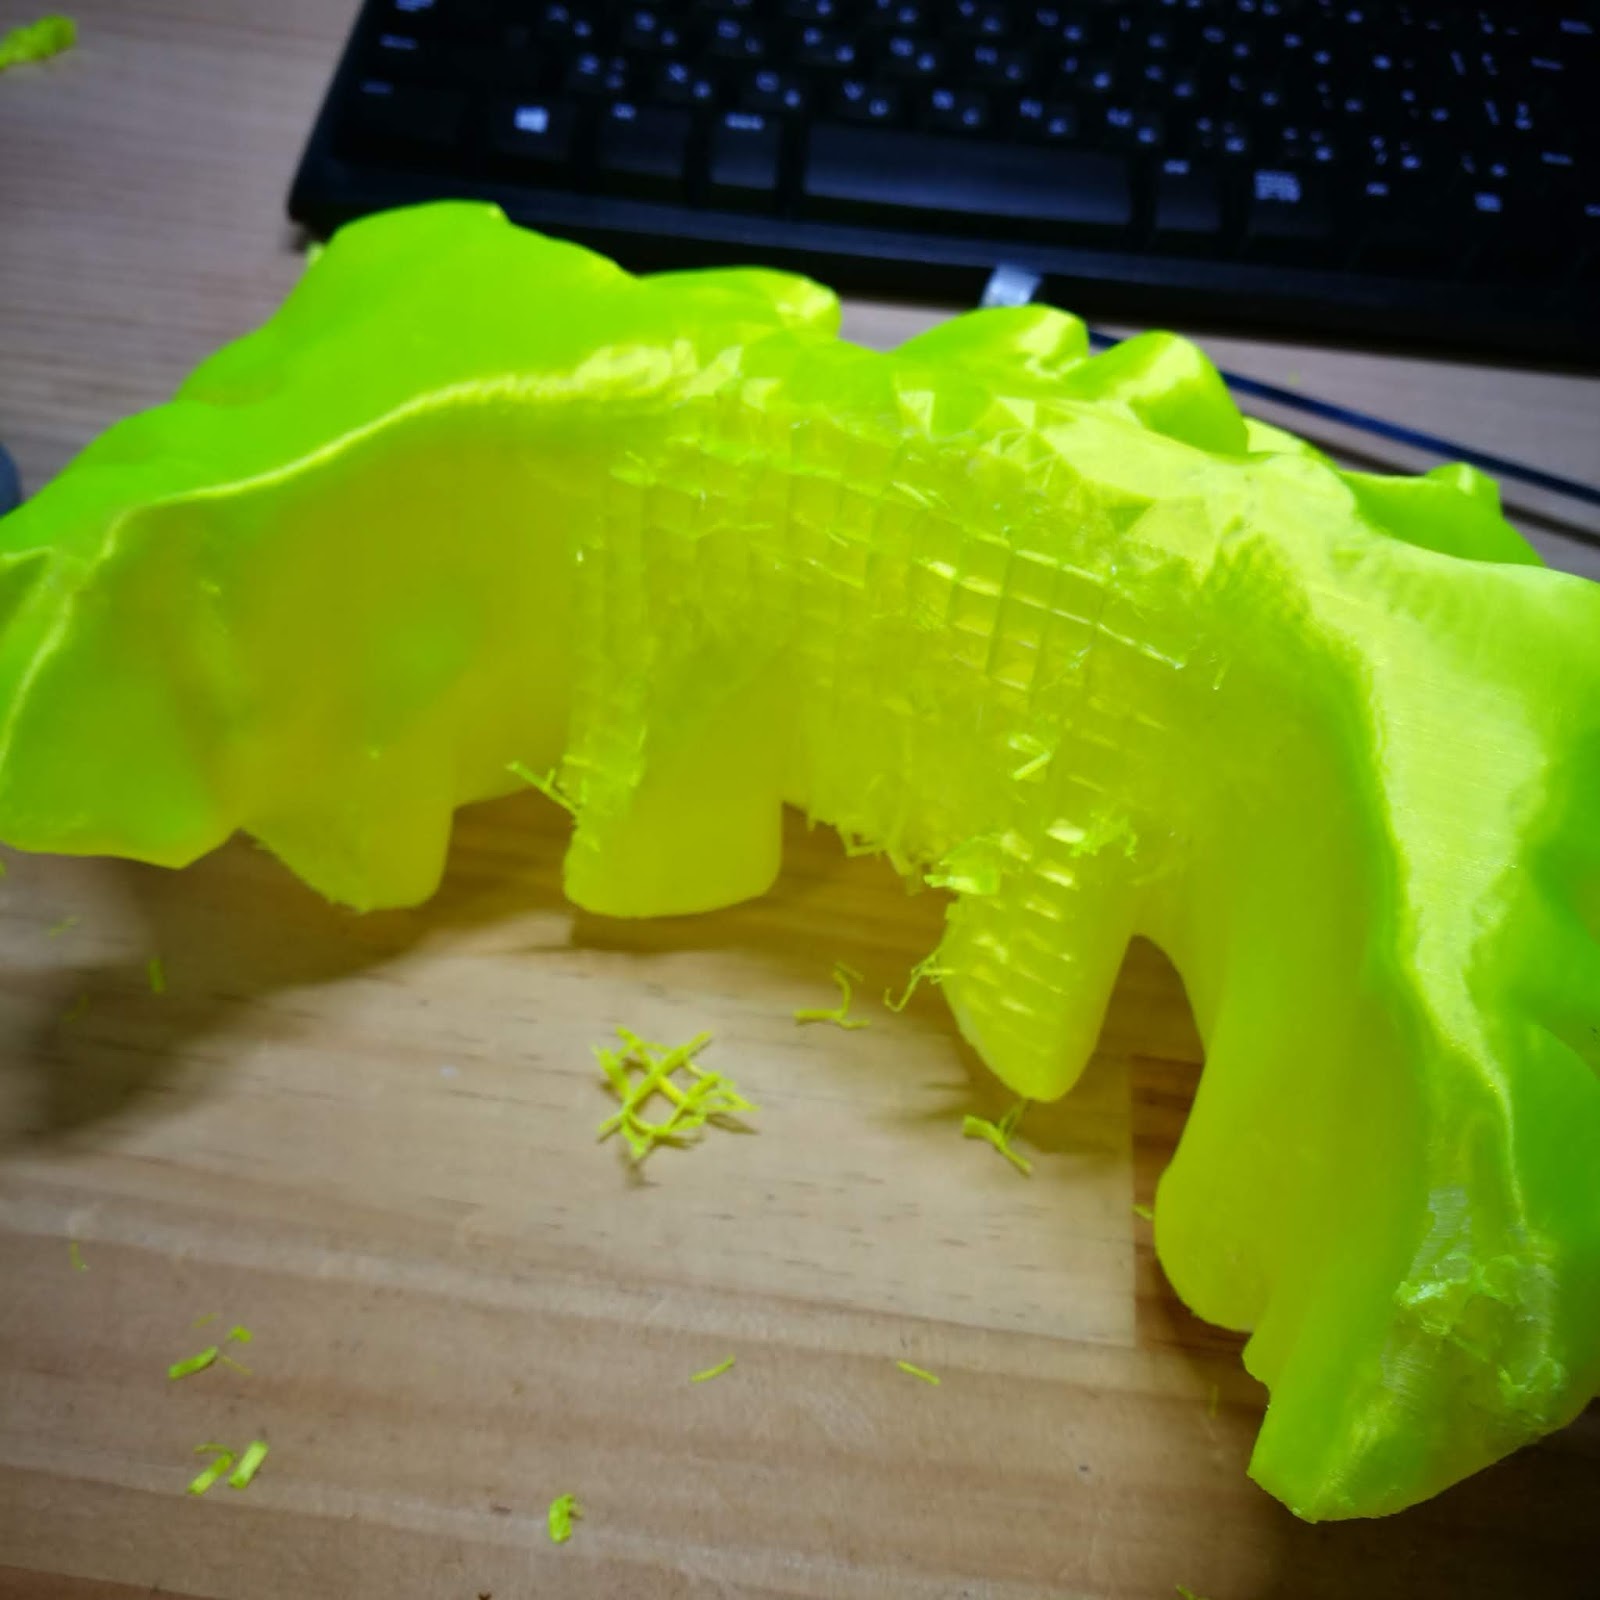
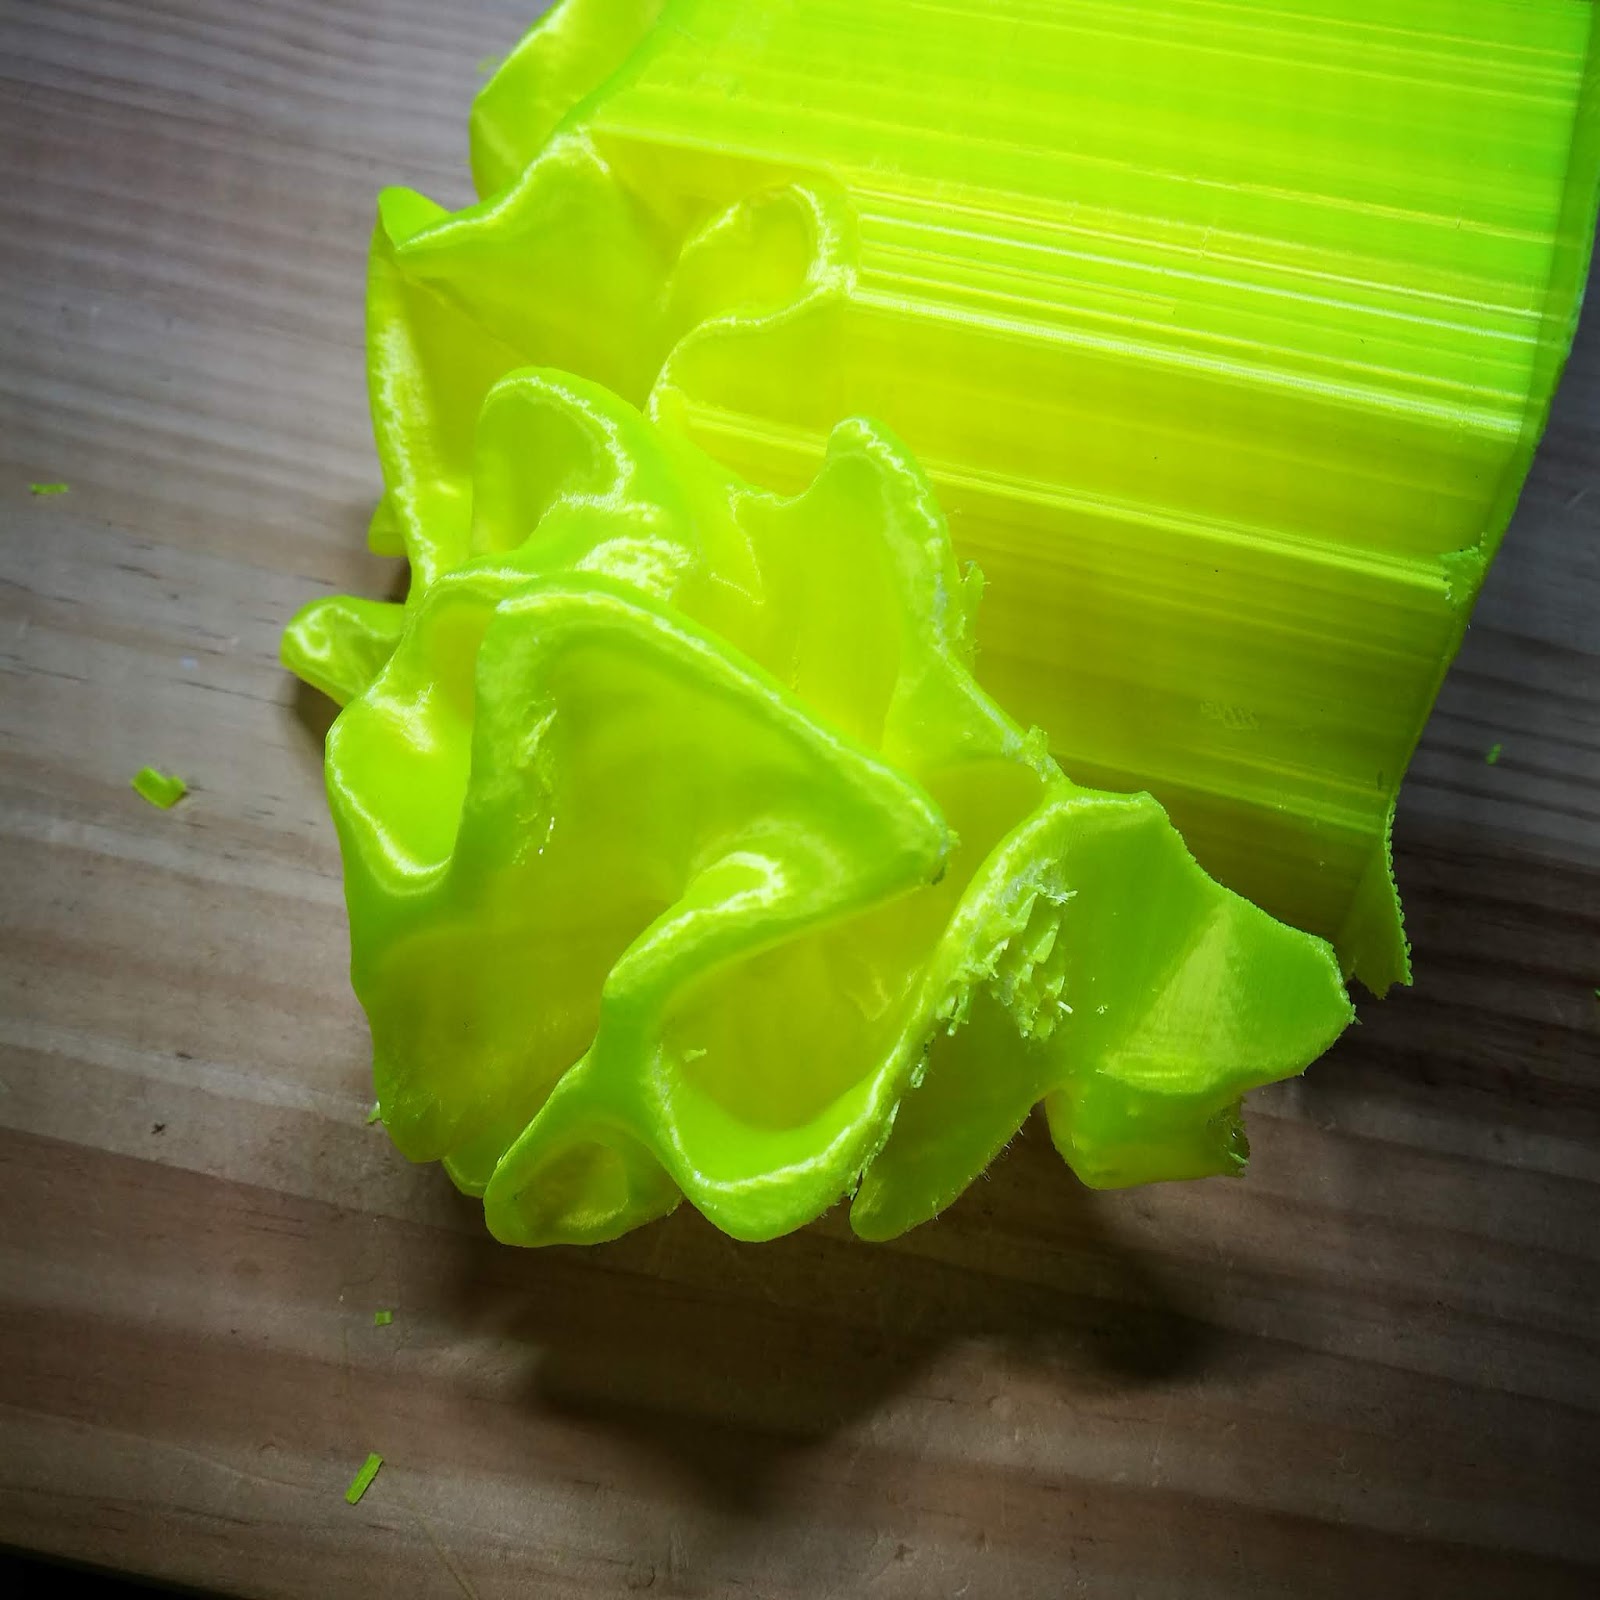
細かなサポート材の跡を根気よく外していきます。
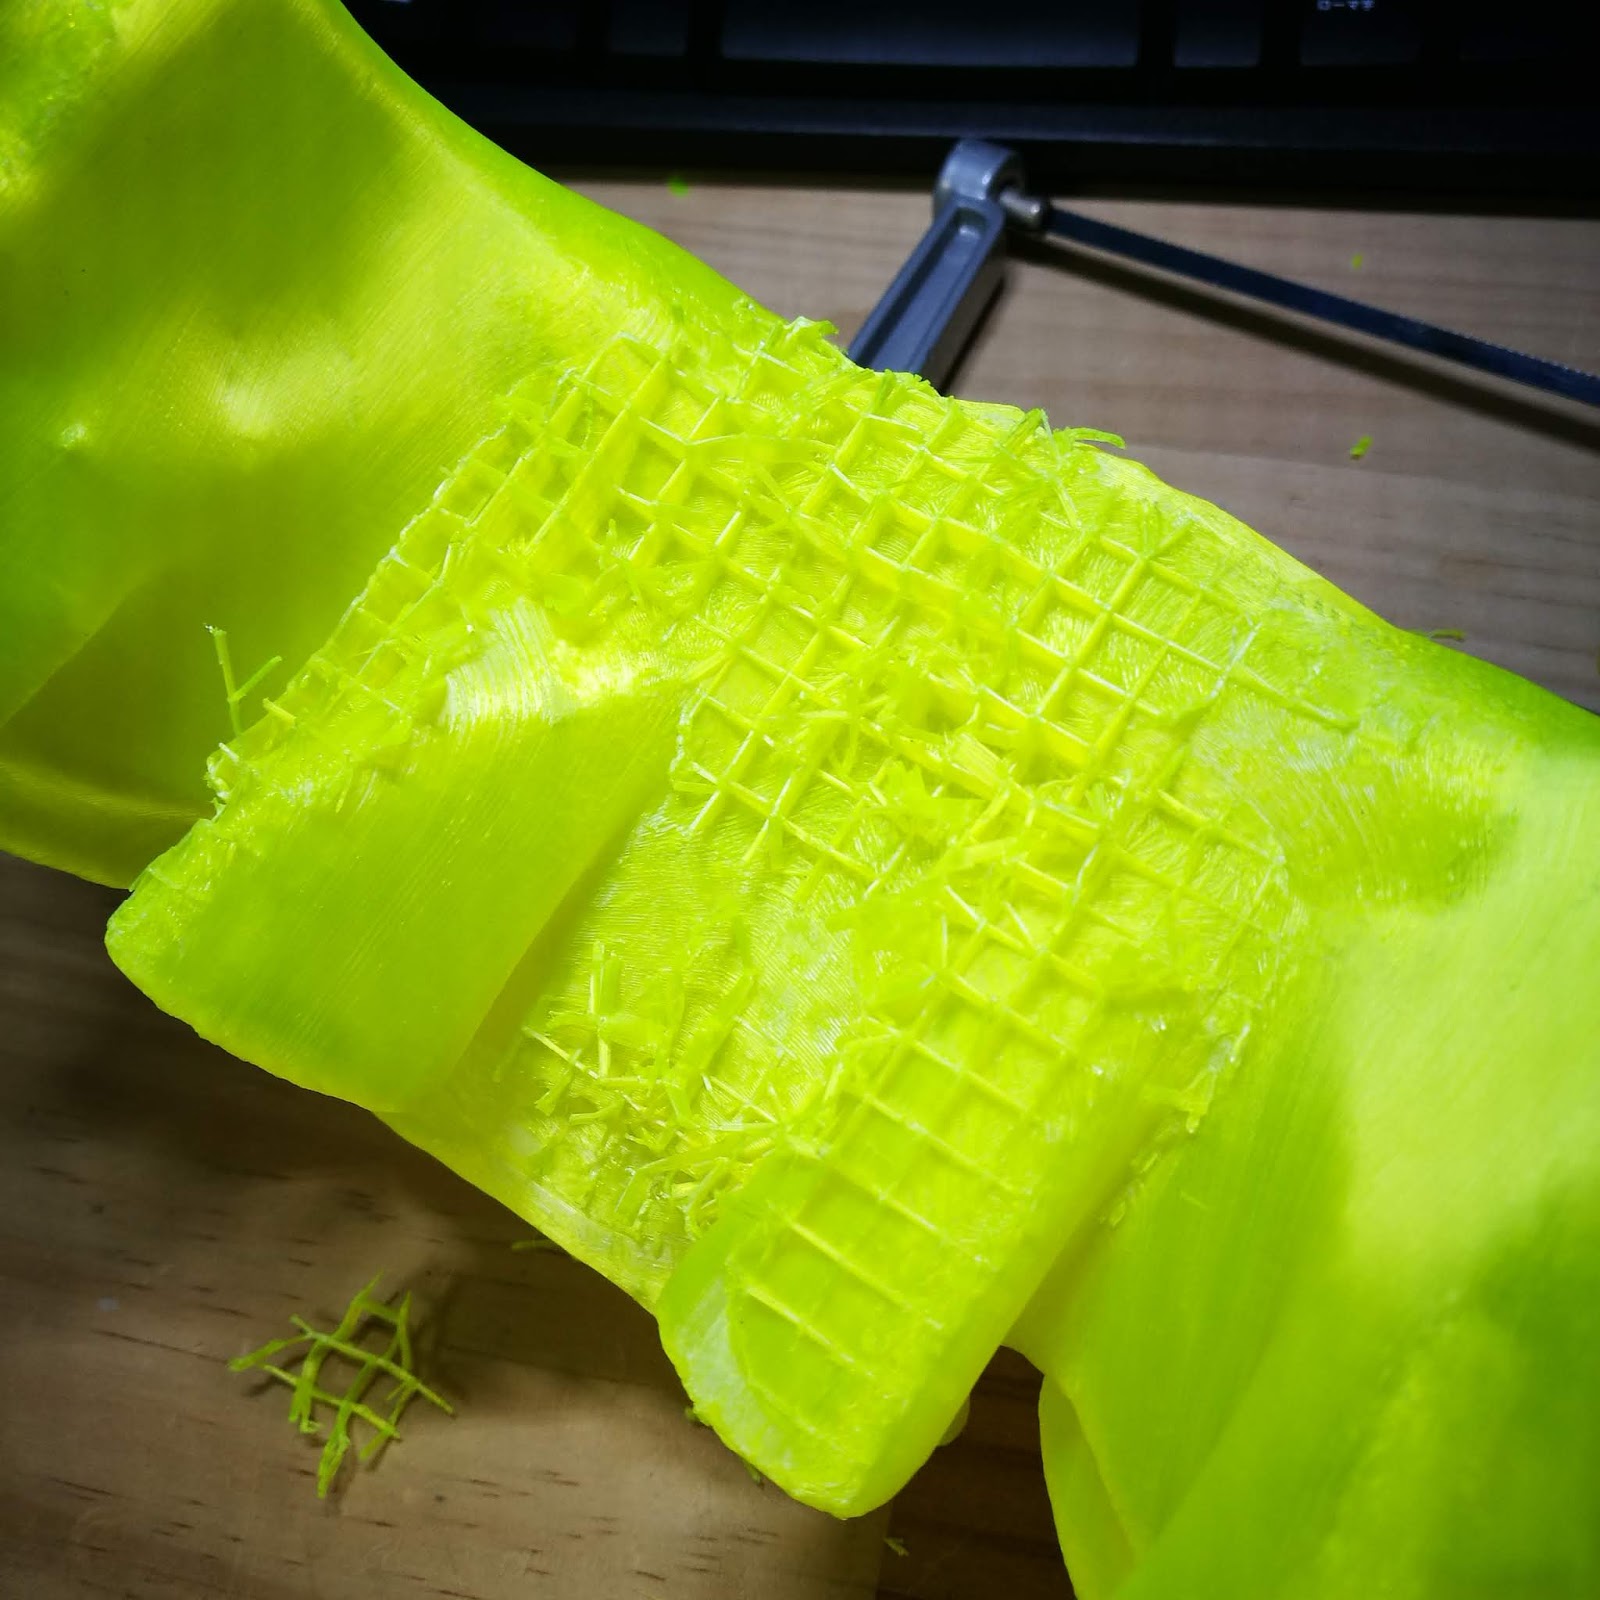
こんなもんかな。あたりの確認には十分でしょう。


あちこち穴が開いているのですが、フリルの奥なので全く分かりません。
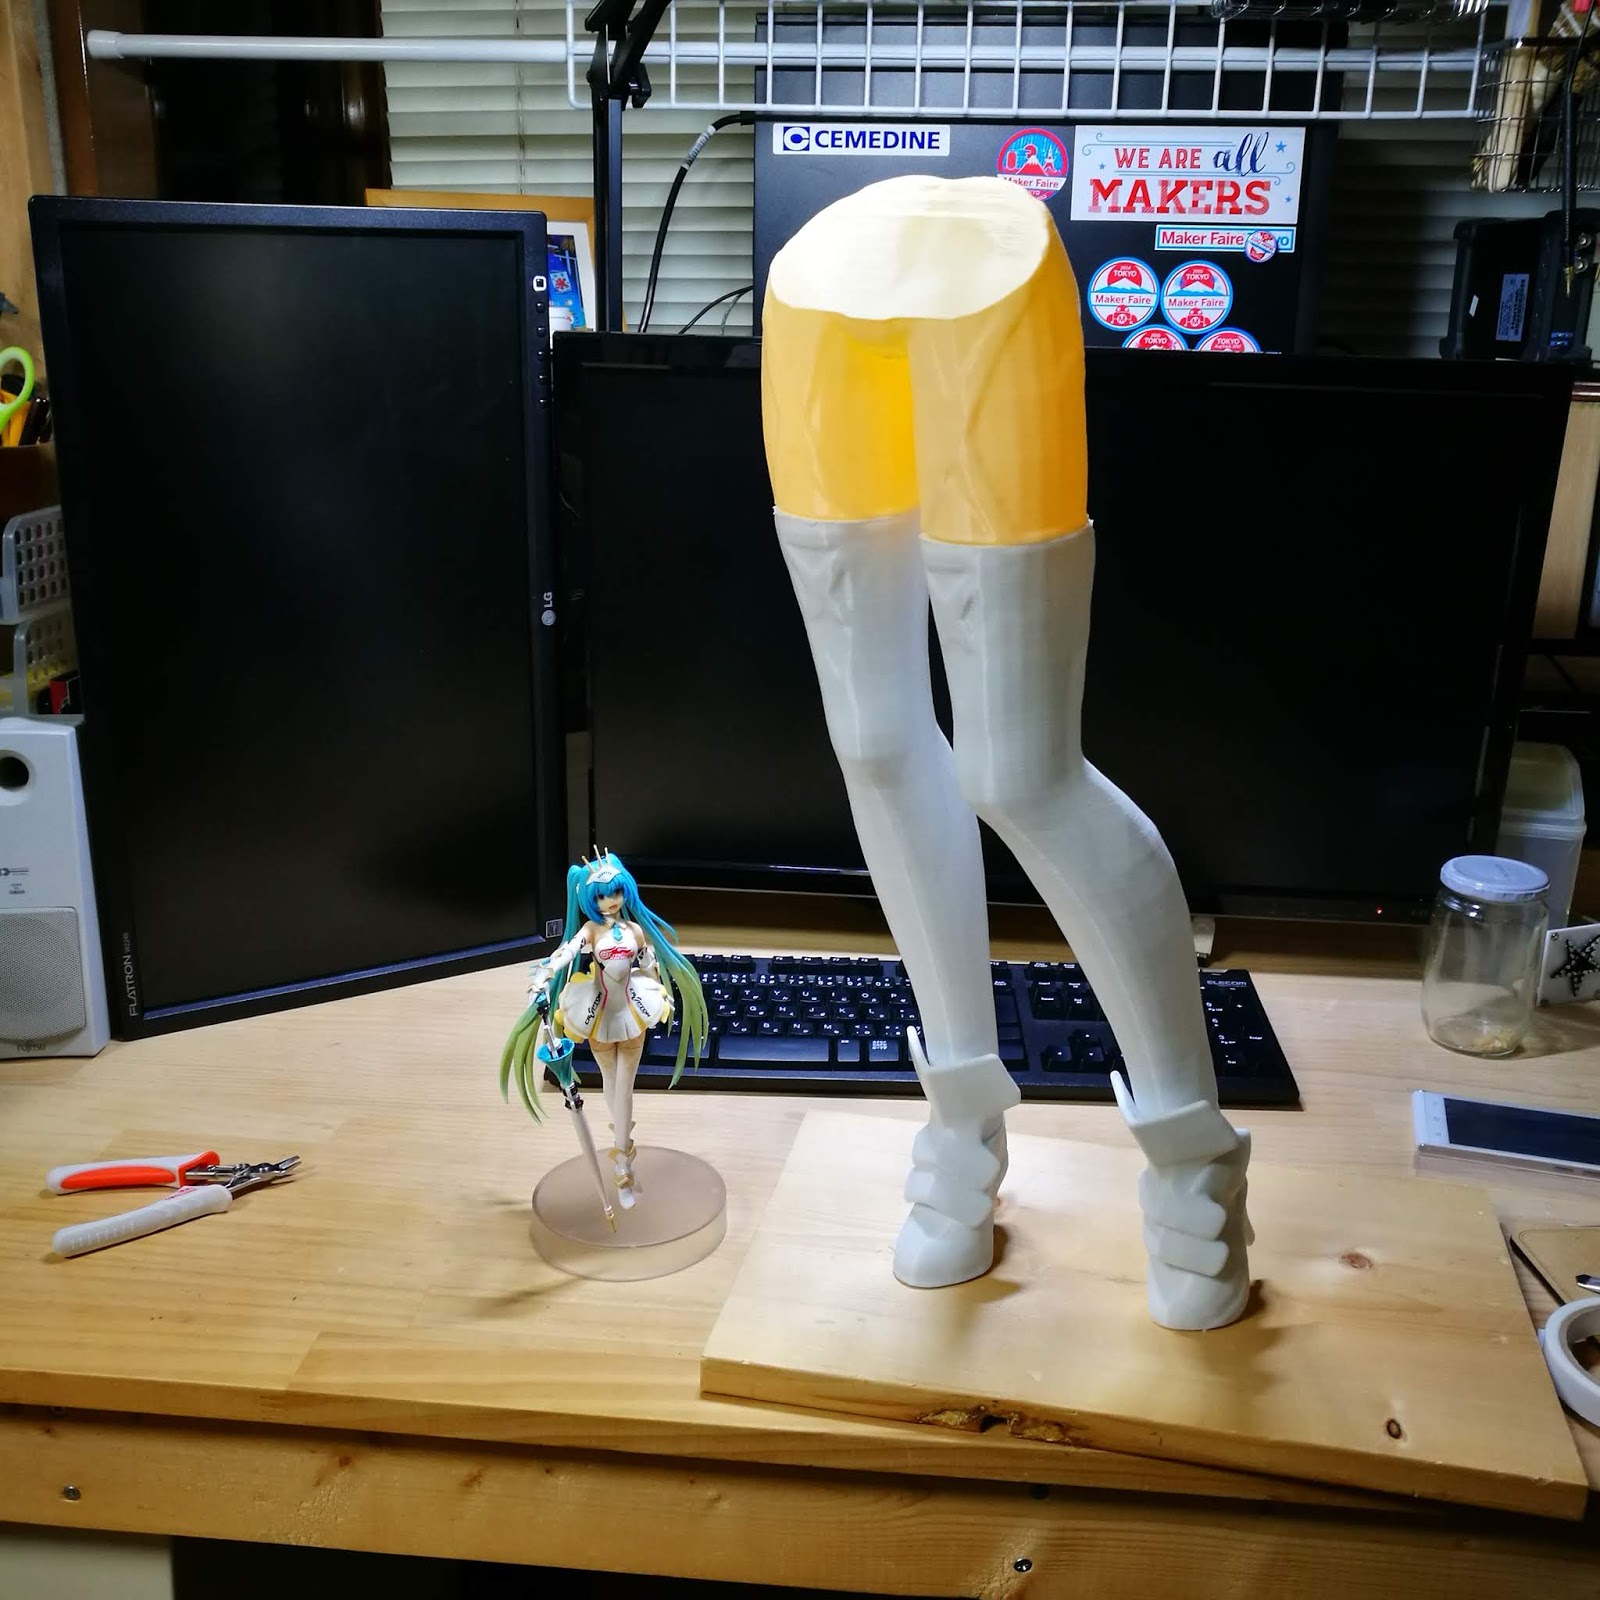
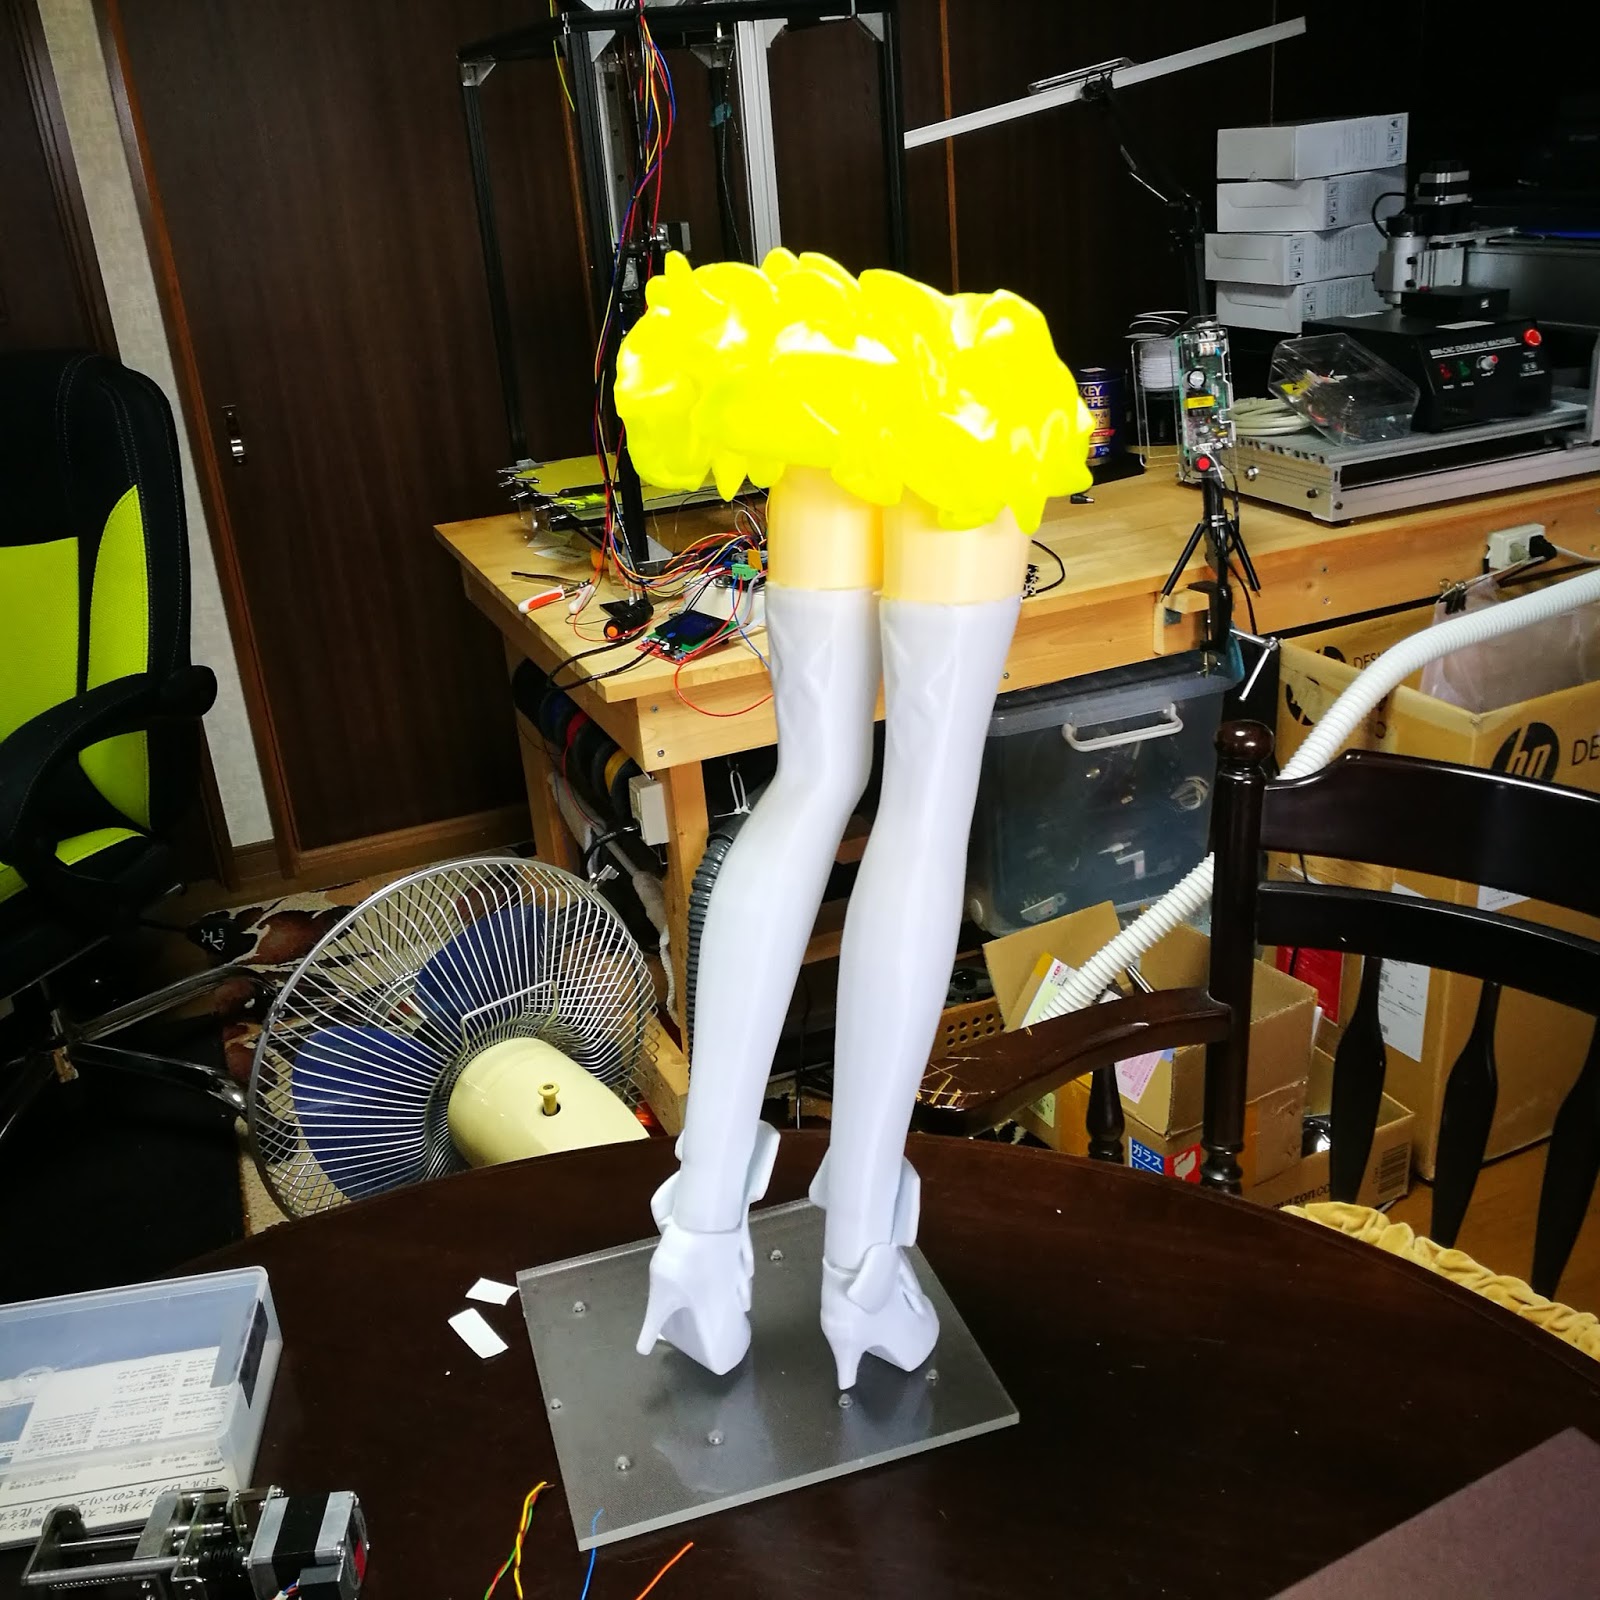
合体させてみます。
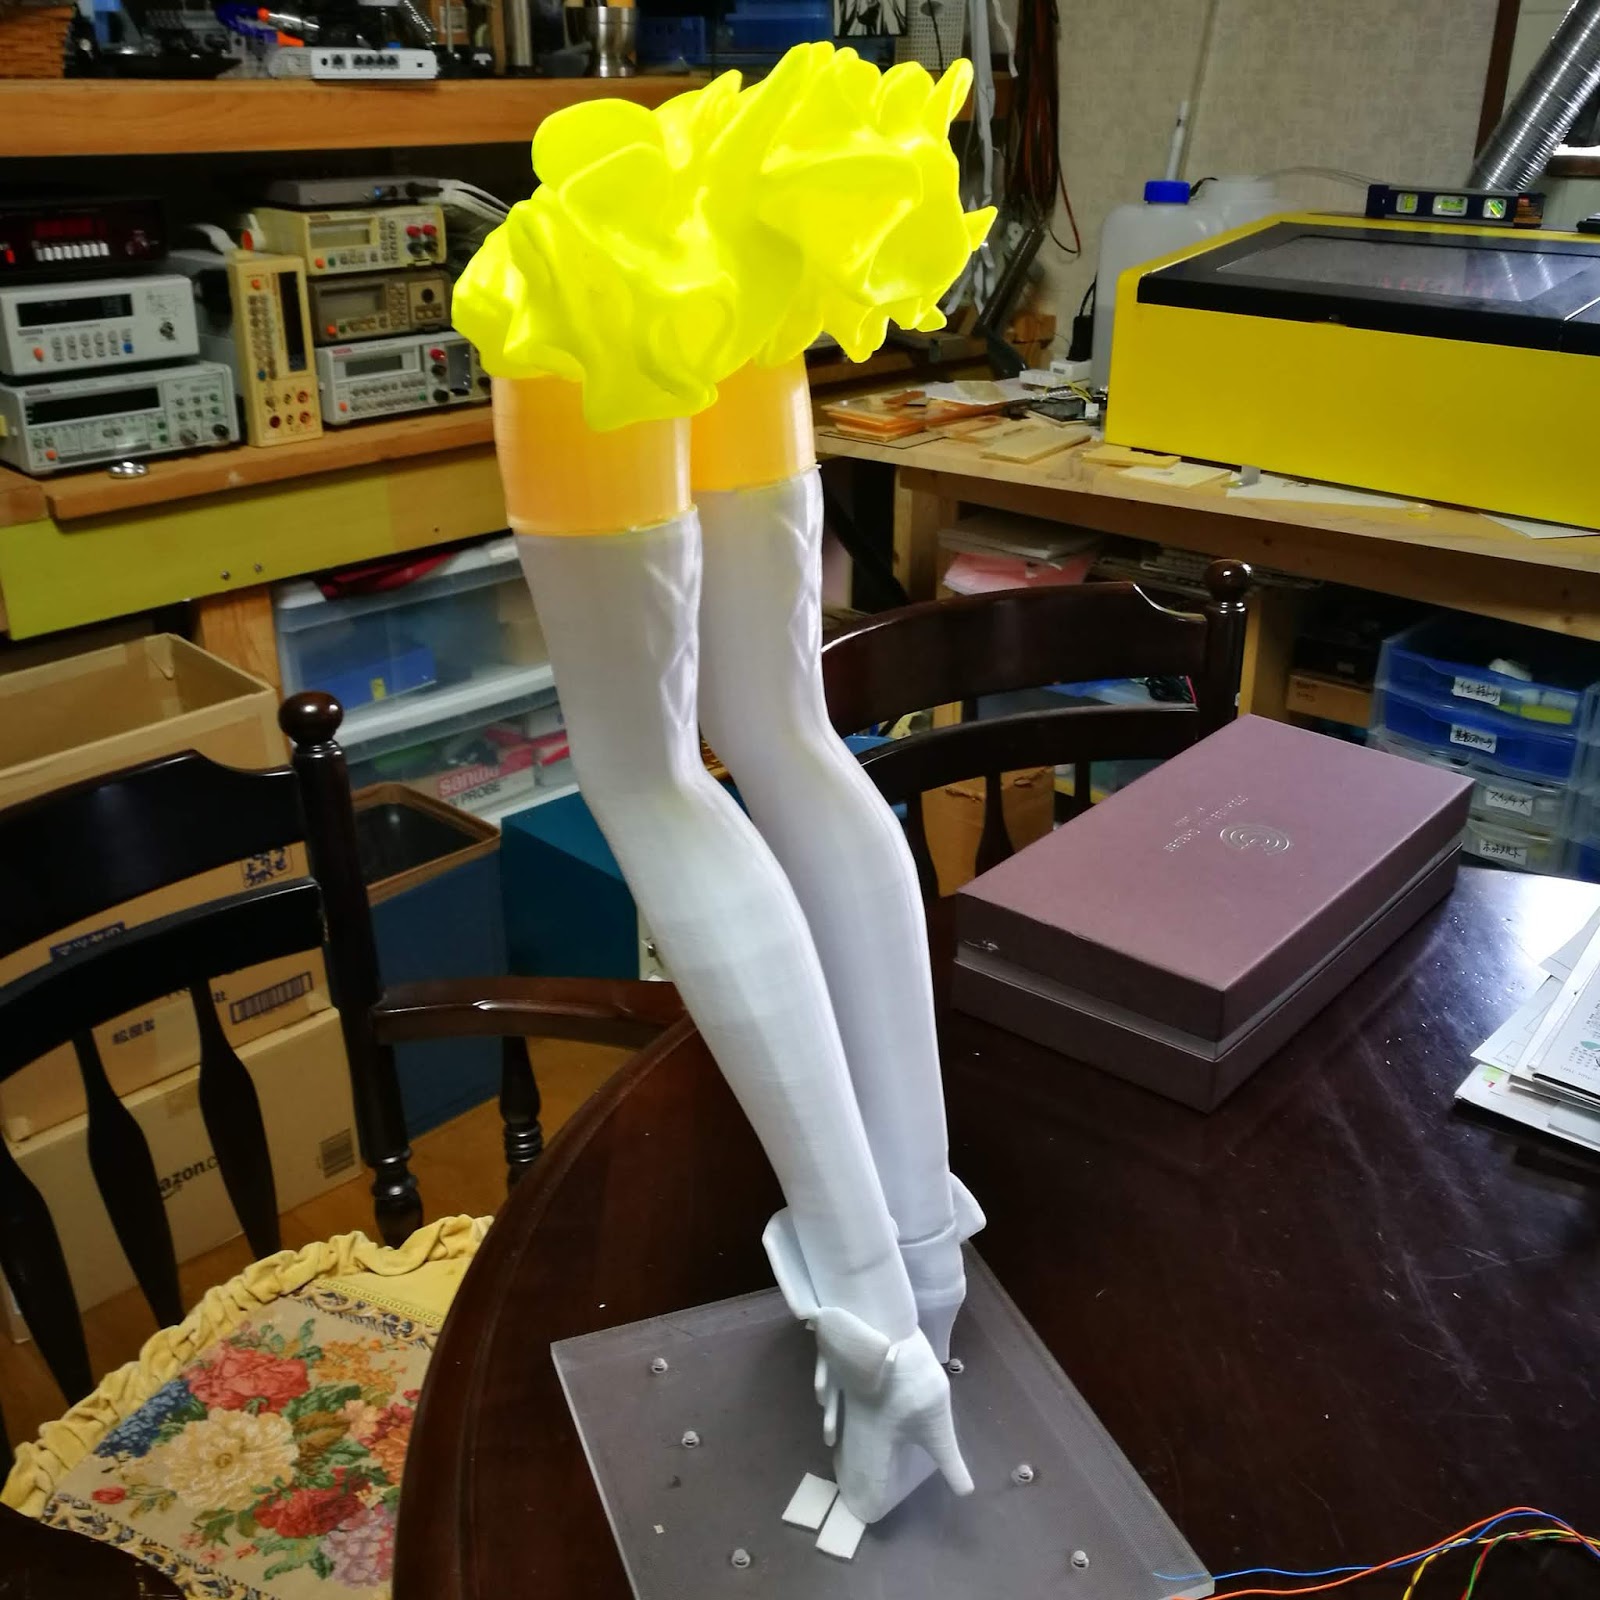
いやすごい迫力です。
でかいなあ。
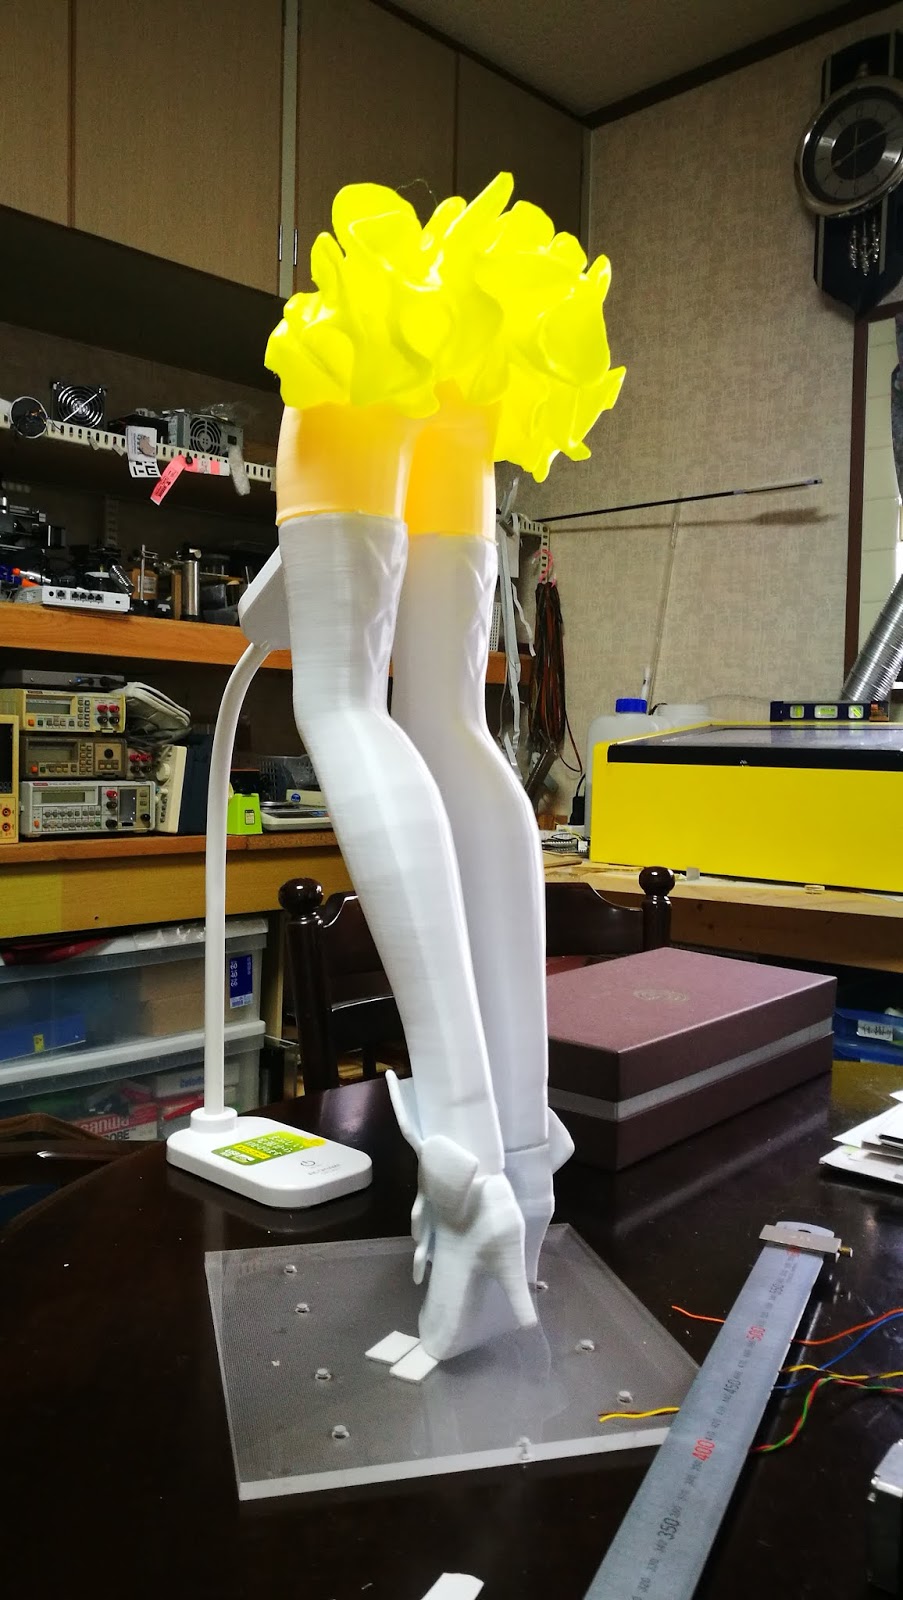
下半身だけなんですが、いや下半身だけだからなのか何とも知れない美しさが。
ここまでで500mmを超えています。
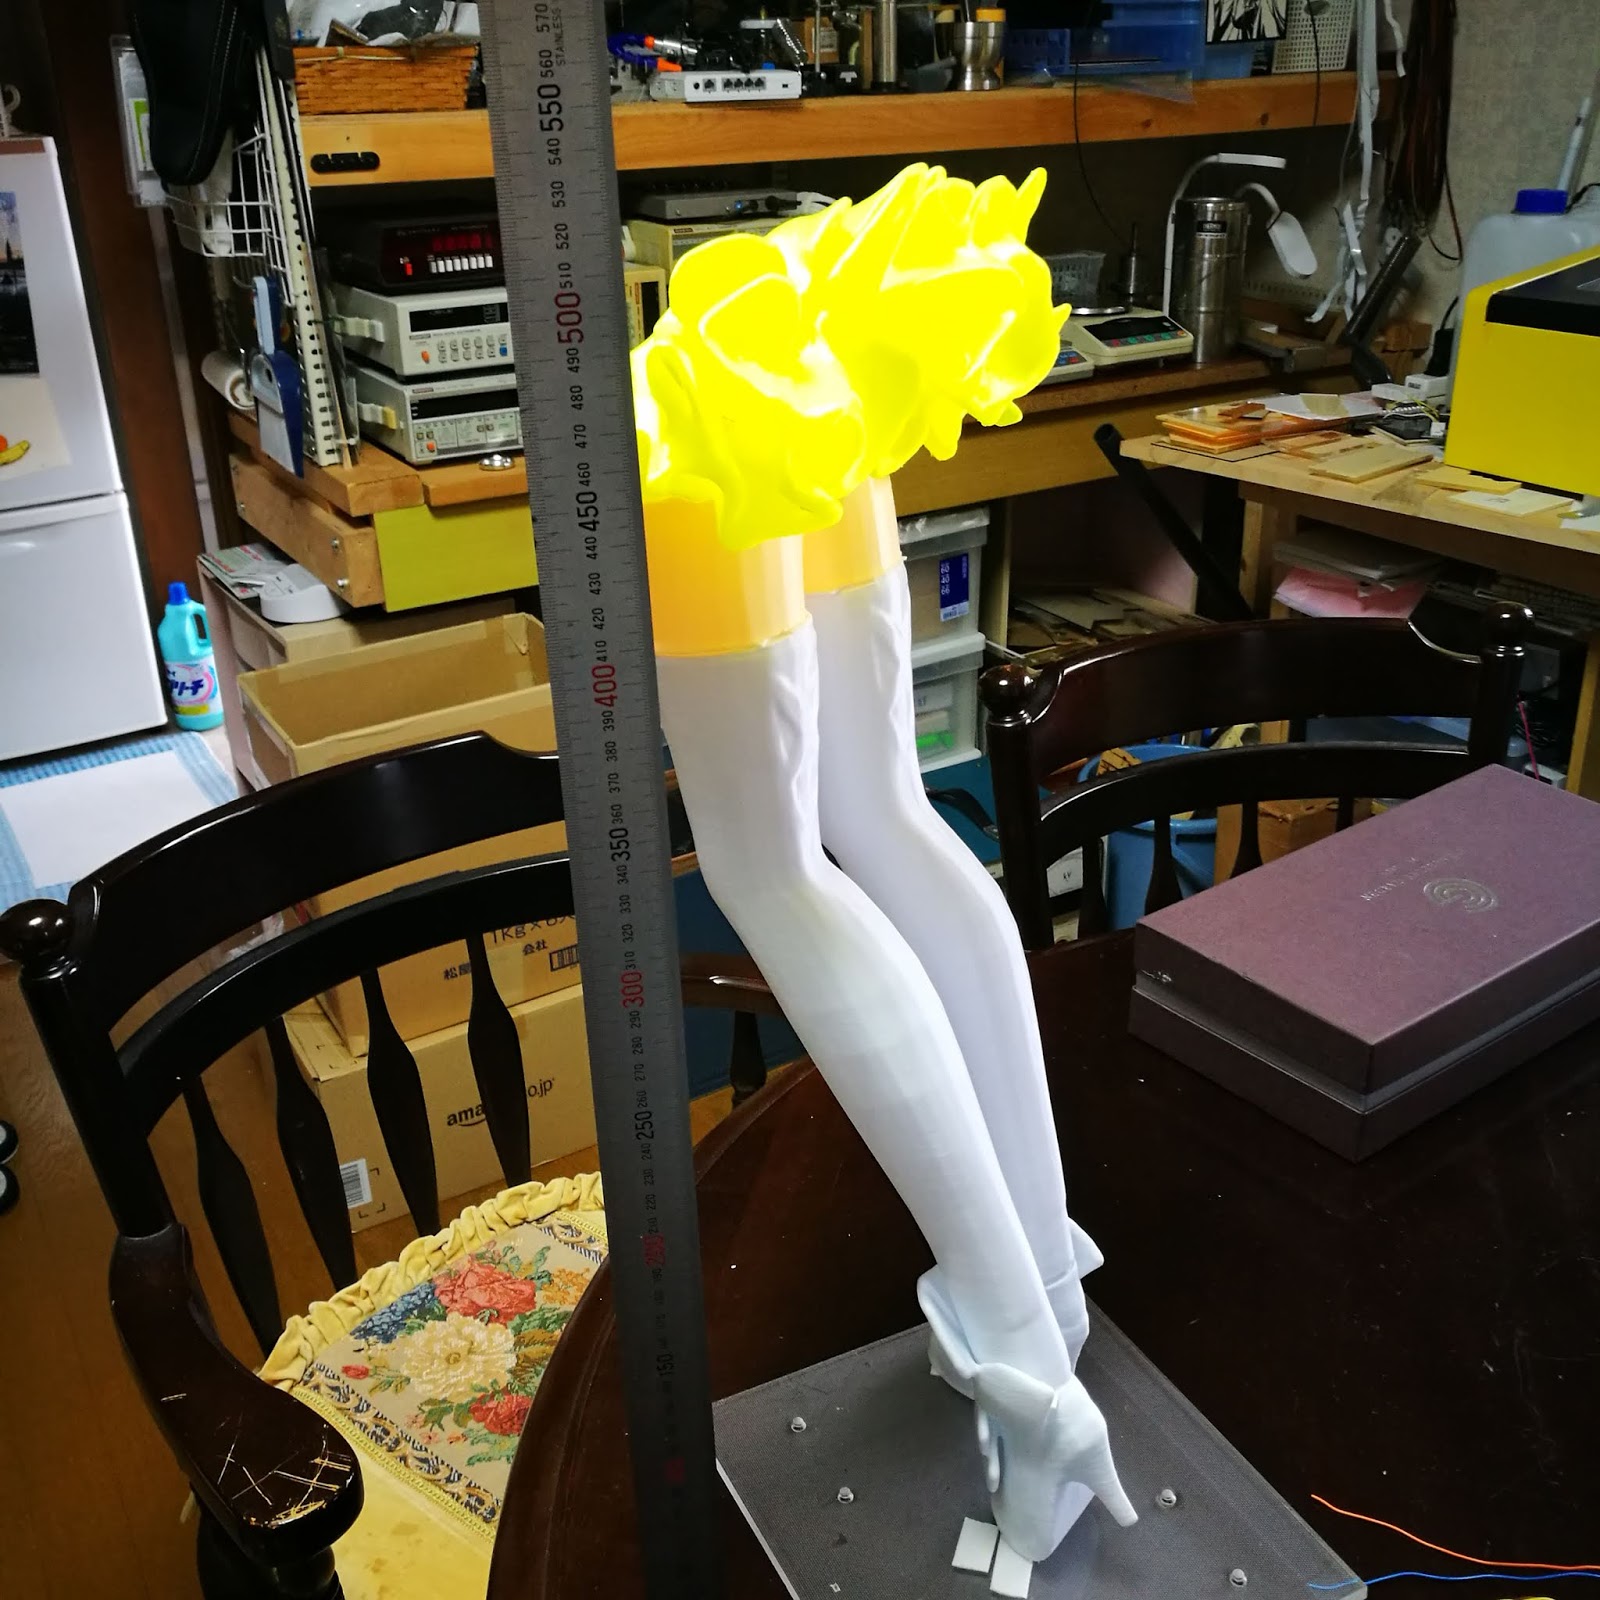
ミクさん足長いです。
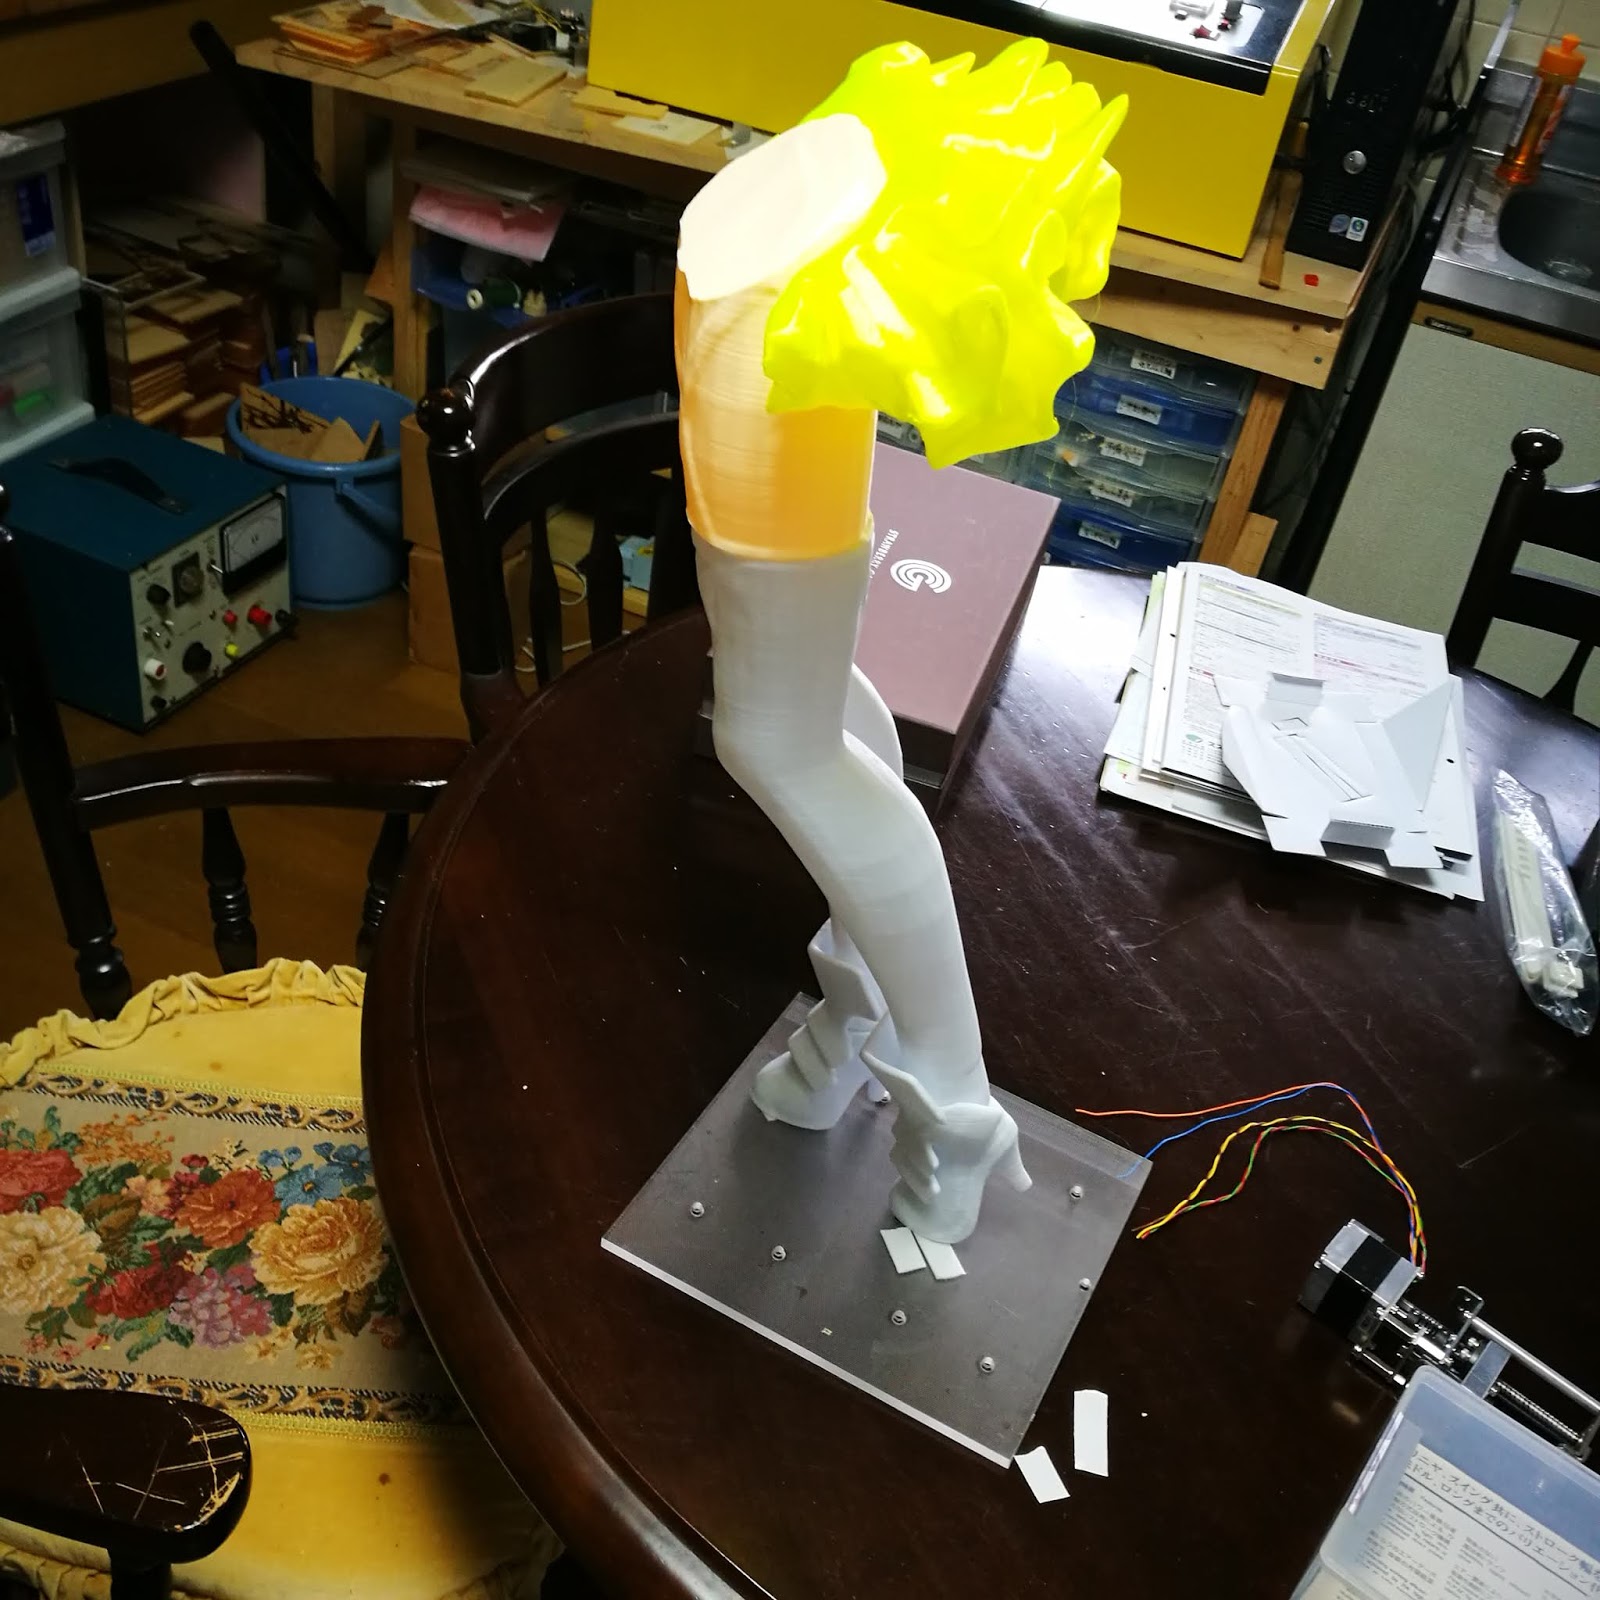
ここまで出力してみて結論しました。スカートの形状を変更したいと思います。
今の形はあまりに複雑で、サポート材がいくらあっても足りません。充填も20%くらいしないと凹み部分の床張りができないのではないかと思われます。あまりに時間がかかり、リスクが大きいです。
また、接合のためのひっかけや位置決めピンなど、もう少し事前の加工をしておく必要があります。まだまだデータ加工が必要です。